Watercolor Painting of Six Geese A-Laying (Step by Step)
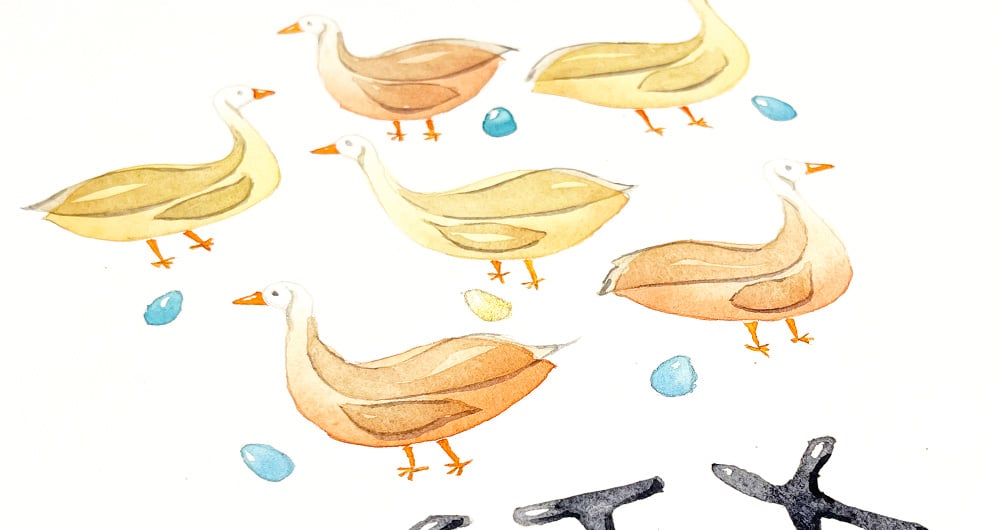
Today’s exercise is number 6 in the painting series inspired by the “12 days of Christmas”.
If you made it this far, give yourself a pat on the back 🙂
You’re half way through!
You’ve probably noticed that a good proportion of the subjects in this song are about birds. In fact you can count a total of 28 birds in the twelve days of Christmas (including the five golden rings – if you’re confused, see the previous lesson).
The references to birds relate to the culinary theme of the original rhyme. The 18th century song celebrates the period of merrymaking between two religious feasts. And the birds in the rhyme were highly prized at meal times.
So today’s painting prompt is “six geese a-laying”.
Go grab your brushes!
If you happened upon this lesson in the middle, you might want to check out the beginning of this challenge here.
How to paint six geese a-laying
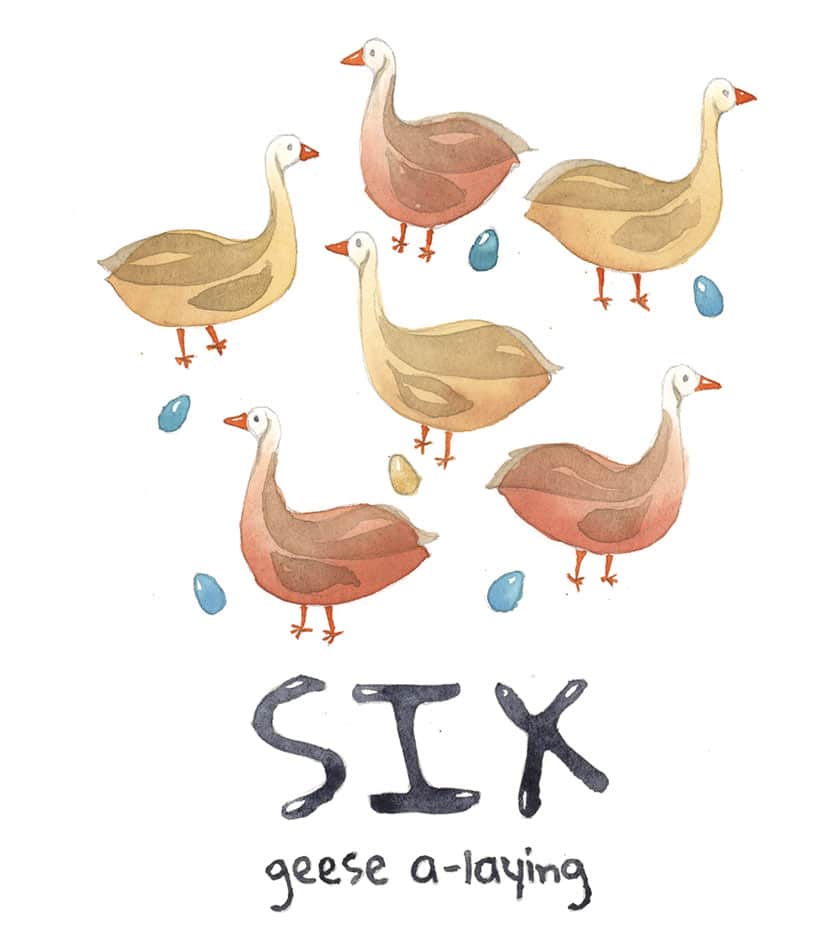
The composition of the geese painting is centered. There’s a bunch of geese all gathered around one lone goose in the middle. This kind of layout helps lead the eye to the subject. This is especially true if you wanted to draw attention to the center objects.
I added a little gold paint to the center goose (and her egg) just to make her subtly different 🙂
To do this painting yourself start by downloading the worksheet below:
Try this painting for yourself ! Click the button below to download the worksheet for this painting.
The complete list of colors used were as follows:
- Hansa Yellow Deep – Pigment number: PY65
- Phthalo blue GS – Pigment number: PB15:3
- Pyrrol scarlet – Pigment number: PR255
- Burnt umber – Pigment number: PBr7
- Paynes gray – Pigment number: Pb29/PBk9
To receive daily email reminders for this painting challenge (starting with day #1), you can sign up below:
Finally, I’ve created a special category for these tutorials which you can view here. This will provide an overview of the whole challenge.

Step 1
Draw the outlines of the geese and the lettering on a sheet of watercolor paper. I like to use an LED light board for this. It speeds up the process and gets me painting quicker and easier.
Step 2
I used a variegated wash for each of the goose shapes, starting with a very light and diluted paint mixture at the head, and charging in more color on the underside. You can even start with a brush dipped in clear water to get the heads very light toned.
To add a bit of variety, the birds are slightly different colors. Half are yellow-brown, the others are reddish-brown.
Paint the word “SIX” in gray, not forgetting to leave a few white highlights as in the previous watercolor paintings of this series.
Leave the shapes to dry completely.
Step 3
Now you can layer over some shapes to represent the wings and feathers on the backs of the geese. I used a diluted neutral gray-brown color for this. Make the brush marks overlap the edges of the first shapes underneath, without following the outline of the body. This will create different levels of transparency and you end up with a more graphically interesting result.
Step 4
For the final details I added the beaks and feet using a bright orange paint mixture. The eggs were painted with a blue-green color (a mix of phthalo blue and phthalo green). Except for the central goose’s egg – that one’s gold !
Finally, the eyes were painted with a light gray (diluted) color and I filled in the words underneath…
Quacking good!
Do geese go quack? Or do they honk!?
Until next time… happy painting !


