
How to Paint a Picture of a Partridge in a Pear Tree! (Super Easy)
This is the first tutorial in the “12 days of Christmas” painting series. These are intended to be relaxing and fun exercises to keep your creativity flowing during the holiday period.
And yes… There will be 12 paintings in total.
But I’m sure you’ll manage because I’ve made all of the watercolors in this series extremely easy to carry out!
I don’t want you working too hard… It is Christmas after all 🙂
Every painting can be completed in 4 easy steps. And I’ll even provide the printable outline so you can transfer it to a sheet of paper. There’s also an easy to follow, downloadable worksheet of the painting process.
By the way, if you missed the initial announcement of this painting series you’ll find it here. It includes tips on how to approach these watercolor illustrations.
Ready? Go put on some festive music and grab your brushes!
Watercolor Partridge in a Pear Tree (Easy Step by Step Painting)
These 12 days of Christmas watercolors are all painted in an illustrative style. So you don’t have to worry about realism. Still, the painting approach is intended to give them some depth and graphic interest.
The paint colors I used for the partridge and pear tree are listed below. But feel free to use whatever similar colors you have if you don’t have the same brand (I use Daniel Smith).
I’ll also explain the techniques used for each step of the picture.
And remember to breathe! Relax into the flow of the painting and have fun 🙂
The 4-step painting process
Download the worksheet for this painting here.
Try this painting for yourself ! Click the button below to download the worksheet for this painting.
The paints used for this watercolor were as follows, but you can use whatever colors you have available:
- Hansa Yellow Deep – Pigment number: PY65
- Lemon yellow – Pigment number: PY175
- Phthalo Green BS – Pigment number: PG7
- Pyrrol scarlet – Pigment number: PR255
- Burnt umber – Pigment number: PBr7
- Paynes gray – Pigment number: Pb29/PBk9
If you’d like to receive daily email reminders for this painting challenge, you can sign up below:
I’ve also create a special category for these tutorials which you can view here. This will provide an overview of the whole challenge.
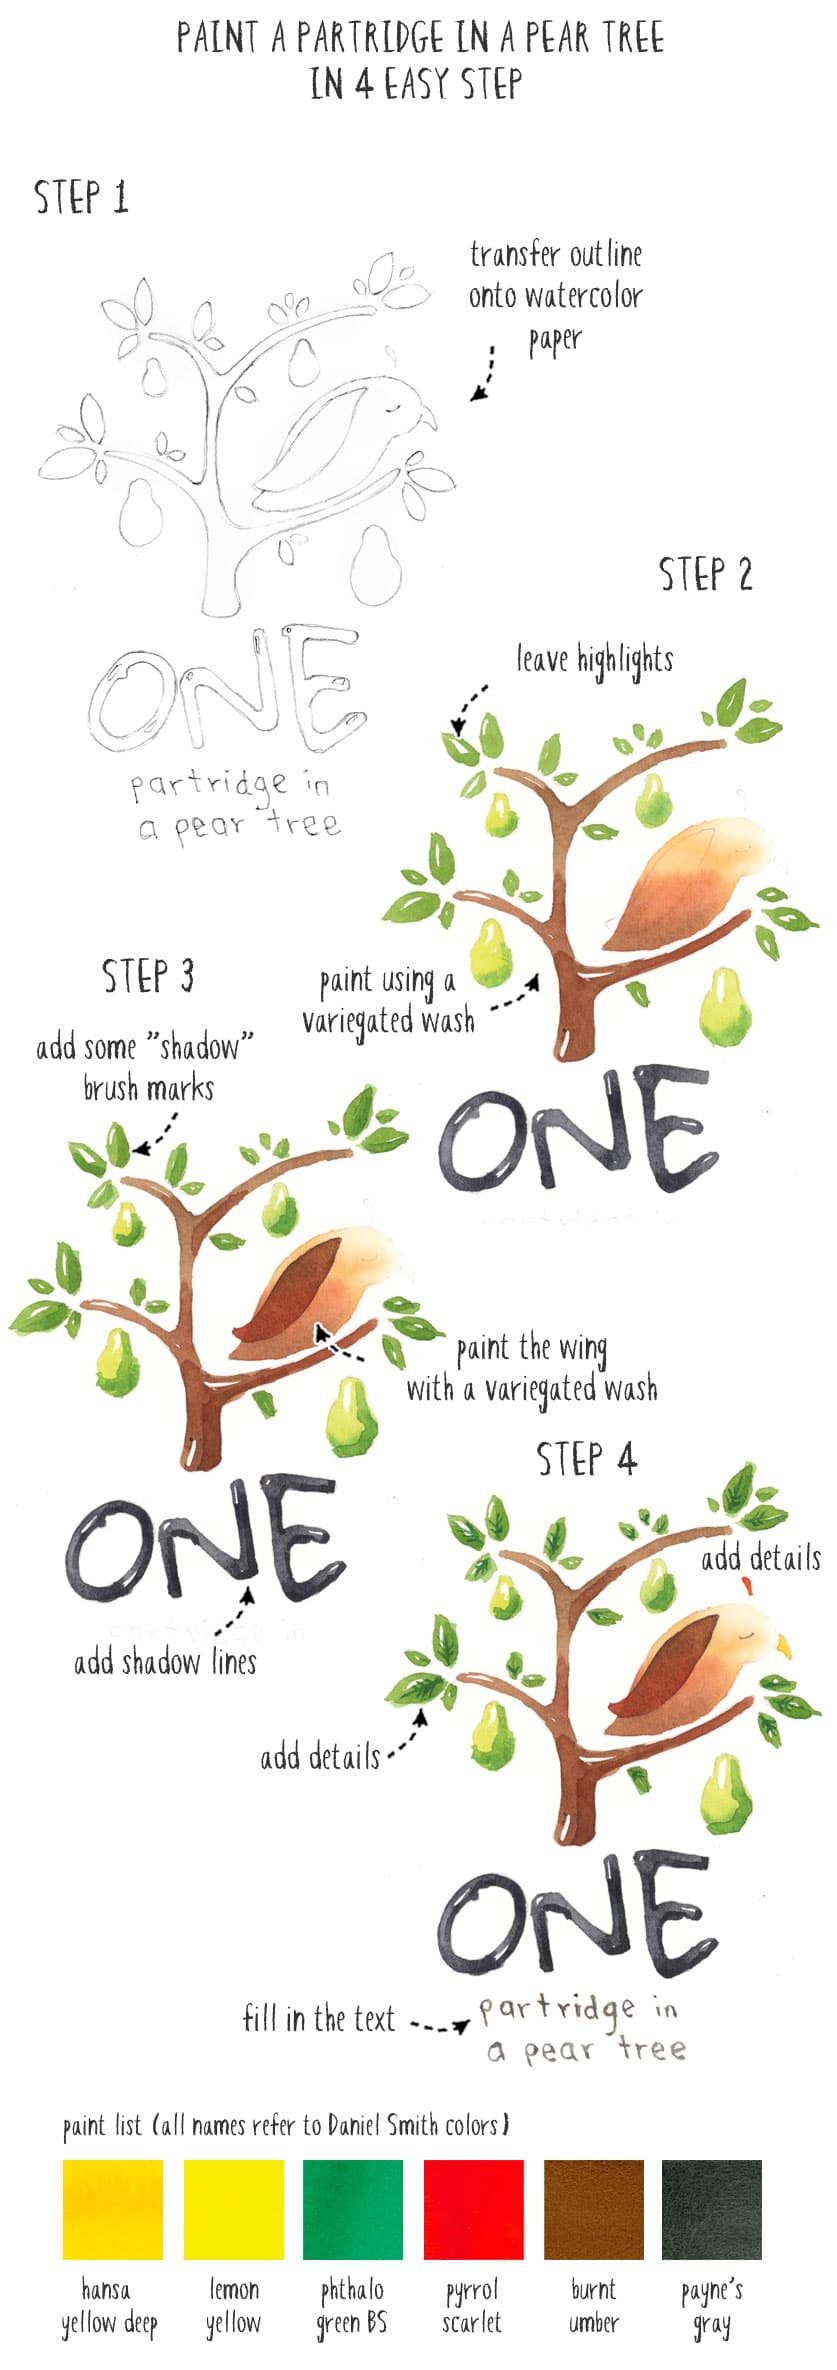
Step 1
Begin by tracing or transferring the outline onto a sheet of watercolor paper. I use a pencil with medium hardness such as a HB. Draw the outline lightly (you can always use an eraser to remove any areas that seem too dark).
You’ll need watercolor paper but artist grade paper isn’t strictly necessary. Student grade papers will work fine.
Step 2
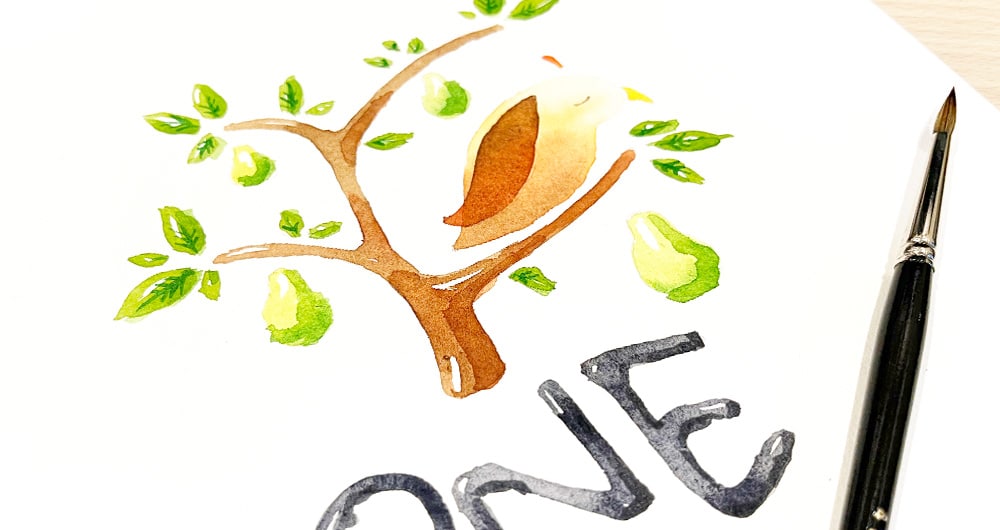
Paint the partridge using a variegated wash. This is a technique for producing changes in color across the shape.
I suggest you begin with a very diluted color at the head of the bird. I used a mixture of warm yellow and a little burnt umber. As you progress down the body, change the color of your paint. Add some more red and brown, ending up with the darkest color at the base of the bird’s body.
The pears are painted in a similar way to produce a bit of color variation. I used a mixture of lemon green and a very small amount of phthalo green to create a nice bright green appearance. Then, while the paint was still damp, I dabbed in some phthalo green to the bottom part of the pear shape. (This is a technique known as “charging-in”).
Notice that I’m also leaving part of the white paper showing through, to produce a small highlight for each shape. I’ve used the same trick throughout the painting. This helps create an impression of “depth” or three-dimensions (even with non-realistic illustrations, depth helps generate graphic interest).
Paint the leaves with a warmer green (try a mixture of hansa Yellow and phthalo green – it makes a lovely mix for foliage!). Then fill in the tree trunk, remembering to leave some white highlights here and there.
Finish with the word “one” underneath (I used Payne’s gray for this).
Step 3
Leave the first layers of paint to dry completely before continuing.
This is important because you don’t want the underlying surface to be wet, otherwise the next layer of color will “bleed” into the drying wash on the paper. This can produce unwanted blotches in the first painted shapes (sometimes called “cauliflowers” or “blooms”).
Leaving the surface to dry and building up layers of watercolor like this is a technique called “glazing”.
I started by painting the wing shape on the partridge. Again, you can vary the color of paint as you progress to produce a variegated effect.
I also added some quick brush marks to the objects as a way to suggest shading. For example, you only need to add a glaze of color to one half of the leaves, the underside of the pears, tree branches and the letters.
Step 4
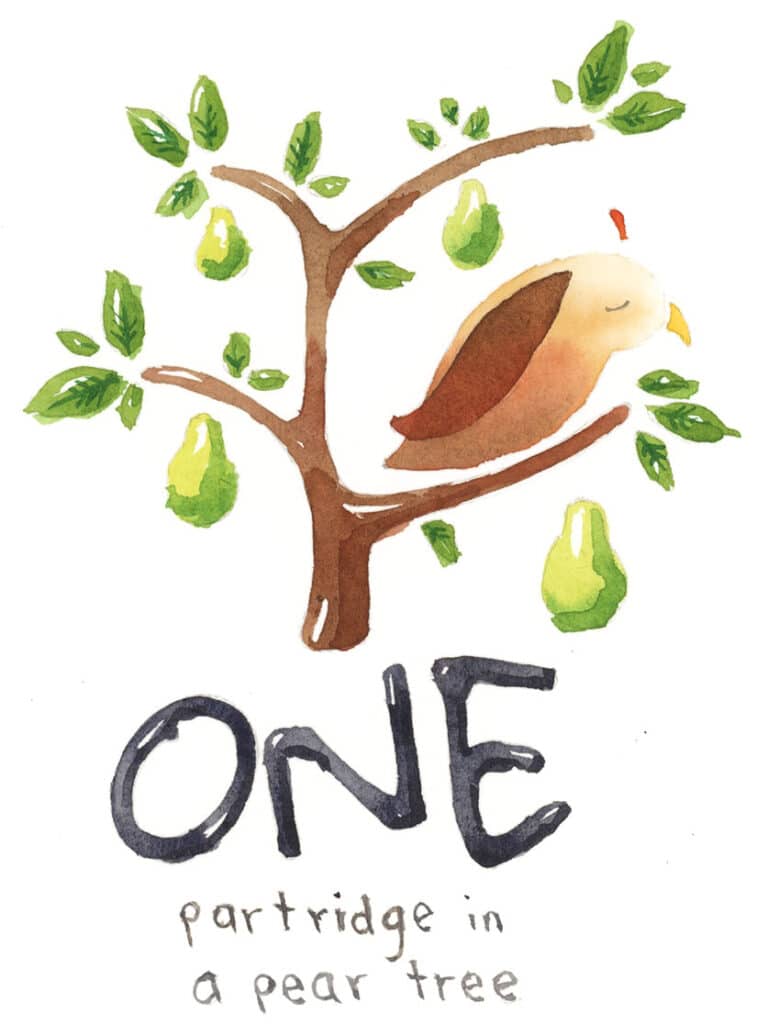
The final step is to add the details. Add the beak and head feathers. The eye is tricky! Use a very small round brush for this part. Then add the writing at the bottom.
Note that writing with a brush can be difficult. If you’re not comfortable with this, try using a pencil crayon instead.
And if your partridge looks more like an “ugly duckling” don’t worry. Remember that duckling turned into a beautiful swan! And as you keep painting and developing your skills, your artwork will grow and mature!


Anthony, I enrolled in the masterclass many months ago, bought supplies, did the first few lessons, printed templates, then froze. And stopped. Tonight I jumped back in and painted half the Partridge in a Pear Tree. With success! I will let it dry until tomorrow. I LOVED drawing and painting tonight, and it felt so good to become unfrozen. Thank you for these 12 Christmas paintings, and I will then get back to the Masterclass. And yes, the song is firmly planted in my brain!
Hi Anne
I’m so glad this prompted you to pick up your brush again 🙂
Keep having fun, even if it’s only small projects like this.
Thank you so much.
Wishing a very Merry Christmas and a fantastic 2026!
Thanks Joann!