
Three French Hens Painting in Watercolor
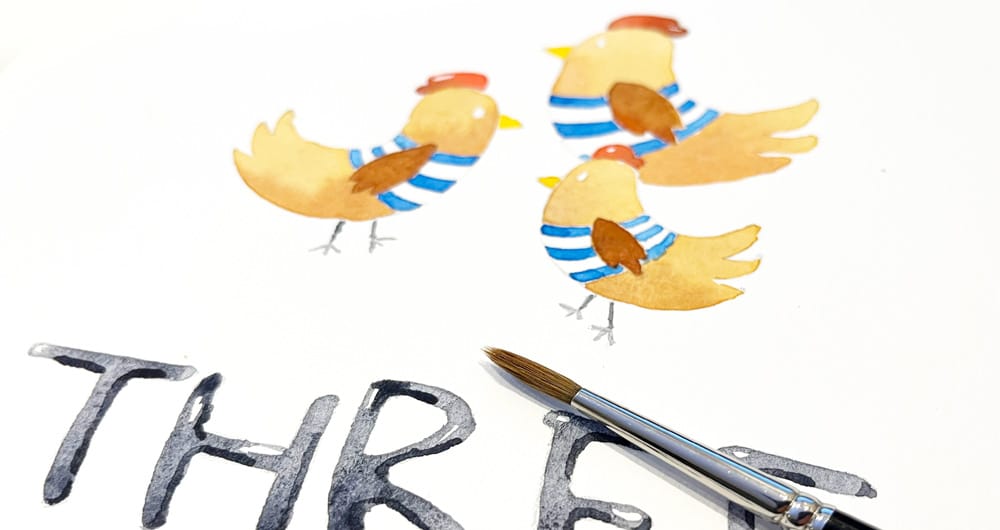
Welcome to day three in this mini series of watercolor paintings. This is part of a collection of 12 paintings that I made to get people painting during the holiday season!
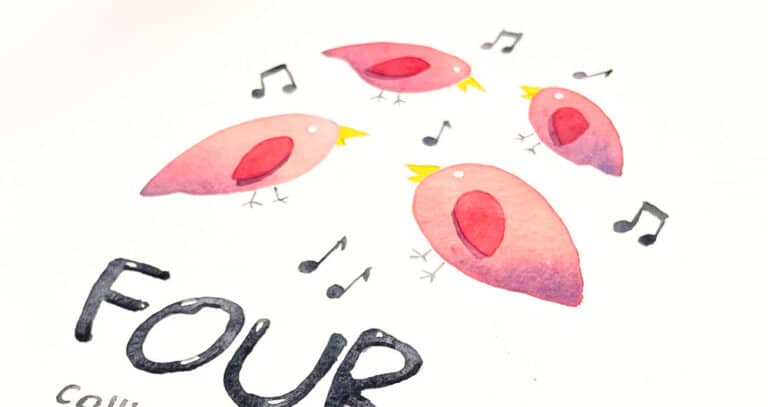
The overall theme is the “12 days of Christmas’ – and this is day three. So today’s prompt is “three french hens”.
I had a lot of fun coming up with the design for this one 🙂 I think you’ll enjoy painting these typically french-looking hens!
If you missed the start of this painting challenge, you can find out more on this page…
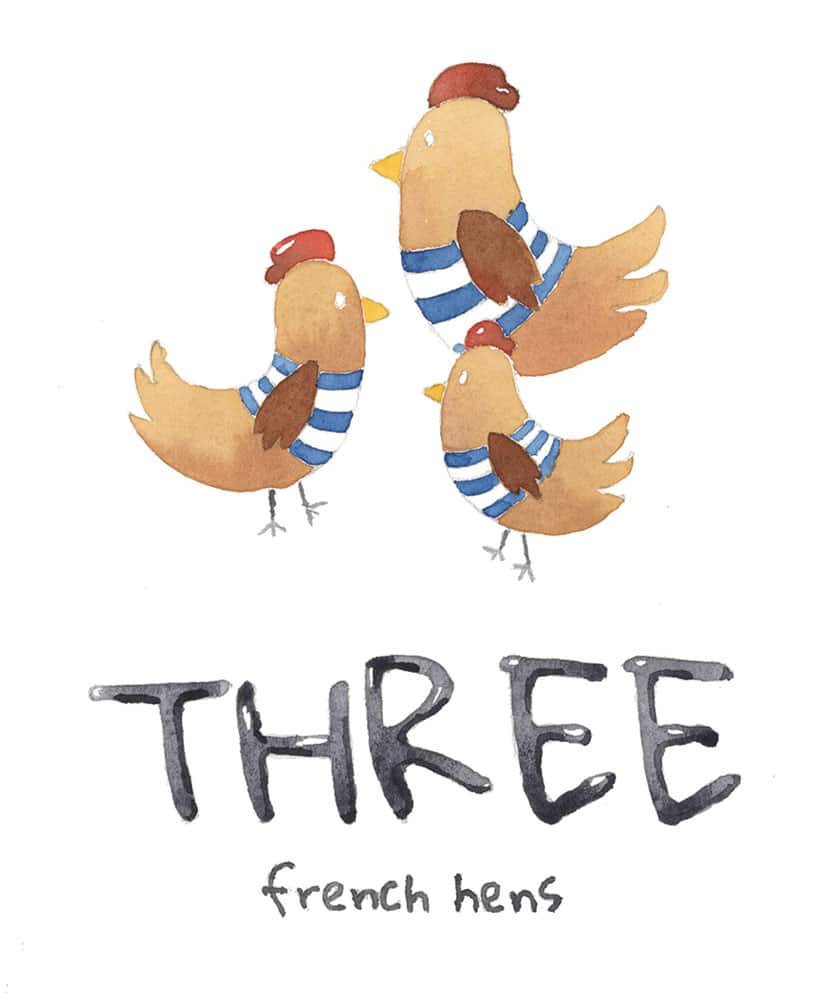
Painting Three French Hens in 4 Easy Steps
Did you know the three hens symbolize the virtues of faith, hope and charity.
But why french?
I didn’t know this until recently. It seems that when the words for the 12 days of Christmas rhyme were first written, “french” hens were a highly prized food to be served at the table. The best type of poultry you could dish up was a breed called the “Bresse Gauloise” which originated in France. As a result, the finest possible chickens to eat were associated with “french” poultry.
So I’ve given my hens a french twist in honor of this tradition 🙂
i.e: note the french-style sweaters – or jumpers for my faithful UK audience!
To get started, you can download the worksheet for this project below:
Try this painting for yourself ! Click the button below to download the worksheet for this painting.
The paints used for this watercolor were as follows, but you can use whatever colors you have available:
- Hansa Yellow Deep – Pigment number: PY65
- Phthalo blue GS – Pigment number: PB15:3
- Pyrrol scarlet – Pigment number: PR255
- Burnt umber – Pigment number: PBr7
- Paynes gray – Pigment number: Pb29/PBk9
If you’d like to receive daily email reminders for this painting challenge, you can sign up below:
I’ve also created a special category for these tutorials which you can view here. This will provide an overview of the whole challenge.
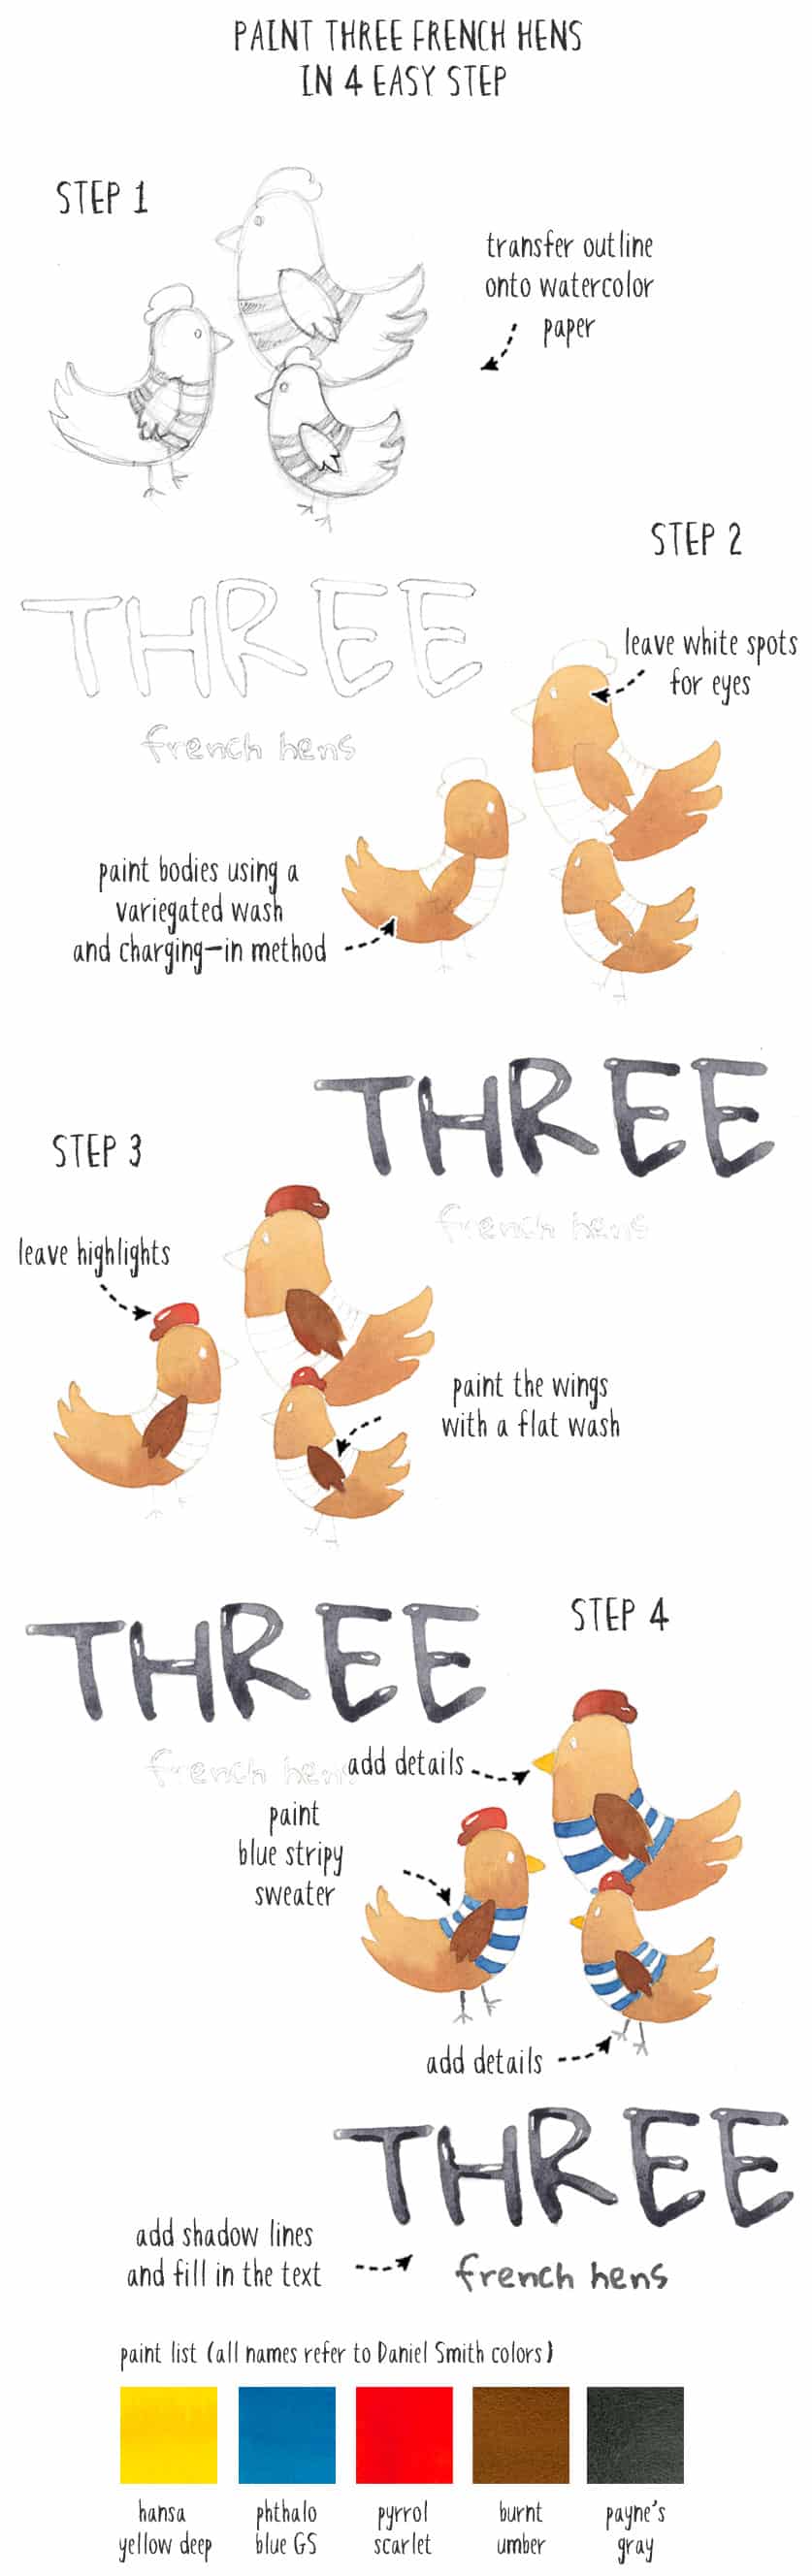
Step 1
As usual you start by printing out the traceable outline from the worksheet. Draw the outline lightly onto a sheet of watercolor paper. If you make a mistake, I find that kneaded erasers work great for removing unwanted pencil lines on watercolor paper. You can also use these to pick up excess graphite from the surface and leave only light pencil marks.
Step 2
If you’ve been following along so far you’re probably starting picking up some of the watercolor techniques used in each of the projects. This painting begins with another variegated wash.
I painted the body of the hens, starting with a light (diluted) brown color at the top and darkening the mixture as I progressed towards the bottom. If you want to make a similar hue you can mix a warm yellow with a touch of brown (in my case I used hansa yellow deep and burnt umber).
Leave the sweater (jumper) shape untouched. This looks tricky, but the head and tail of the bird are connected by the wing shape. Keep your brush strokes fluid and work your way down through the wing and finishing up with the tail. The objective was to make the underside slightly darker and stronger in tonal value than the upper half. If you don’t see this you can also use a “charging-in” technique to drop in some stronger paint to the parts that need it. This method works by dabbing the surface of the damp wash of color so that pigments diffuse smoothly into the wash.
Note that the eye was also left white…
The word “THREE” was painted in gray, with a few white highlights here and there.
Step 3
When everything is dry you can paint the wings with a glazing technique over the top of the first color (remember this is a wet-on-dry technique used to build up color intensity and value in watercolors).
I painted the hens “comb” (the wobbly thing on top of its head) with a red to brown variegated wash.
Step 4
The final stage just needs a few details including the blue striped sweater (yes… I’m talking about the “jumper”). I used a nice cool blue color for this (Daniel Smith’s phthalo blue GS).
Then paint the beaks, the feet, and the words “french hens”…
I also added some darker gray brush strokes to the “THREE” letters to give them some three-dimensional depth.
In other words I made the “three” 3D!
Get it?
Yup!
Now you can show off your painting to somebody 🙂
Have a great day!


Anthony – this might sound silly but how do you transfer the traceable outline – for those of use who cannot draw, this is a most important step…
Hi Carol.
Yes, this can be tricky ! My preferred method for transferring drawings is a light box. Just print out the outline and tape it to the back of a sheet of watercolor paper, then trace…
I know not everyone has one of these, so you can also try holding it up a sunny window. Alternatively, maybe you have a glass coffee table and a spare lamp?
Failing this, the quickest and easiest traditional method is to use a soft graphite pencil on the back of the printed outline sheet. Scribble a broad layer of graphite on the back, then turn it over and trace the outline with a firm pencil onto a sheet of watercolor paper.
try not to press too hard 🙂
Hope that helps!
wow, i’m so happy with this project. I’ve done two days so far and feel like an artist. Thanks to your clear instruction and worksheets.
Merry Christmas Anthony
That’s Great Sharon!
So happy you’re enjoying the challenge.
Merry Christmas!