How to paint Two Turtle Doves in Watercolor
Welcome to day two of my “12 days of Christmas” painting challenge!
This is a fun and easy-to-do painting for artists of any level. This series of 12 paintings are being released on a daily basis to give you some creative activity over the holiday period. Think of it as a way to stimulate your creativity by following the daily prompts and painting along with me 🙂
This is day number two in the series. Below I’ll show you how to paint “two turtle doves” in watercolor.
Turtle doves have been present in art for countless years. The way they huddle together affectionately in pairs is probably the inspiration for their use as a symbol of love and affection.
How romantic!
If you missed the first part of this painting sequence, check out the first page here…
Two Turtle Doves – step by step watercolor painting
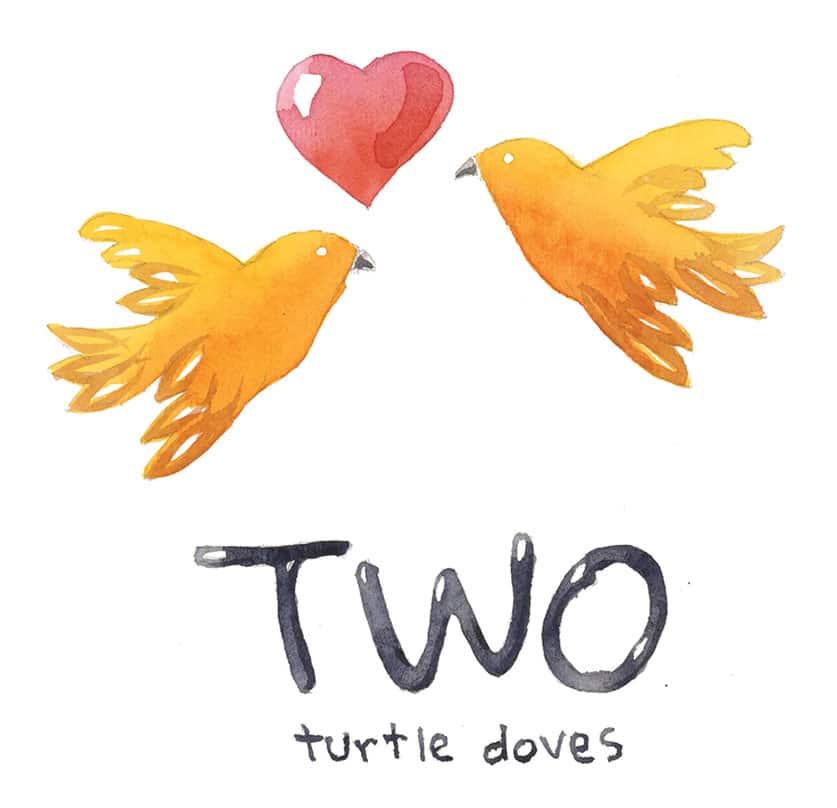
You’ll only need a handful of paints to complete the turtle dove painting below. And it can be finished in just 4 easy steps.
The objective is not realism. However I’ve tried to make these watercolors graphically interesting using a variety of techniques. If you’re new to watercolors this can be handy since following this series of illustrations should help you understand some of the basic methods used in all types of watercolor paintings.
Let’s get stuck in!
The painting process in 4 easy steps:
Download the worksheet for this painting here.
Try this painting for yourself ! Click the button below to download the worksheet for this painting.
The paints used for this watercolor were as follows, but you can use whatever colors you have available:
- Hansa Yellow Deep – Pigment number: PY65
- Quinacridone rose – Pigment number: PV19
- Pyrrol scarlet – Pigment number: PR255
- Burnt umber – Pigment number: PBr7
- Paynes gray – Pigment number: Pb29/PBk9
If you’d like to receive daily email reminders for this painting challenge, you can sign up below:
I’ve also created a special category for these tutorials which you can view here. This will provide an overview of the whole challenge.
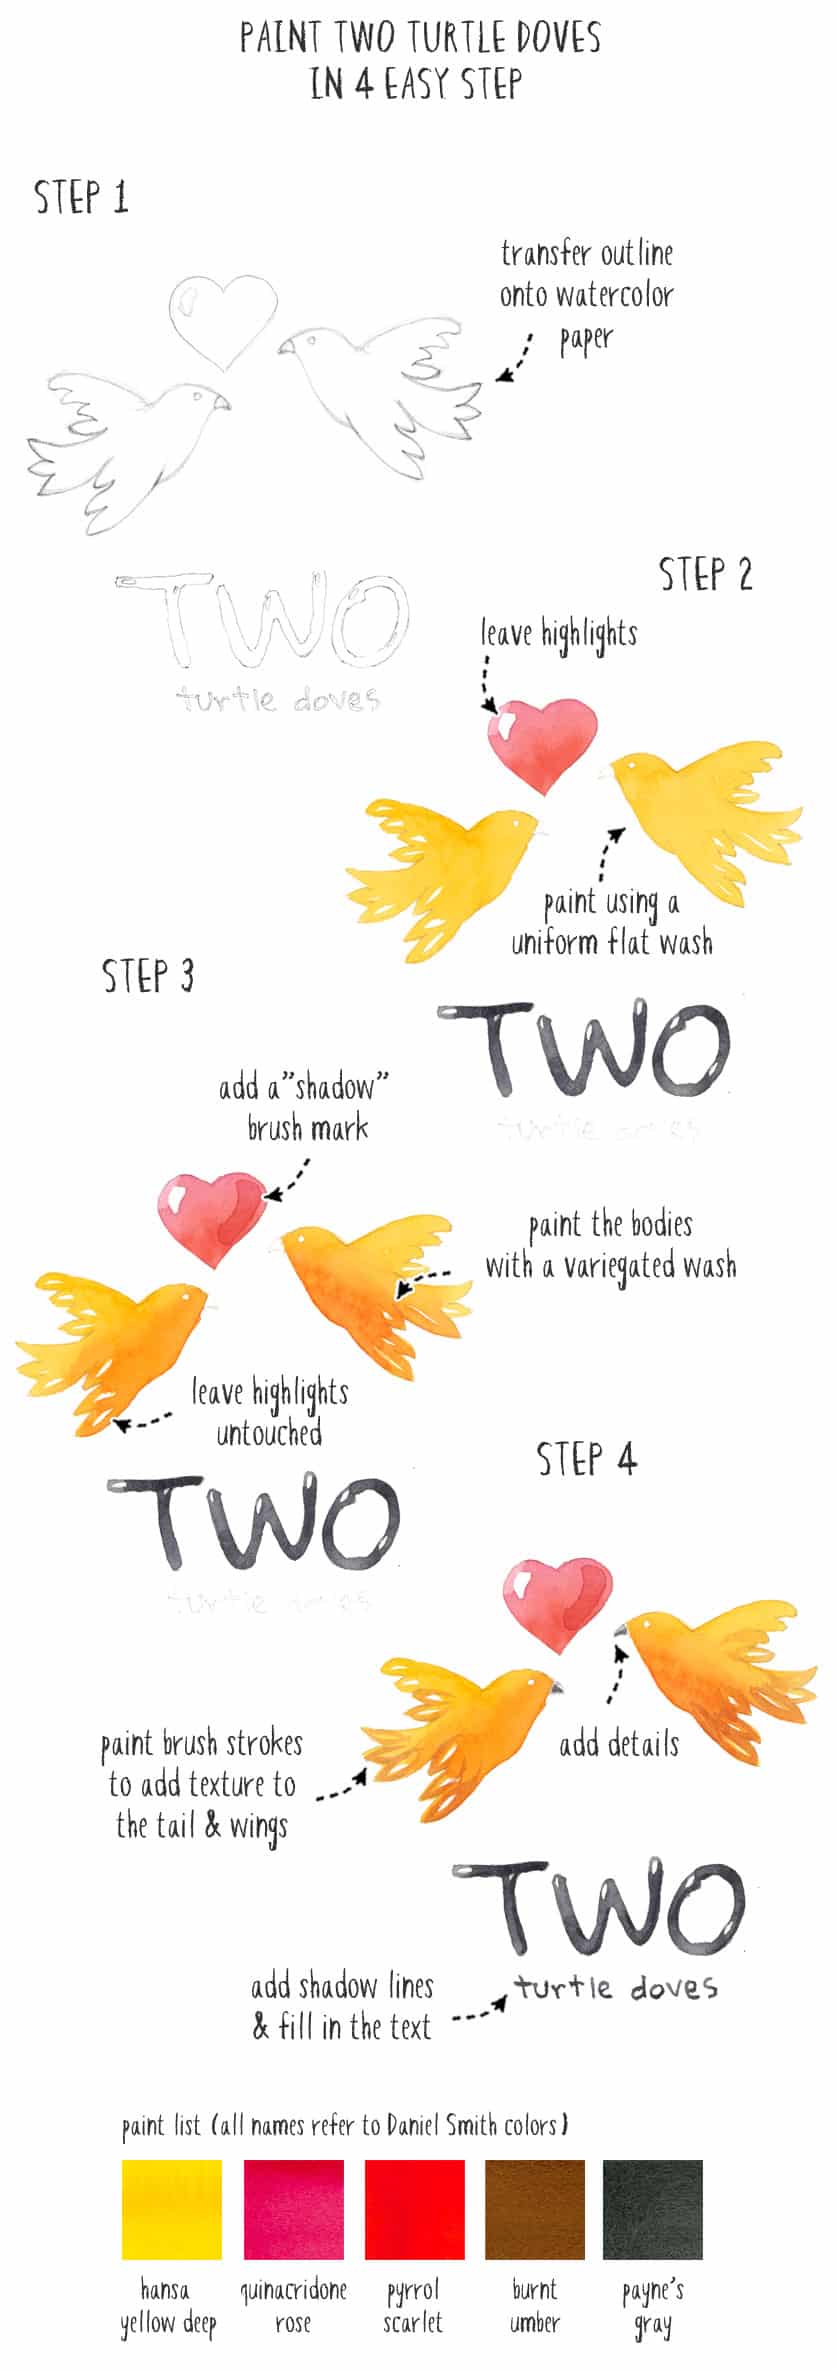
Step 1
Start by lightly drawing the outline of this design on a sheet of watercolor paper. You can trace it using any technique you prefer, but try not to use heavy pencil marks. Don’t worry about these marks showing through on the final watercolor, I find they often add an element of graphic interest.
Step 2
I used a warm yellow (hansa deep) to paint the doves with a fairly uniform wash (known as a flat wash technique). Leave some of the white paper showing through at the tips of the wings and tail feathers. These white highlights help make the composition “pop” and they are also a way to suggest textured feathers. I also left the eyes unpainted.
The heart has a similar unpainted patch of white to create a shiny looking highlight. This shape was painted with a variegated wash of pink and red (this means the colors vary across the surface of the shape). I made the heart shape lighter at the top and darker towards the bottom to suggest form.
Fill in the big letters for the word “TWO” in gray (I used Payne’s gray). Again, I left a few white highlights.
Now you can leave the first layers of paint to dry before continuing with the next stage.
Step 3
To add some depth to the turtle doves I added a glaze of orange over the top of the underlying yellow wash. This is a “glazing” technique. However, I’m applying this second layer as a graduated wash. In other words the color changes in value and intensity, starting with a darker color at the bottom and working up to a lighter, more diluted mix of paint.
On the other hand, for the heart shape I simply added a brush stroke of darker pink to the shaded side of the form. (In watercolors, painting like this is also known as a wet-on-dry technique).
Note that these graphic tricks are intended to make the heart shape read more as a 3-dimensional form! The white highlight suggests the direction of the light from the top left hand side. The underlying variegated wash is darker on the underside, to suggest shading. And the final darker brush mark deepens the tonal value of the shaded side of the heart. I use a similar approach on most of this series of watercolor illustrations to create a sense of depth.
Step 4
The last step is to add final details. Once again, leave the paint to dry before applying any new brush marks, otherwise you can spoil the underlying washes of watercolor.
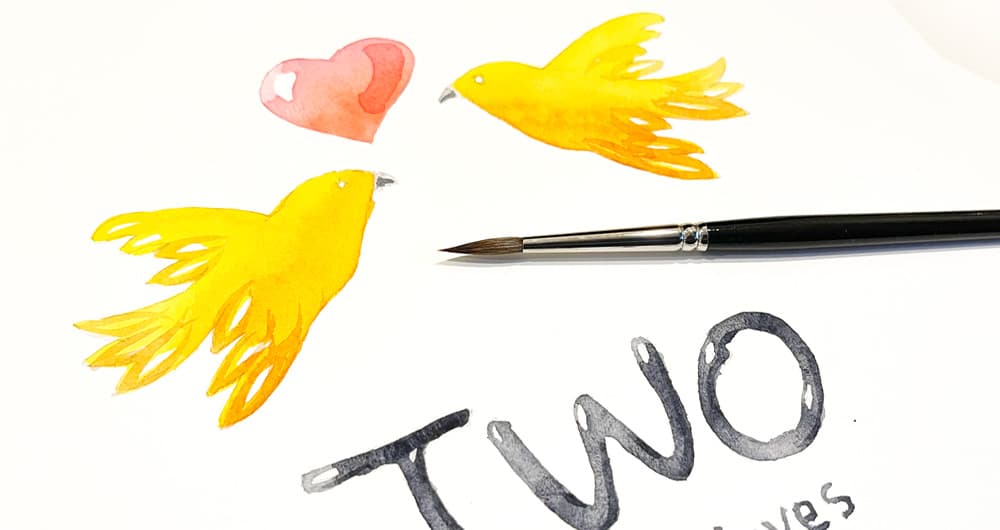
I filled in the bird’s beaks and the words “turtle doves” with gray paint (use a pend if you’re not confident writing with your brush).
I used a neutral orange-brown color to add some more texture to the tips of the wings and tail feathers. Make sure your paint mixture is well diluted. Otherwise the strong color might look overpowering compared to the light-toned yellow bird shape.
And there you go!
By the way, I think you’ll enjoy the next painting exercise in this series!
See you tomorrow!