
How to Paint a Mushroom in Watercolor (Cozy Autumn Painting!)
I’m a big fan of mushrooms… But I’m not sure I’d eat this one!
Instead, I’m going to show you the step by step process I used for painting this earthy-colored mushroom with a red cap.
I’ll describe all the different tools and techniques I used as I go through the painting, so we can paint this together.
I had a lot of fun painting this – There are some really satisfying methods involved, so I think you’ll enjoy it.
So here’s how you can paint a perfect mushroom in watercolor, even if you’re a beginner!
Getting prepared
So to get started you need to transfer the outline of your mushroom onto a sheet of watercolor paper. I’m using a light box for this because I find it’s the quickest method.
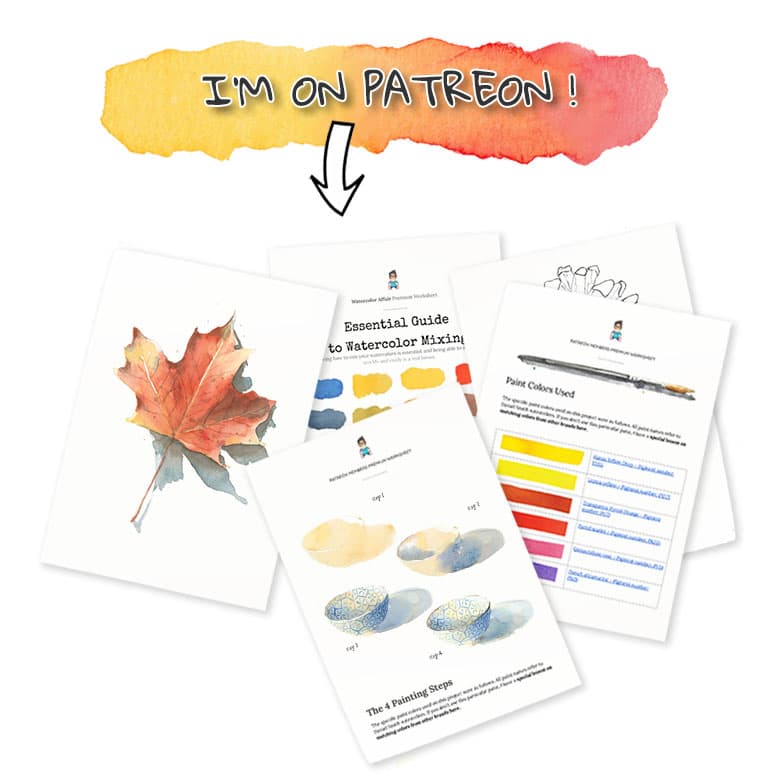
As usual, anyone should be able to easily follow along with this painting… but if you want, you can also get the outline sketch, the tutorial worksheet, plus the full length video on my Patreon : you’ll find my full library of ad-free video tutorials, plus other exclusive bonuses that I only share with members of my Patreon channel. Follow the link to find out more...
Next, tape down your sheet onto a flat board so it doesn’t move around while you work.
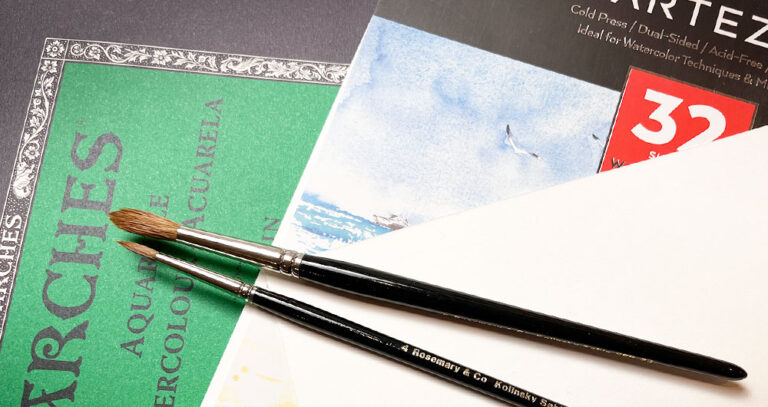
You can use whatever paper you prefer for this project. In this instance I was using student grade paper by Arteza. (It has pretty good blending capabilities but the surface is quite delicate, and colors can lift easily if you insist too much with your brush strokes – Amazon link)
Before laying down any paint, I used some masking fluid to create the little white dots on the cap. The masking fluid makes it easier to paint big brush marks of color, while shielding the white paper underneath.
I’m using a very small and cheap synthetic brush for this. When using a brush I’ve found that the best method is to dip the brush head in a bowl of soapy water before picking up the liquid masking – this helps prevent the masking fluid from gumming up the brush hairs!
Step 1 (Lay down a foundation of color)

As soon as the masking is dry you can start laying down some foundation colors. The objective here is to paint big washes of color but with some variation in hue and tonal value.
So, for example, starting with the cap, I began with a fairly diluted pinky-red color on the right hand side where the mushroom is receiving the most light. Then, while the paint was still wet, I started charging in a more intense color in the middle of the shape, and adding a few brush marks of an orange-red mixture at the base.
There’s supposed to be more of a highlight on the right hand side, so if the color looks too strong, simply rinse and blot your brush then lift some of the pigments off the paper like you see me doing here…
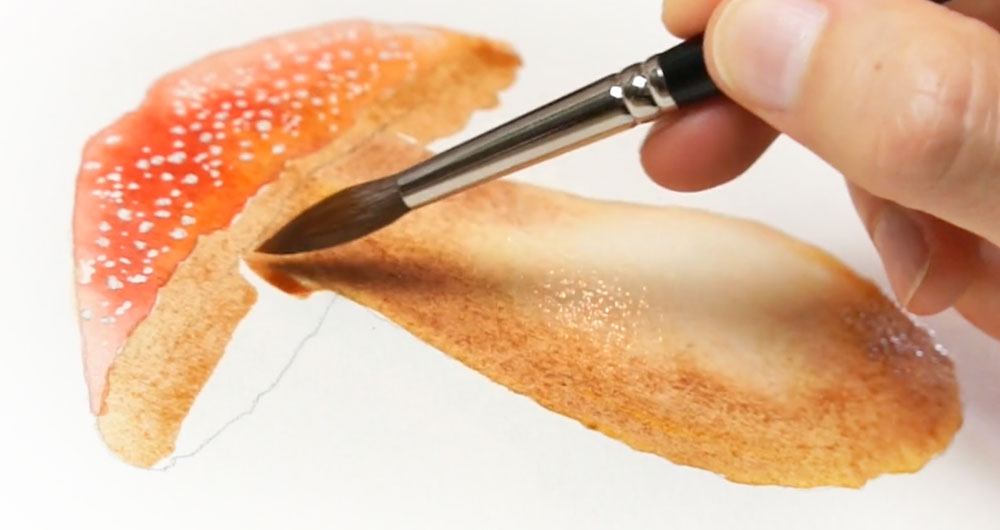
Now do the same thing with the trunk. Using a mix of burnt sienna I started by defining the shape I wanted to keep light-toned, then I gradually smooth out the edges to create a soft blend from light to dark.
As I progress toward the left hand side, which is more in the shade, I add more pigment to the mix to strengthen the tonal value slightly. The same applies to the underside of the cap where I dabbed in some extra pigment to intensify the color.
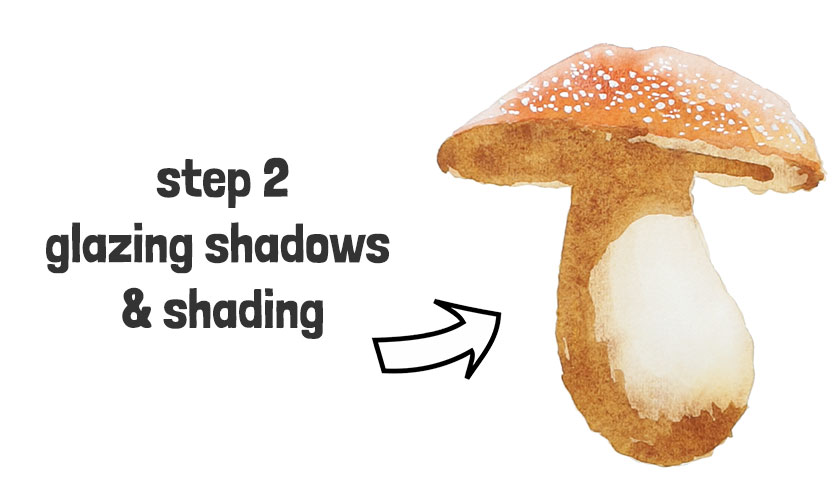
Step 2 (Let the paint dry then glaze a new layer)
Leave everything to dry completely before moving on.
This time the aim is to add a layer that represents the shading and the shadow shapes on the mushroom. These new shapes won’t cover all of the mushroom, but only some select areas where we want to deepen the colors.
I used my reference photo as a guide to help me discern these darker shapes.
Adding layers onto dry paint like this is what’s known as a glazing technique and it’s perfect for building up tonal values and enhancing colors.
After painting the stalk and the underside of the cap, I added some more intense red to the cap, but only in the places where the color should be darker.
Notice I didn’t blend out the edges of these new washes of color, instead I wanted to leave a nice sharp edge.
Now we need to let everything dry again. If you get impatient, you can always use a hair dryer to speed things up 🙂
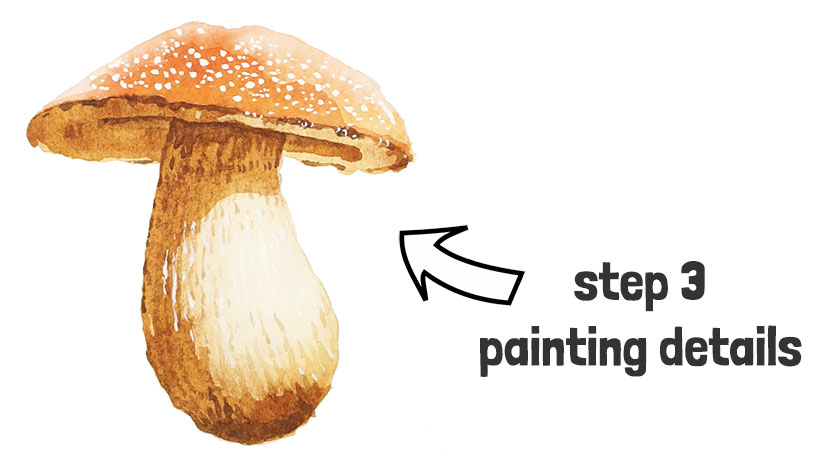
Step 3 – Adding some details
So… before adding the final details I removed the masking fluid for all the tiny white dots on the cap. I’m using a rubber cement pick up tool, but you can also just use an eraser.
I’m also swapping over to a small round brush for painting the intricate details.
This time I used a darker burnt umber paint color to add details around the edge of the cap, and to better define the moment where the stalk meets the underside of the mushroom.
The rest of the painting involves adding some fine textures to the stalk using a series of uneven vertical brush strokes. At the same time I kept in mind the direction of the light. Rather than painting the same vertical lines all over the stalk, I’m fading them out as they approach the highlight, so that the brighter part of the stalk is untouched.
Last but not least, I decided to put back some detailed highlights using white gouache. I probably should have done this with masking fluid in the beginning, but this was easier to pick up at the end of the painting process.
White gouache is very handy stuff!
Note: You can watch the video version of this lesson on my YouTube channel – just search for “watercoloraffair” on YT…
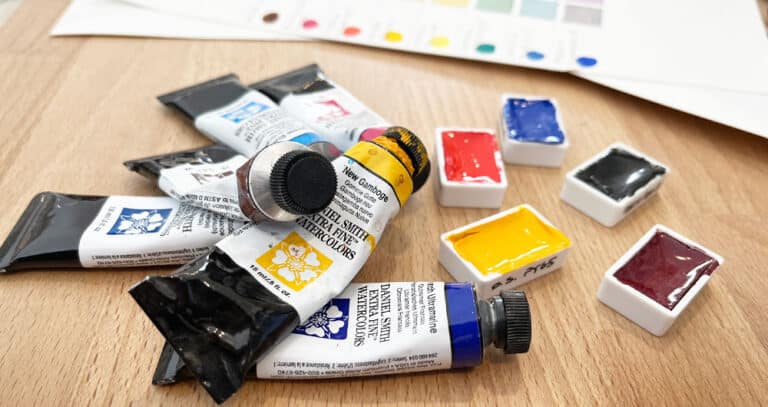
Other paints and supplies I used:
- Hansa Yellow Deep – Pigment number: PY65
- French ultramarine – Pigment number: PB29
- Burnt Sienna – Pigment number: PBr7
- Pyrrol scarlet – Pigment number: PR255
- Burnt umber – Pigment number: PBr71
- Gouache – Permanent White
- Schmincke masking fluid
- Light box (one of the best art purchases I’ve made)
Please note these are affiliate links
As always, let me know your comments below 🙂


Thank you for this lovely little tutorial. I intend to do it when I’ve finished my present project. I painted your jammy dodgers a while back for a birthday card which was well received. I love receiving your emails, thanks Anthony.
Thanks Pauline – good to know you’re having fun with your art!