Watercolor Oak Leaves (When to Use Wet-on-Wet or Wet-on-Dry)
In this lesson I’ll show you how to paint these oak leaves in watercolor in just a few simple steps.
This is another quick and easy watercolor painting, but it’s also a good example to explain when and how to use wet-on-wet vs wet-on-dry painting techniques.
Many of you are familiar with these two techniques, but here’s a quick reminder:
- Wet-on-wet means wet paint onto a wet surface
- Wet-on-dry refers to damp brush marks on a dry paper surface.
“Oak-ay” let’s get started!
Getting started
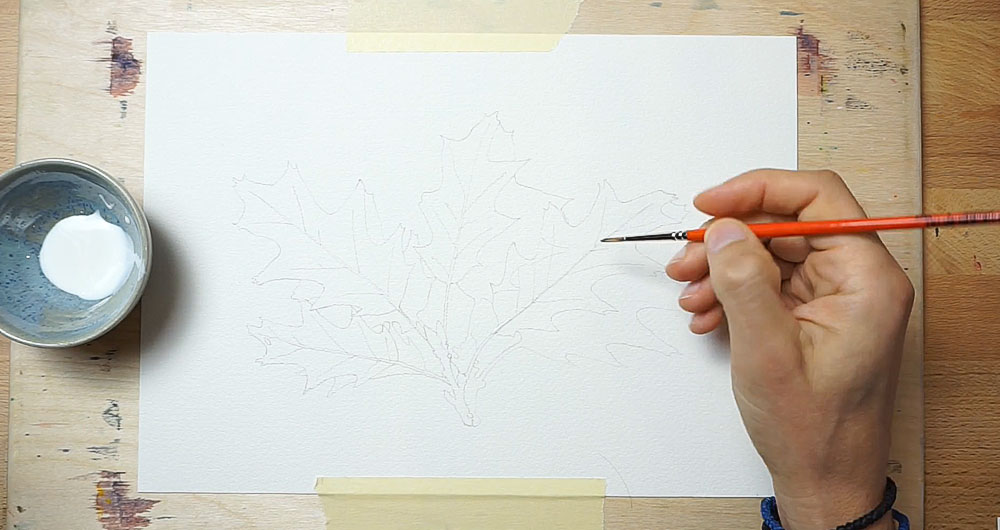
To get started trace or sketch the outline of some oak leaves onto a sheet of watercolor paper. An outline is all you need, but you might find it useful to include guidelines for the veins on each leaf.
There’s a ready made version of this sketch outline available on my Patreon site. And you’ll also find exclusive bonus material such as the full length video and all the reference material for completing this painting – you’ll find my full library of ad-free video tutorials, plus other exclusive bonuses that I only share with members of my Patreon channel. Follow the link to find out more…
When you’ve finished the sketch, tape the sheet onto a flat board. But before I started painting, I used masking fluid to paint over the veins in the middle of each leaf shape.
Protecting the paper like this lets me concentrate on painting the whole of each leaf, rather than having to paint around the delicate veins.
First Layer – Wet-on-Wet
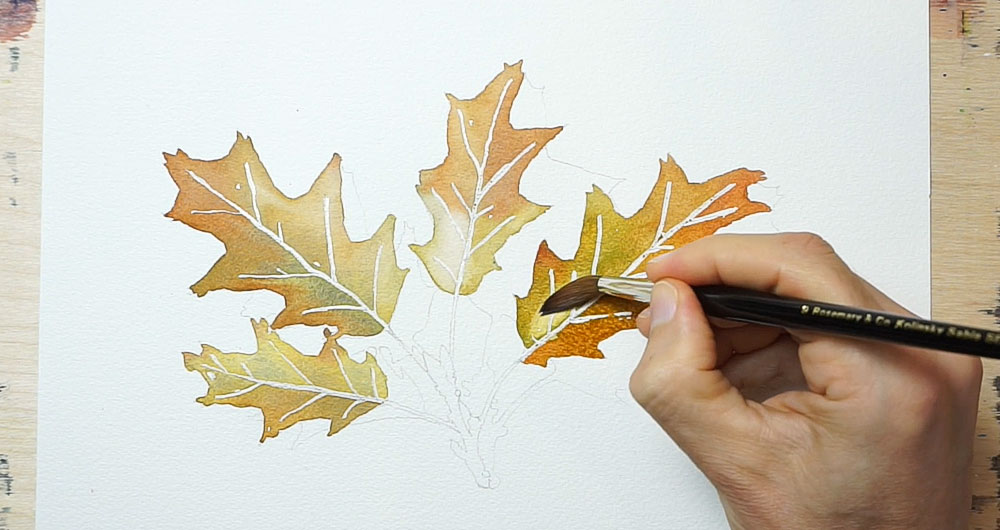
Next I’m going to paint each leaf shape using a variety of different colors. I want the paint colors to blend smoothly and seamlessly together, so a wet-on-wet approach is the best way to achieve this.
Now there are different ways to work with wet-on-wet.
You could pre-wet the paper for the shape you want to paint beforehand using clear water, then add paint into the damp surface. This method tends to give you more time to work and you have less risk that your brush strokes will dry and create hard edges.
But the leaf shapes I’m painting are quite small, so I decided to start on a dry surface to paint the individual leaves. I’ll work fast enough to keep the whole leaf shape damp and vary the colors while the paper remains moist.
Painting the leaves with an assortment of colors like this is also known as a variegated wash.
To do this you can see that I’m changing the paint color on my brush as I progress. The colors naturally blend and diffuse together on the paper using wet-on-wet.
When I finish each shape I can still continue to work the surface as long as the paper is moist. And in general you’ll see me do two things:
- I’ll lift paint from the surface using a rinsed and blotted brush. Lifting allows me to remove pigments and lighten the tonal value in the places that I want to be light in hue.
- Or I’ll charge-in some more paint to intensify the color and the tonal value in a few other places.
Once I’m happy with the distribution of color and the values, I move on to the next leaf shape and leave the paint to dry.
The end result of painting wet-on-wet like this provides a foundation of color for the leaves with a smoothly blended variety of hues.
This is a typical way of applying the first layer of paint in watercolors and is sometimes called an “underpainting”. Because watercolors are transparent, this underpainting will show through. Like this you create the basis upon which the rest of the painting is built up, layer by layer.
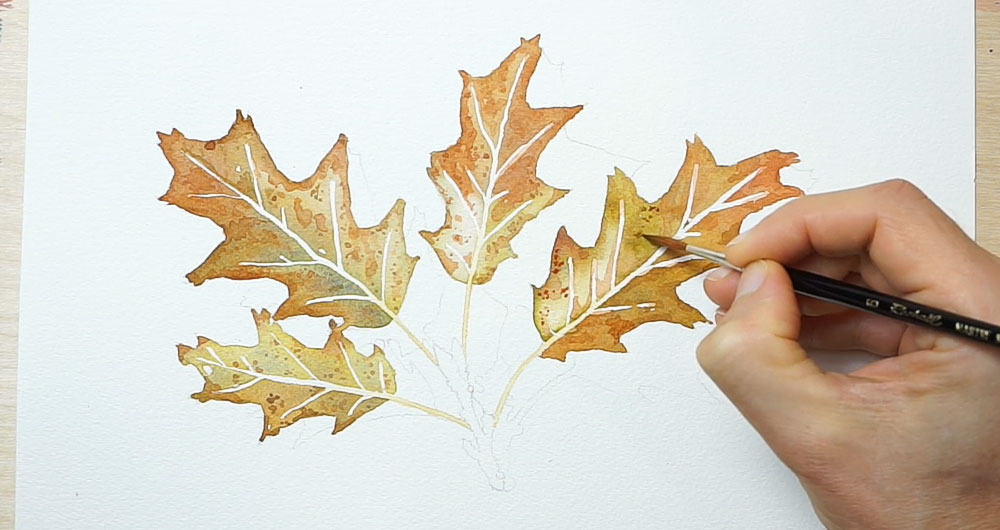
Second Layer – Wet-on-Dry
Make sure the paint is completely dry, then remove the masking fluid using something like a kneaded eraser, or a rubber cement pick up tool.
Now that the first foundation layer has been created using wet-on-wet, I’m going to apply the next layer using a wet-on-dry technique.
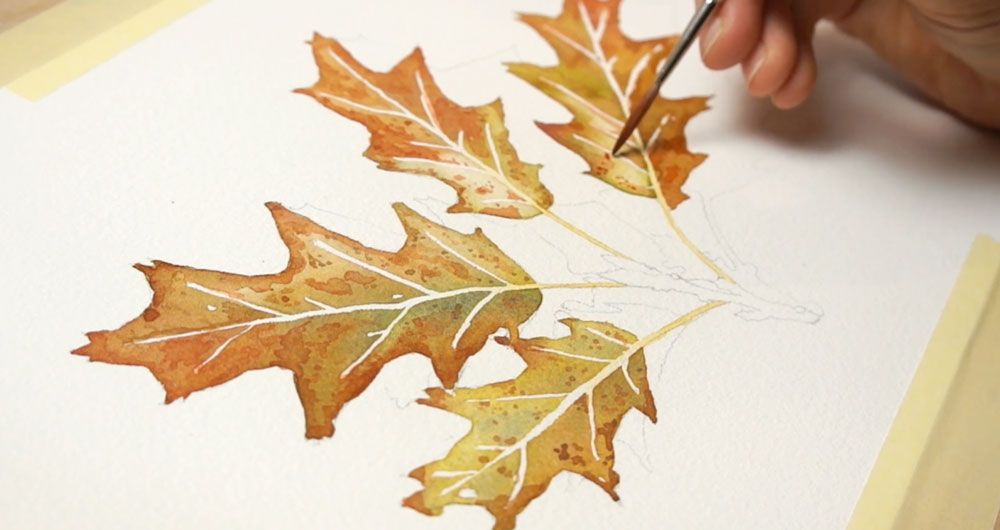
This new layer is where I start adding textures to the leaves. These are just random looking dots and irregular shapes using a fine tipped brush. The brush marks used to make this pattern of textures all have a distinct edge. I’m not blended out. The pattern of shapes have hard, crisp looking edges.
A wet-on-dry technique the best adapted for painting this way. Wet-on-dry is perfect for controlling edge detail. You can add brush marks a little at a time and build up intricate details gradually without worrying about the colors bleeding into one another. With wet-on-dry, you have more precision and control over the application of pigment because Unlike wet-on-wet, (where the paper must stay consistently wet), with the wet-on-dry technique you can allow the paper to dry between brushstrokes. This gives you more time to paint, without worrying so much about drying times.
The beauty of wet-on-dry also lies in the ability to layer colors and create depth.
This is essentially what watercolor artists call a “glazing technique”. I can add multiple glazes of transparent pigments to intensify certain areas or create subtle shifts in hue. This layering technique is especially effective for building up the rich, complex colors found in natural subjects like these leaves.
I’m using my reference image as a rough guide to paint these details. Mostly by adding details to the outer edges of the leaf shapes, and the spaces in between and along the veins of the leaves. Then I added some random dots of texture over the top.
Third Layer – Wet-on-Dry Glaze
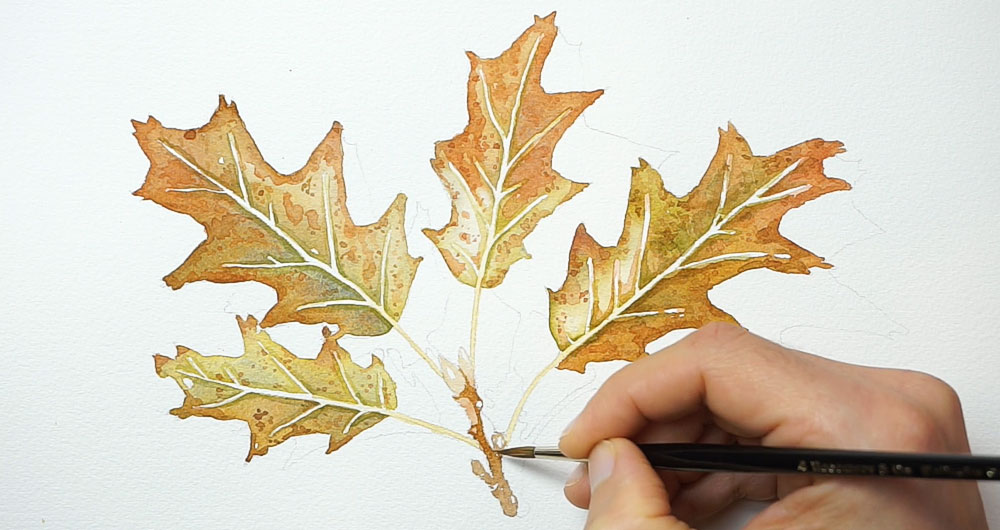
The final layer of paint for the leaves uses another wet-on-dry glazing technique.
All I did here was to increase the intensity of the color around the veins of the leaves.
Focusing on the veins adds more contrast and allows me to accentuate the natural structure of the foliage, making a more visually interesting texture. I was also trying to create a sense of three-dimensionality to the leaves.
I painted the stem using a similar approach. The first layer uses a variation of paint colors, allowing the pigments to merge and blend on the paper surface while the shape is still wet. Then I go over the top of the dry paint to add some finer details.
Remember, the transparent nature of watercolors allows the underlying layers to subtly influence the final appearance when painting with a glazing technique.
Notice also that the three layers of paint built up using wet-on-wet, then wet-on-dry techniques, naturally progress from big shapes to smaller details.
Final Step – Shading & Shadows
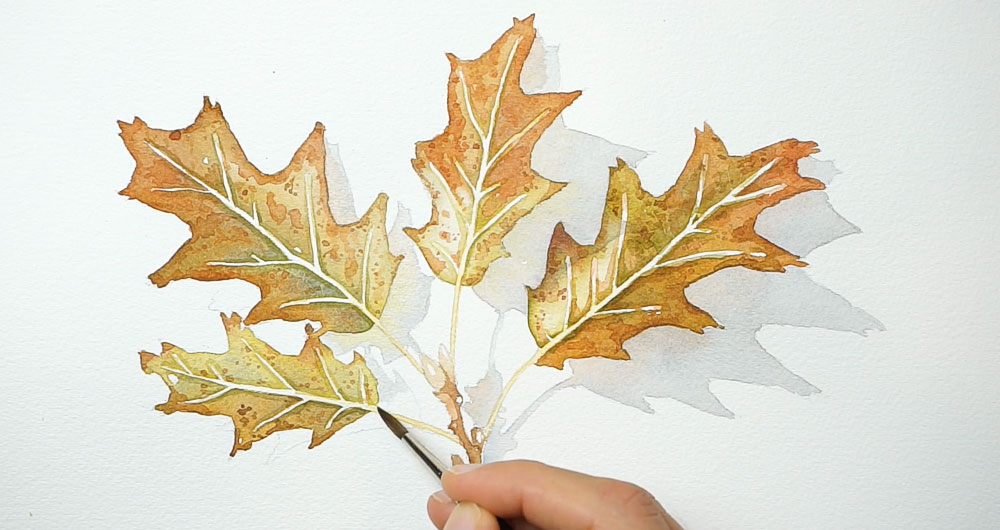
All that’s left to do now is add some shadows.
To paint the shadow shapes I used a similar method to the first wet-on-wet layer. I painted each shadow using a very diluted mix of Payne’s gray. But before the wash of paint had time to dry, I charged in some warmer brown and green pigments near the edges of the leaves. This creates a more natural looking appearance for the shadows – by coloring the shadows with a similar hue to the leaves, you can create an effect of bounced light, just as you tend to see in real life.
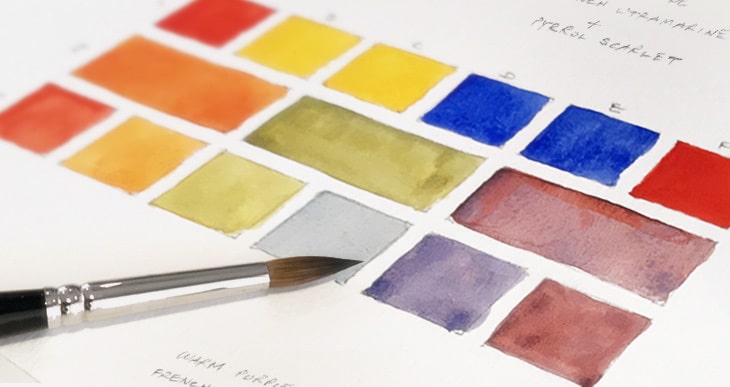
Some of the paint colors used in this painting:
(includes affiliate links)
- Hansa Yellow Deep – Pigment number: PY65
- Phthalo Green BS – Pigment number: PG7
- French ultramarine – Pigment number: PB29
- Pyrrol scarlet – Pigment number: PR255
- Burnt umber – Pigment number: PBr7
- Paynes gray – Pigment number: Pb29/PBk9