
Easy Watercolor Valentines (Jammie Dodgers!)
I painted this valentines card design in about 10 minutes and in 4 easy steps. And I’m going to show you how you can paint this too by following along with this tutorial.
In just 4 easy steps… (Did I already say that?)
Yes… 1, 2, 3, 4!
And in the end you’ll have a wonderful, original valentines card you can give to your sweetheart.
I know what it’s like as the 14th of february approaches, and you’re running out of time before valentines day…
But.. you’re struggling to find ideas of what to paint?
And then you get the fantastic idea of making a homemade valentines card 🙂
But if you don’t get this done in time… Well… you’ll come across as thoughtless or uninterested on Valentine’s Day.
…!
But it’s not too late.
Here I’m going to show you the exact steps needed to paint this valentine’s illustration in watercolor and get great results.
Watercolor Valentine Jammie Dodgers – Step by Step
So, first of all, the subject: who remembers Jammie Dodgers? I have to admit, I used to eat loads of these when I was a kid.
And nowadays they have a cute little heart shape of jam in the center. Just the right kind of symbol for offering to your beloved 🙂
Let’s have a closer look at the steps involved in this painting.
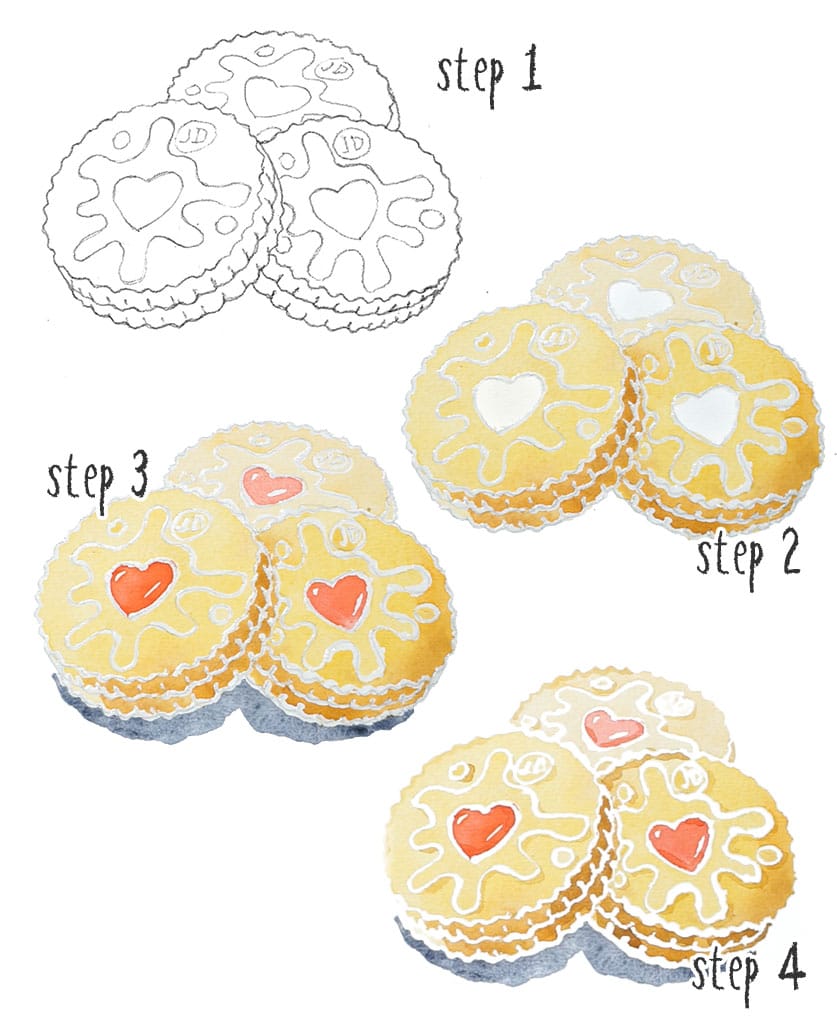
Step 1: Preparation (sketching and masking)
This is where I show you how to sketch the outline onto a sheet of watercolor paper, and then apply masking fluid for an interesting illustrative effect.
Next, Step 2: The base layer.
This first layer of color is called the underpainting.
Step 3: Adding volume.
Here you’ll use what’s known as a “glazing technique” to create more depth and volume.
And finally, step 4:
Adding a few finishing touches and removing the masking fluid.
Voila!
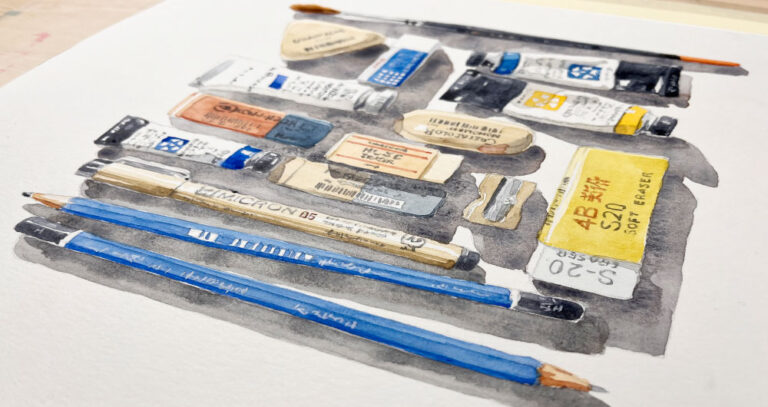
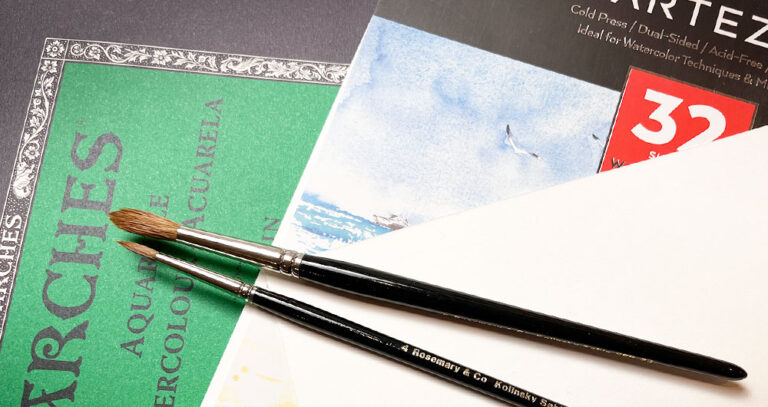
Materials
Before we jump in, here are the materials you’ll need:
- A flat board if you have one.
- Some watercolor paper.
- Two round brushes, one small and one large.
- Some liquid masking.
- Something to apply the masking fluid (I used a bamboo quill pen, but you can use a small synthetic brush instead).
- And a handful of watercolor paints.
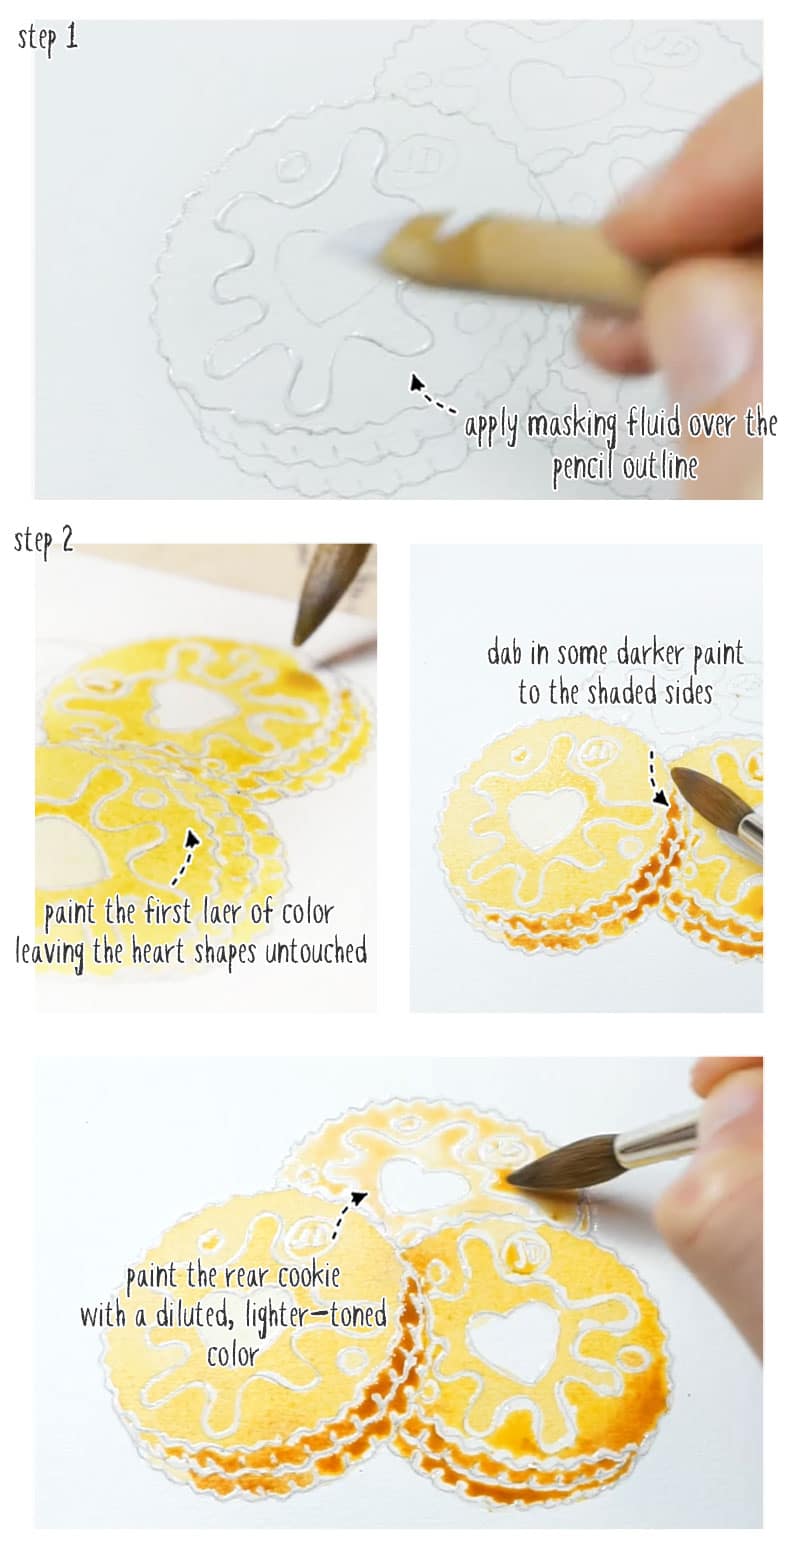
Step 1
Begin by transferring the drawing onto a sheet of watercolor paper. My favorite method is to use an LED light pad. This saves a huge amount of time, and you can trace a clean pencil outline in one go, without any erasing, (which potentially degrades the surface of the paper).
Try this painting for yourself ! Click the button below to download the worksheet for this painting.
Next apply masking fluid to the whole of the outline. You need to keep dipping the pen nib into the masking fluid, then drawing over the pencil outline.
Leave the fluid to dry completely before moving on.
Step 2
Now you can paint the first layer of watercolor. This is a mix of warm yellow and brown (such as burnt umber).
Remember to leave the heart shapes in the middle of the cookies unpainted… Oops…
Well if you make a mistake like me, just blot up the paint before it dries!
Paint the whole of the shapes for the front two cookies. Leave the one in the back untouched… We’ll do something different here later on!
Before the paint has time to dry, dab in some stronger brown colored paint. Do this on the sides of the cookies that are in shade. Dabbing in paint to a damp surface like this is a wet-on-wet watercolor technique known as “charging-in”.
Now turn your attention to the last cookie at the back.
Mix some more water into your puddle of paint so you end up with a lighter, more diluted color.
By giving the cookie at the back a lighter valued appearance you help create depth, and give the idea that this object is further away.
Now wait for the first layer to dry. If you get bored watching paint dry, you can always speed up the process using a hairdryer!
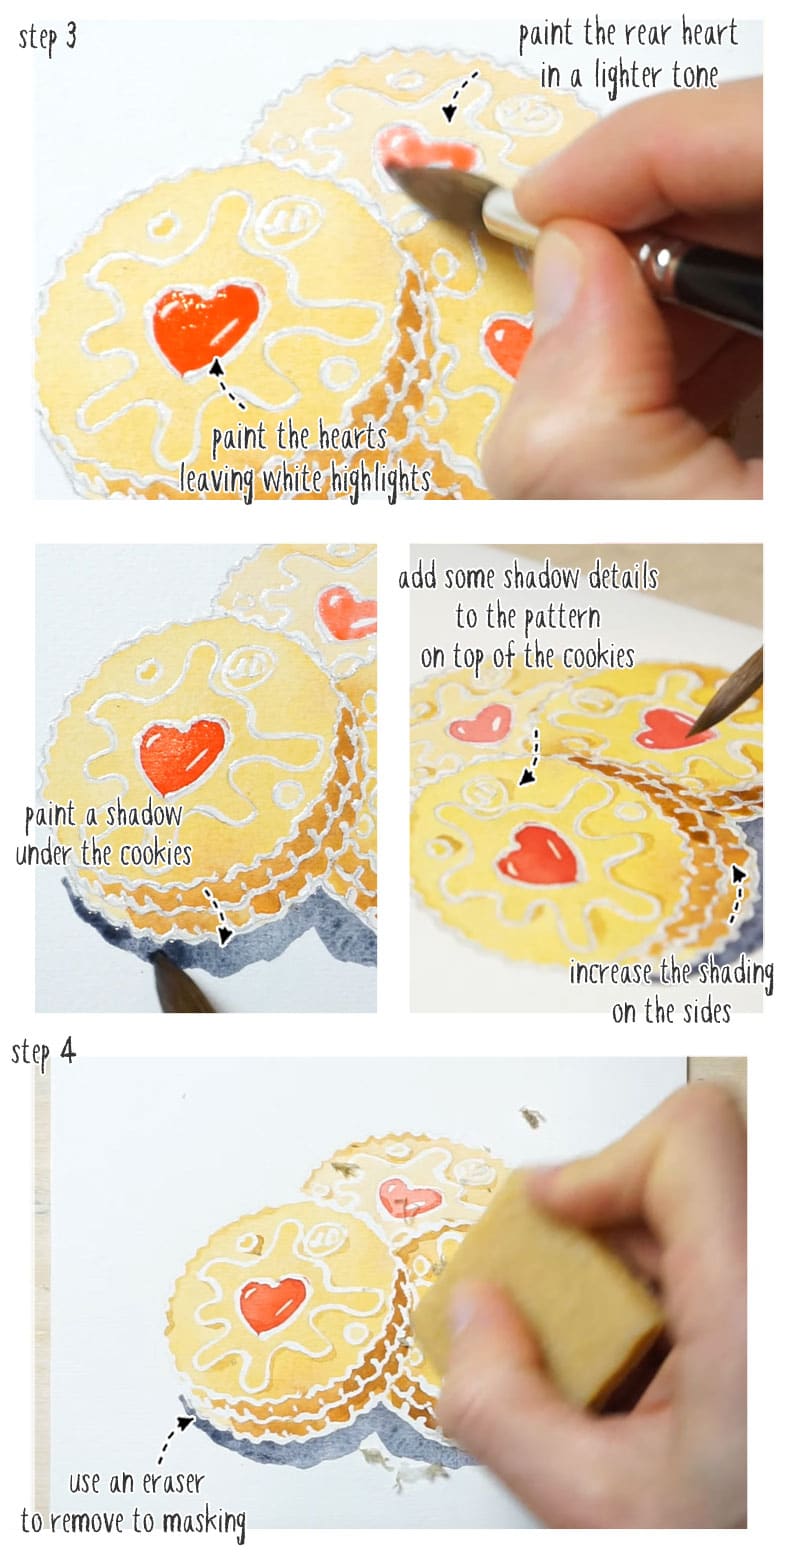
Step 3
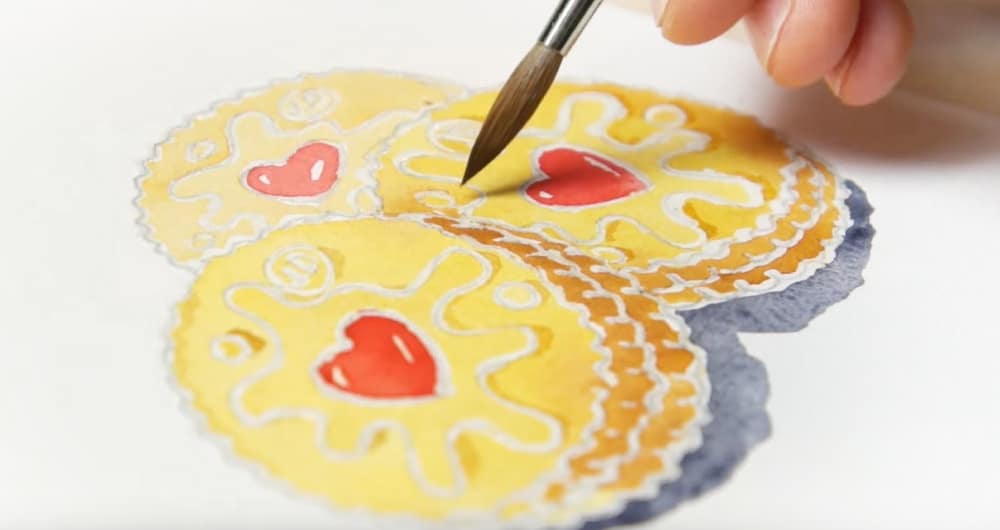
Paint the hearts in the center of the jammie dodgers. Leave some small white highlights to create bright reflections. Again, when it comes to the heart shape at the back, dilute your paint and use a lighter colored mixture.
Add a gray shadow shape underneath the cookies. This will help ground the objects and give a slightly three-dimensional effect.
Next I used a small brush and a mixture of brown paint to add shadow details to the pattern on top of each cookie. Then I added another layer of color to the sides of the cookies, to increase the shading.
Step 4
Add a few final details such as shading around the edge of the cookies and a few red brush strokes on the hearts, to give them some depth.
Lastly, you can now remove the dried masking fluid. The best tools for this are a rubber cement pickup tool like this, or just a kneaded eraser.
Doing this will also remove the pencil lines of the original sketch, leaving just the white paper showing through.
Now you’re finished!
And you just saved yourself a lot of trouble on valentine’s day!
Give yourself a round of applause!
Now go check out this other tutorial where I’ll show you how to paint a watercolor still life in just 4 easy steps!


Does your bamboo nib pick up and deliver extra masking fluid like it would ink?
Hi Linda
It’s not quite the same as a dip pen. It doesn’t flow as well. You have to keep “dipping” frequently. An alternative would be an actual dip pen like the ones used for writing, or a synthetic brush – they have harder springy bristles which are good for this kind of application 🙂
Cheers