Scary Cat Eyes in Watercolor – Something’s Watching You 👀
Hi everybody, welcome to another watercolor lesson, and today I’m going to show you how to paint these scary cat’s eyes that look like they’re watching you from the dark!
Eyes can feel a bit intimidating to paint. There’s a lot going on in a very small shape, with the colors in the iris, the reflections and the highlights. But if you build up the watercolor one thin layer at a time, the eyes start to develop a more convincing sense of depth.
In this lesson I’ll show you how to paint them step by step, one layer at a time.
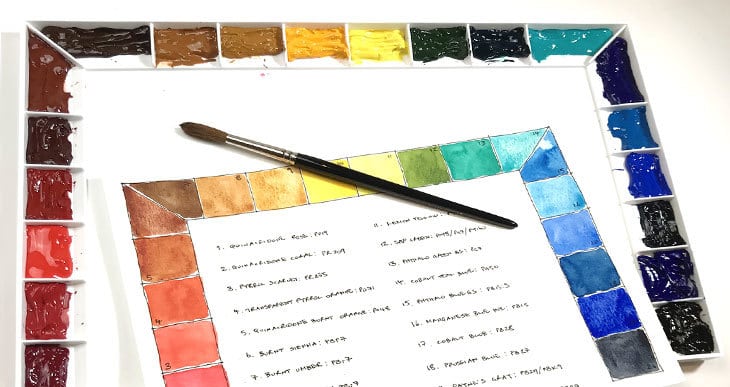
For reference here’s a list of all the colors used in this painting (Please note, these are affiliate links):
- Hansa Yellow Deep – Pigment number: PY65
- Lemon yellow – Pigment number: PY175
- Phthalo Green BS – Pigment number: PG7
- Cobalt Teal Blue – Pigment number: PG50
- Paynes gray – Pigment number: Pb29/PBk9
Halloween Scary Cat Eyes Painting
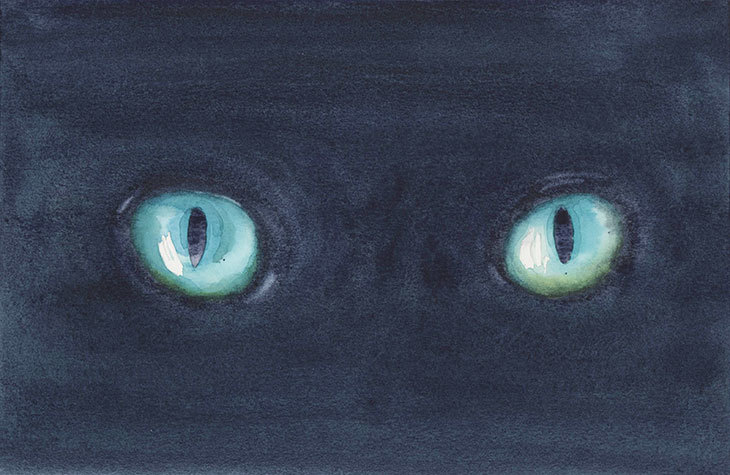
Try this painting for yourself ! Click the button below to download the worksheet for this painting.
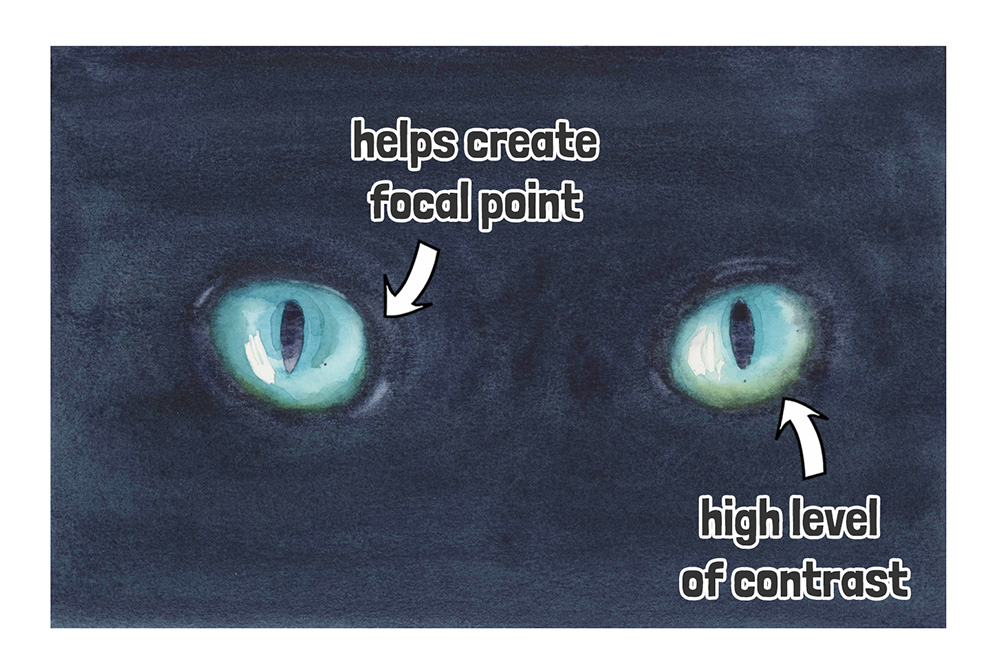
I chose to use a black cat for the subject of this painting because the dark background gives us lots of contrast around the eyes. Your eye is naturally drawn to the place where the lightest and darkest values meet, so the bright eyes against the dark gray become the focal point straight away. So that contrast is a big part of what makes them look like they’re staring back at you!
Using contrast is a useful trick to keep in mind whenever you want one part of a painting to stand out.
Start by transferring the drawing of the eyes onto watercolor paper and tape down your sheet onto a flat board.
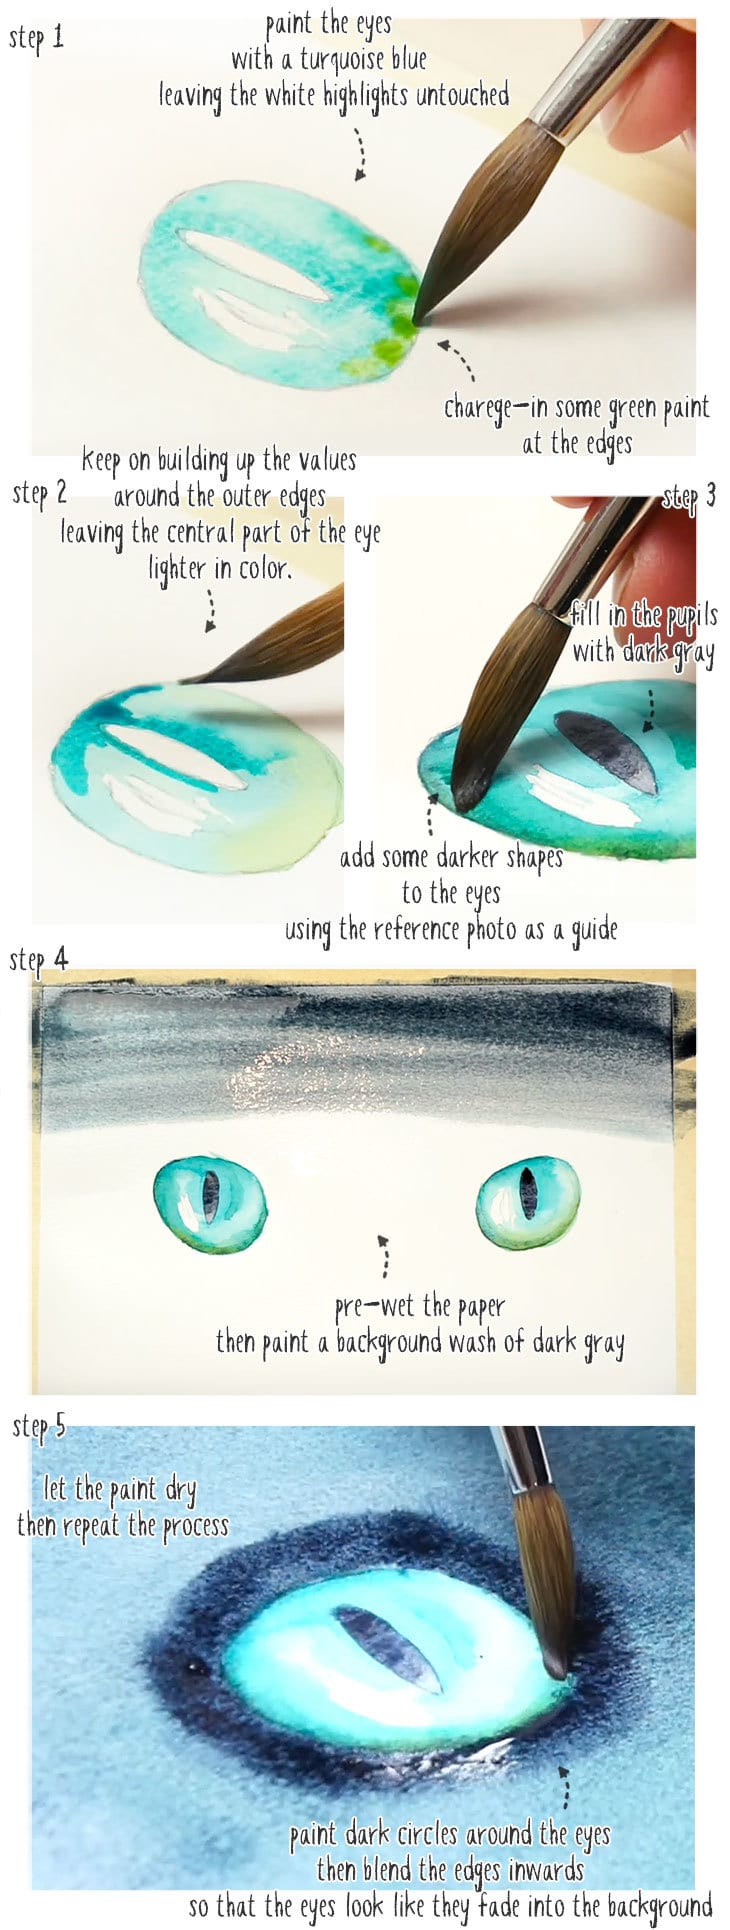
I started by painting the cats eyes with a diluted turquoise blue color, being careful not to paint the white highlights of the eyes.
Tips & Tricks: Leaving the paper untouched like this is called “reserving whites”.
Charge in a slightly stronger mix of paint into the iris around the pupil and at the base of the eye. Next I dropped in some green color at the base of the iris while the first wash was damp. The iris has a lot of color variation so using a charging-in technique like this is a good way to get diffused variations in color.
Do the same thing for the left hand eye, then leave both of them to dry completely before you move on.
If you look at the reference photo you’ll see that the outer edges of the eye and the area around the iris tend to be darker in color. To reproduce this effect, add a stronger turquoise color to these areas of the painting and then blend out the edges.
Do the same with a darker green color at the bottom of the eyes. Repeat the process for both eyes then fill in both of the irises with a dark toned gray.
Continue to darken the bottom of the eyes, this time using a green color, then fill in both of the pupils with using some dark gray paint.
Keep on building up the values around the outer edges leaving the central part of the eye lighter in color. You can also add some darker shapes without blending the edges. Try to use the reference photo to help you judge the darker shapes on the cat’s eyes.
Because watercolors are transparent you end up with layers of complex textures which help make the eye look more convincing. Notice also that the values get darker as you paint one layer on top of another. Painting layers of transparent watercolors like this is a technique known as “glazing”.
Now that the eyes are finished I’m going to paint the background using the same technique as the jack o’lanterns. Begin by pre-wetting the background with clear water, leaving the eye shapes untouched, then mix up a fairly strong puddle of Payne’s gray paint. Cover the whole of the background with an even wash of gray.
While the first background wash is still wet I charged in some more pigment to intensify the color. I used a mixture of Payne’s gray plus Phthalo green to produce a slight green hue which harmonizes with the green of the cat’s eyes.
When you’re happy with the background, leave the paint to dry completely.
The paint dries lighter in color compared to when it’s wet. To darken the value of the background we can repeat the same process, wetting the background with clean water then painting into the background with a dark mixture of Payne’s gray.
This time I started by painting a dark circle around the eyes. Then while the paint is still wet I blended the edges inwards towards the eye shapes so that the eyes look more like they blend gradually into the background.
Now you can add wash of dark gray to the rest of the surface.
So long as the surface remains damp you can keep working the background shape, adding darker paint until you’re happy with the intensity and value of your painting. This wet-on-wet technique helps to disperse the pigments across the surface of the paper, but nevertheless you should try to use even brush strokes to spread the paint uniformly and avoid unwanted brush marks as the paint dries.
Leave the painting to dry again. As a final touch I used a lifting technique to put back some lighter highlights around the eyes.
And there you go !
Happy painting, and I’ll see you in another lesson.
(P.S. If you missed any of the other lessons in this Halloween painting series, and you’d like to follow along with the full series, you can sign up here!)