
Watercolor Brush Control: Why Your Brush Doesn’t Do What You Want
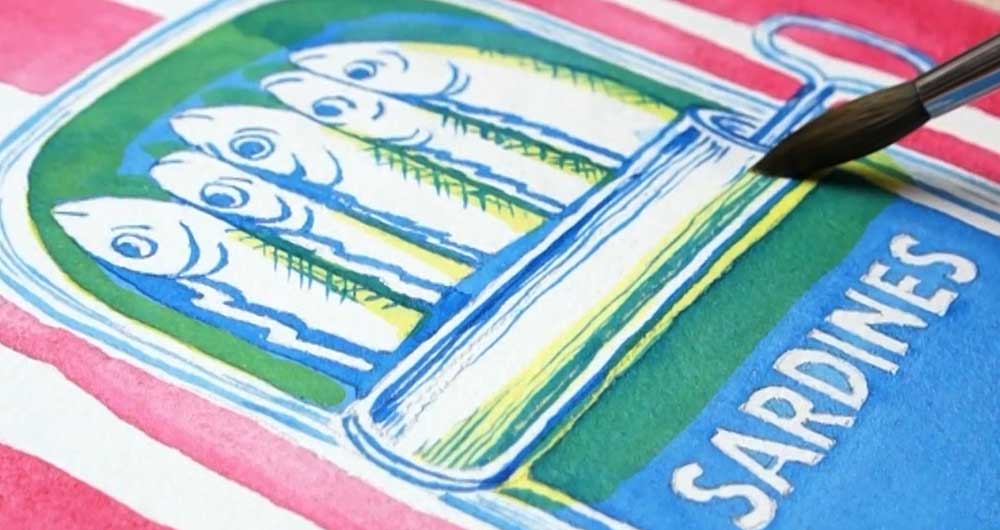
Have you ever gone to paint a brush mark… and what ended up on the paper looked nothing like what you intended?
Maybe you tried to paint a thin line, and it came out way too thick. Maybe the paint spread into places you didn’t want it to. Or you started painting a large area, only to have your brush run dry halfway through.
I used to look at my paintings and feel like I had no control over my brush… until I started observing what was going on at the tip of my brush. Because once you understand what’s happening inside the brush, these problems become a lot easier to control.
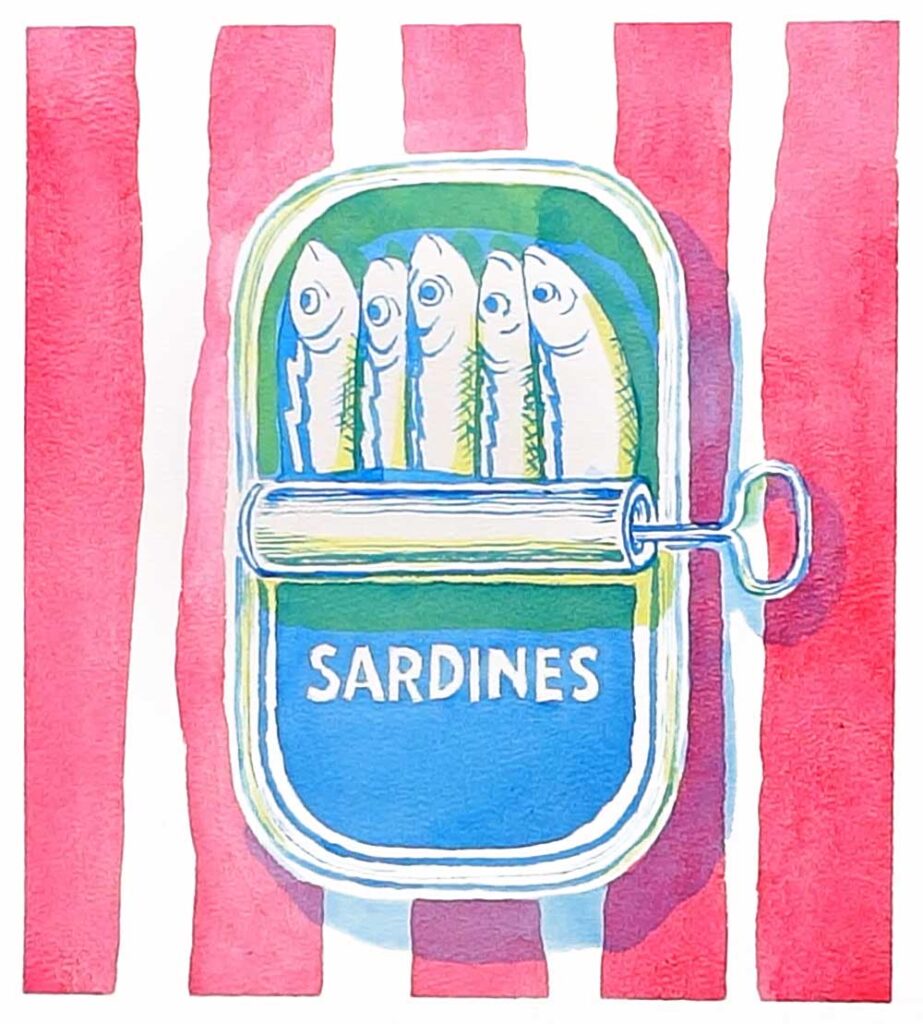
In this article I’ll show you how the amount of water and paint inside your brush, and the type of brush you’re using, actually changes what that brush can do.
Once you understand this, you’ll be able to look at your brush before it even touches the paper and have a much better idea of what kind of mark it’s going to make. And if it’s not the mark you want, you’ll know what to change to fix it.
Is brush control about having a steady hand?
When the brush doesn’t do what you want, most of us assume we need a better brush, or that we just don’t have a steady enough hand. Which would be bad news for me, because my hands haven’t got any steadier in twenty years of painting 🙂
It’s usually neither. What changes the mark is the amount of water and paint sitting inside the brush, and the size of the brush you picked up. Both of those are things you can see and adjust before the brush ever touches the paper.
What is a watercolor brush’s ‘reservoir’?
Okay, so brush control starts with the ‘type’ of brush that you choose. For example, throughout this painting I’m using natural hair sable brushes.
Natural hair holds more water than synthetic (even the synthetics made specially for watercolor). The water-holding capacity of a brush is sometimes called the ‘reservoir’. And the size of that reservoir changes two things:
- the flow of paint onto the paper
- the shape of the brush head while you’re working
Let me explain…
What happens when the brush is fully loaded with paint?
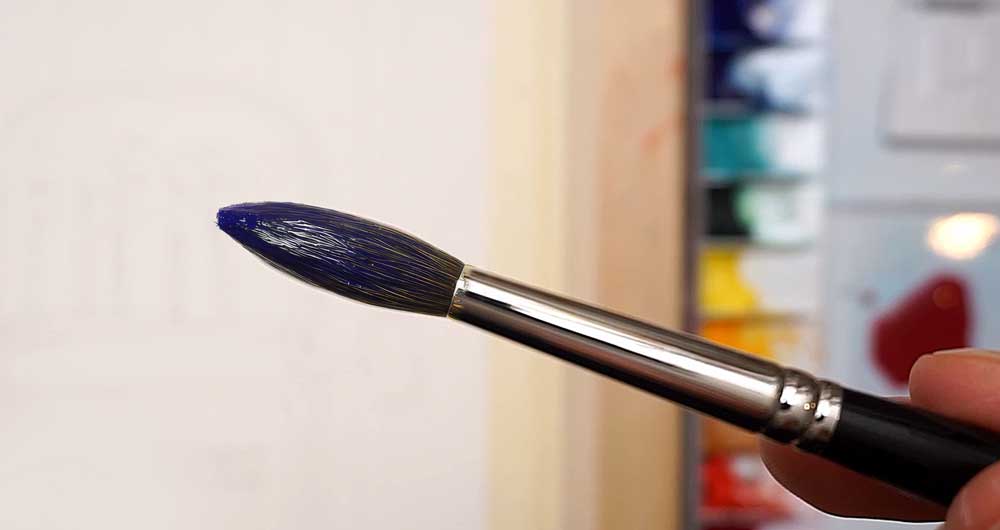
Here’s my sable brush fully loaded. You can see the belly bulging out and the tip has gone rounded. This happens because the hairs are held apart by the water sitting between them.
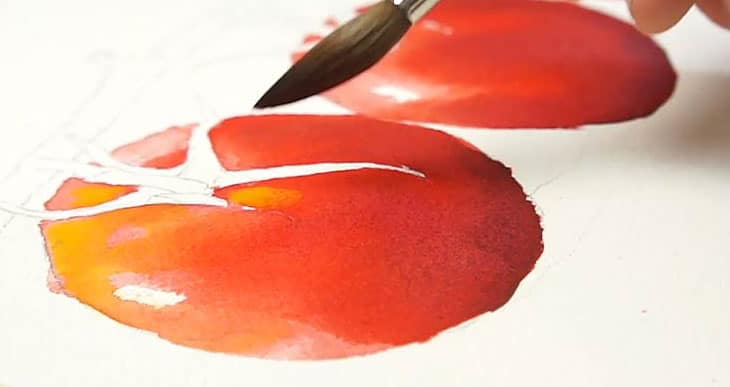
And watch what happens when it touches the paper… a lot of the paint comes off quickly in a blob.
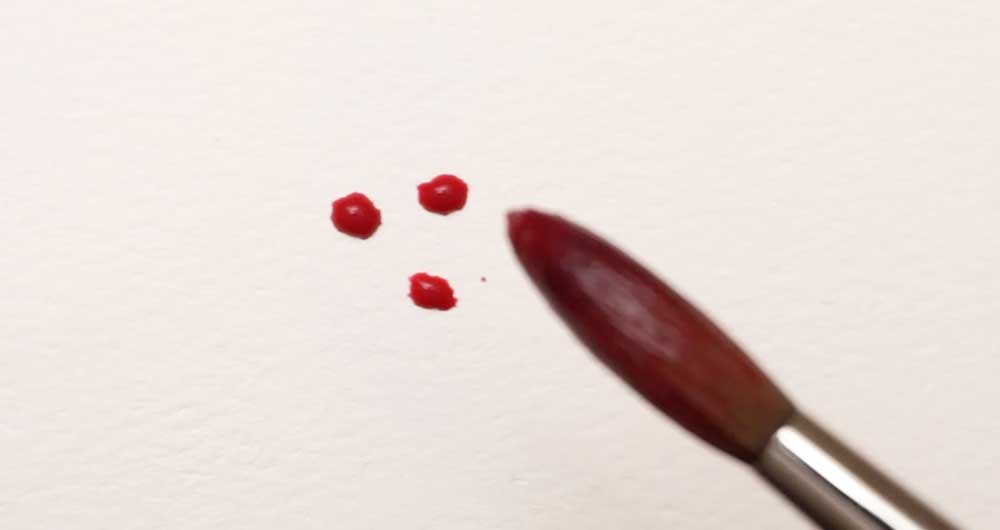
That quick and slightly uncontrolled release of paint is exactly what you want for painting bigger shapes. The brush provides a generous flow of paint, so I can cover a large area without stopping to reload.
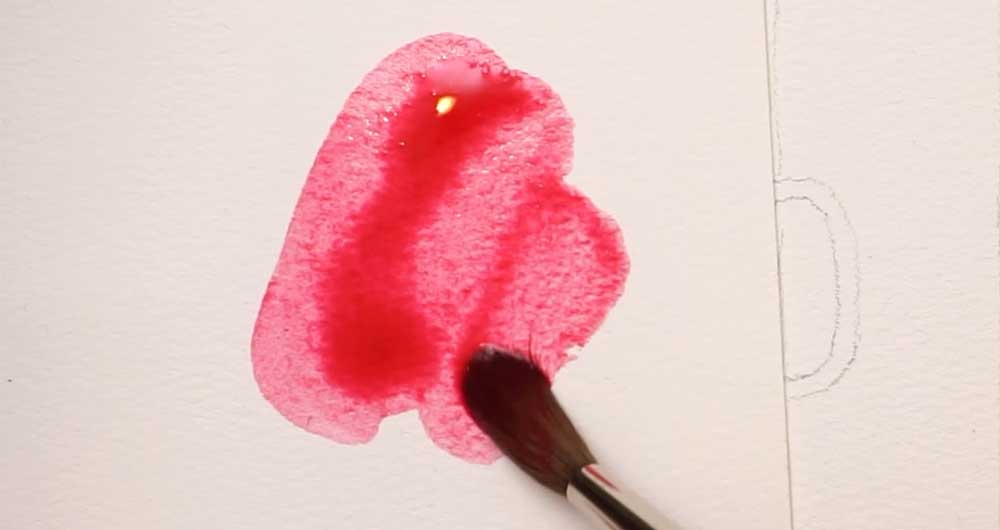
But this is not what you want if you need precise control!
How do I get a thin line instead of a thick one?
Now take a look at the same loaded brush, but this time I blot it on a cloth first to remove some of the moisture. Look at the tip.
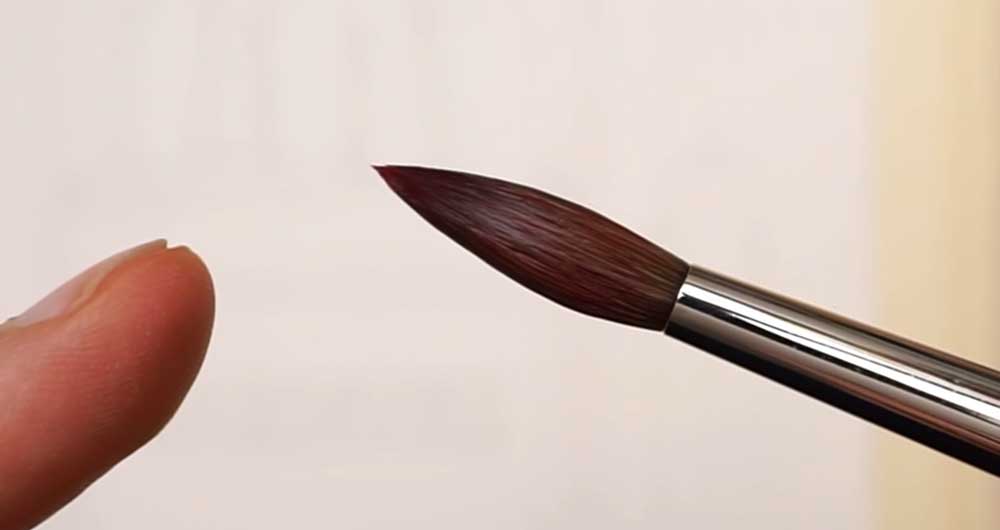
With less moisture the hairs come back together and the brush has a nice pointed tip. Now the paint releases slowly enough that I can put down a tiny dot, or paint a thin line, without it spreading uncontrollably.
Same brush – but two completely different effects! The only thing that changed is the brush’s ‘load’.
What size brush should I use for watercolor?
Another thing to keep in mind, which sometimes still catches people out, is the ‘size’ of the brush you choose.
For example, in this painting I’m using a large sable brush for the bigger shapes, and I switch to a small round for the details and fine lines. I try to use as big a brush as possible most of the time, so I can get a good flow of paint spreading across the paper, and only switch to a small brush for the small details.
I could try to paint those fine lines with the large brush… or paint the big shapes with a small one, but I’d probably struggle to get the brush to do what I want (and I know this because I’ve tried it, more than once 🙂).
Why does my brush stop behaving halfway through a painting?
Ok so knowing all this is one thing, but the tricky part is that the load in your brush is changing all the time. It reduces from the moment the hairs touch the paper. So it isn’t a decision you make once at the start – it’s something you need to manage the whole way through a painting.
And until it becomes second nature, if you stop paying attention to it, you’re straight back to funny brushmarks you didn’t really intend to make!
So here are some of the things I actually do while I’m painting.
Let the brush unload itself
Watch what happens as I paint this first red stripe. I started with a full brush and a rounded tip, but by the time I reach the end of the shape enough paint has released onto the paper that the tip has come back to a point on its own.
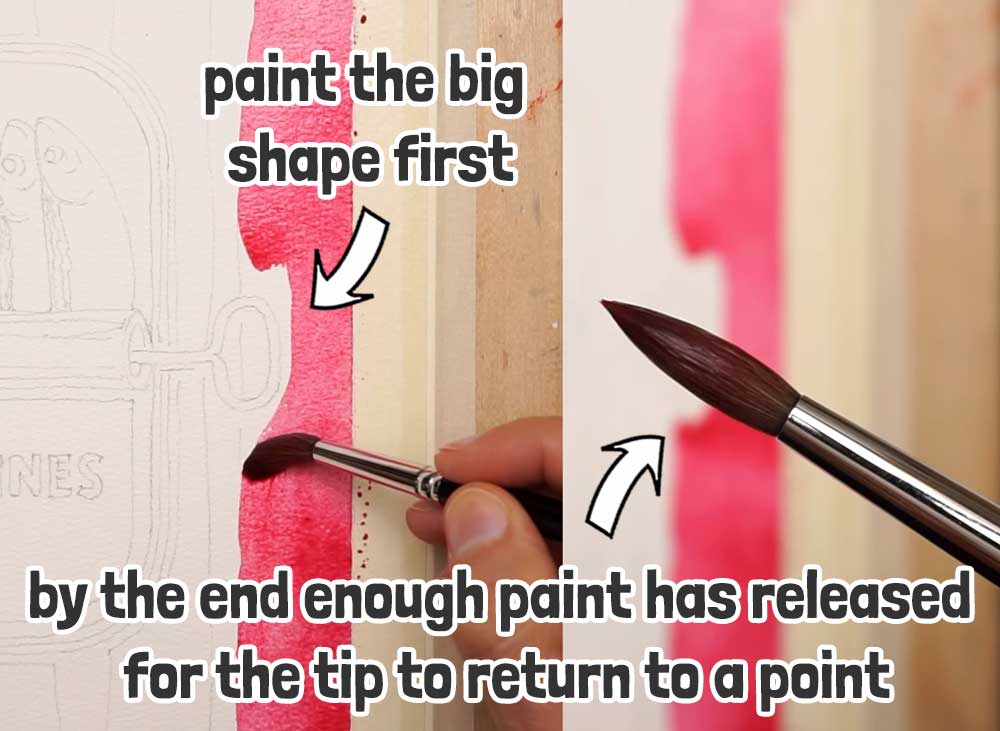
That’s really useful, because the fiddly bits and small shapes need more controlled brushwork. So in general, I fill in the big areas first while the brush is flowing with paint, and by the time I get to the awkward edges like the ones you see here, the brush has turned itself into a ‘detail’ brush. No blotting needed. I just paint the shape in the right order.
How do I control how much water is on my brush?
When you do need to actually change the moisture in your brush, you’ve got a few different options – and they’re all pretty quick.
A cloth or paper towel
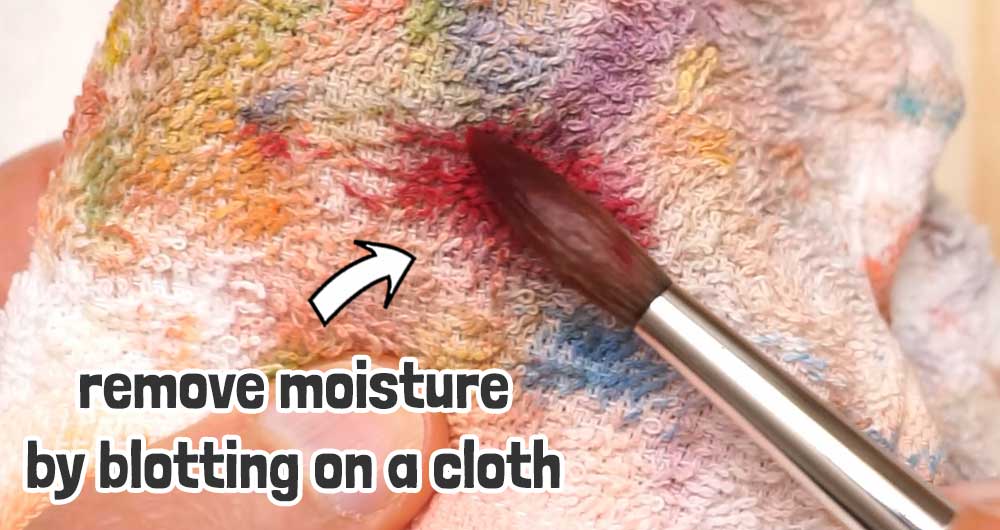
A cloth or paper towel is the obvious choice. By wiping the brush on it, you can progressively remove moisture from the brush until it has the amount of water you need – even completely dry if that’s what you want.
I always keep an absorbent cloth like this handy, for controlling the brush’s moisture level during a painting session.
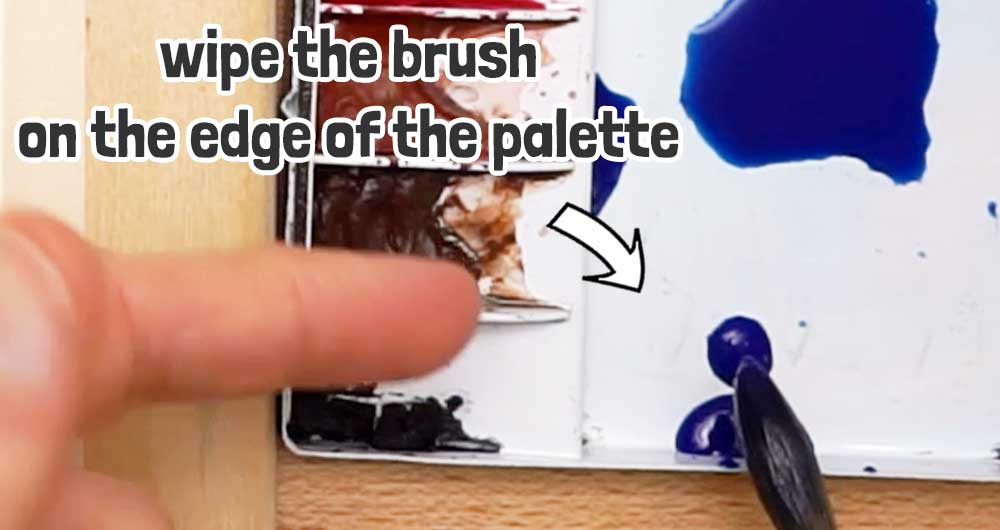
The edge of the palette
Wiping the tip of your brush on the edge of the palette takes out a little less moisture than a cloth, but this is a useful habit to develop because your brush is already in position after you pick up paint. It’s a quick little gesture that soon becomes second nature.
A scrap of paper
And a scrap of paper next to your painting can do both jobs at once. It takes a little moisture out of the brush, while also letting you see exactly what kind of mark the brush is going to make before you put it on your painting.
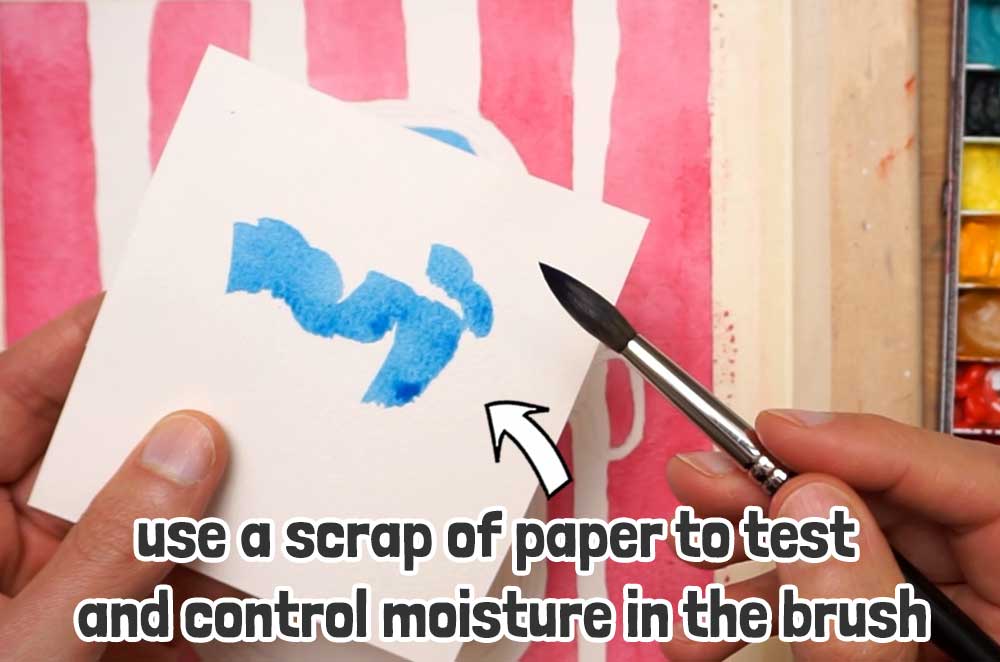
Whenever I pick up fresh paint and I’m not sure what the brush is going to do, I put down a mark on the scrap paper first.
I often use bits of spare paper this way – for example, for testing a color mixture, or to check what my brush is going to do before I commit the mark to the painting. Particularly when I’m working on a more intricate part of the painting.
Any of these brush control methods will do the job. It’s worth trying all three and settling on whichever fits the way you like to paint – because you’ll probably end up doing it every couple of minutes 🙂
Why does my brush run out of paint halfway through a wash?
Now, I mentioned earlier that natural hair holds more water than synthetic, so I’d like to show you what that actually looks like.
Here are two round brushes of a very similar size. A natural-hair sable brush, and a synthetic designed for use with watercolors.
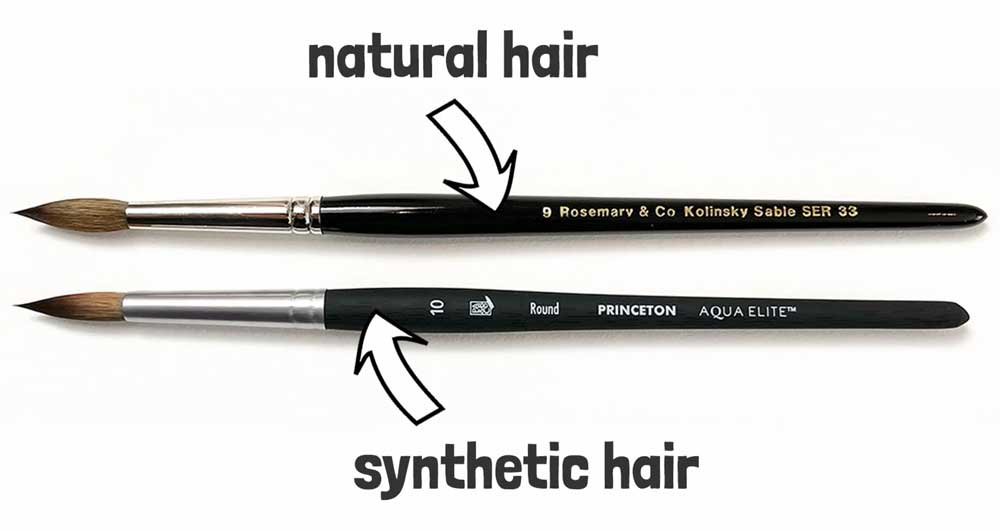
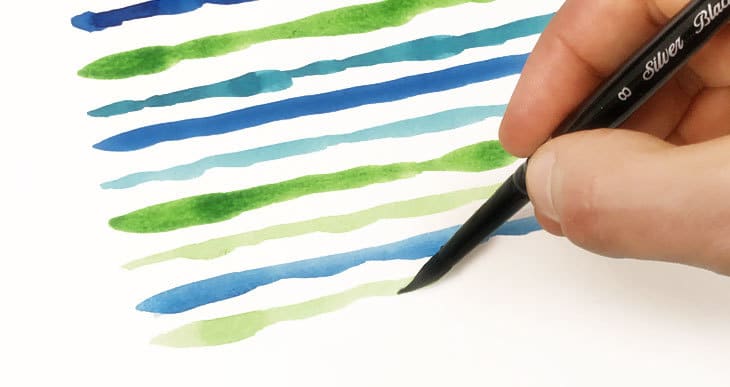
I soaked both of them in the same paint until they were fully loaded, then painted a continuous stroke with each one without going back to the palette. And you can see the difference straight away. The natural hair brush keeps going for noticeably longer before it runs dry. The synthetic runs out of moisture first.
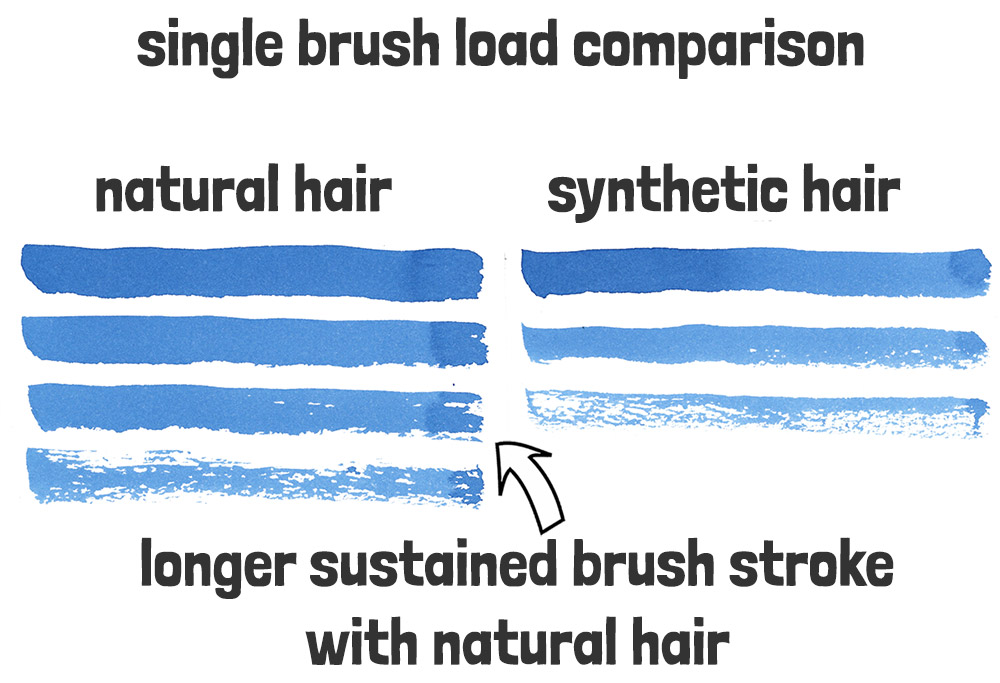
The reason is that natural hairs have microscopic scales on the surface, and water gets trapped in the spaces between them. Nylon is smooth by comparison, so there’s less for the water to hold onto.
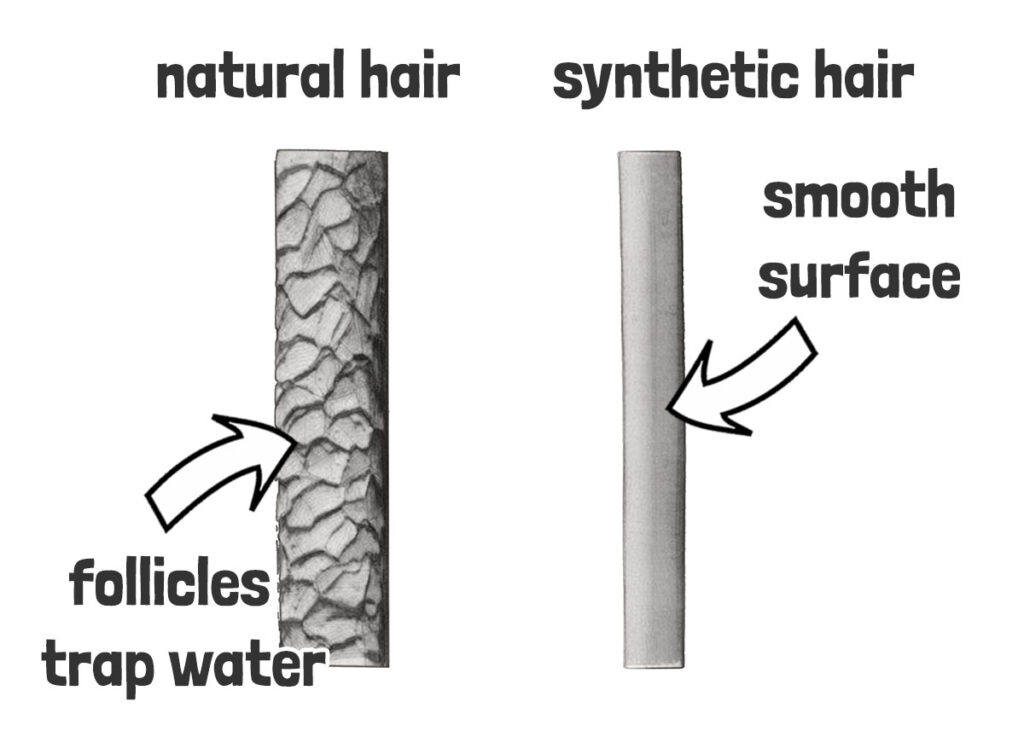
(Manufacturers have gotten much better at this, by the way. The newer synthetics are etched or textured to mimic those scales, and they hold a lot more moisture than they used to. They’re just not quite as good as natural hair)
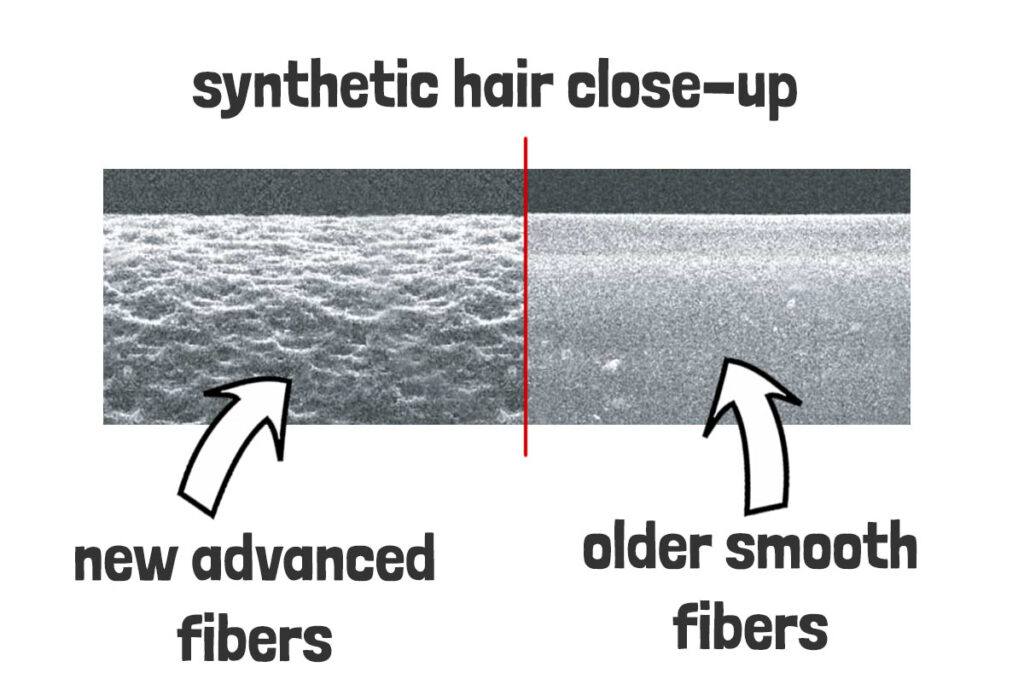
So if you’re painting with synthetics, everything we’ve talked about still applies. You’ll just be reloading your brush more often because there’s less in the reservoir to start with!
How do I practice brush control?
The tricky thing with brush control is that you can ‘understand’ it perfectly well and still find it hard to actually do on the paper. That part only comes from repetition.
So if you’d like to practice your brush control properly, you could try painting this little composition of a tin of sardines with me…
It includes both broad shapes and very fine lines, but no complicated color mixing or other techniques to think about, so you can concentrate on the brush. It’s part of my ‘purposeful painting’ series over on Patreon, where each lesson focuses on one specific skill to help you improve one step at a time.
If you want to give it a go you’ll find the link below.
The short version
And that’s really all brush control is. You don’t need a particularly steady hand, or an expensive brush… It’s more about just paying attention to the state of the brush before each mark (which is usually a little better than finding out afterwards).
It’s true, it does take a bit of practice before you stop having to think about it. But it’s one of the quickest things to improve, because every single brushmark you make is another bit of practice 🙂

Thank you for this thorough explanation. I will buy at least one expensive brush, most likely a larger one for large coverage.
👍