
Valentine Painting Ideas (Easy Step by Step Tutorials!)
It’s that time of year again!
And what better way to express your affection for your loved one than by creating a personalized Valentine’s painting for them?
In this article, I’ll show you a few different creative approaches to crafting Valentine-themed paintings. And this assortment of painting ideas features various techniques that can serve as inspiration for other paintings!
Let your imagination flow 🙂
Valentines Painting Ideas for Beginners
I’m going to show you a collection of watercolor techniques for creating valentine’s paintings. You’ll be able to see the step by step process I used so that you can easily reproduce them for yourself.
It’s possible that as you go through these paintings, the various techniques will inspire other creative ideas! Feel free to expand on these suggestions and come up with your own unique creations 🙂
And above all, have fun!
Getting started
I wanted to paint these in the form of valentine’s cards. To do this I simply cut down a standard 12×9 inch sheet of watercolor paper, and folded it in the middle.
Remove a 3 inch band of paper along one side, so you end up with a sheet that’s 12×6 inches. Then score a line down the center of the sheet to help fold the paper in half. I also used the flat edge of the ruler to firmly press the fold down.
Simply tape the “card” onto a board to help keep it flat during the painting process, and you’re ready to go!
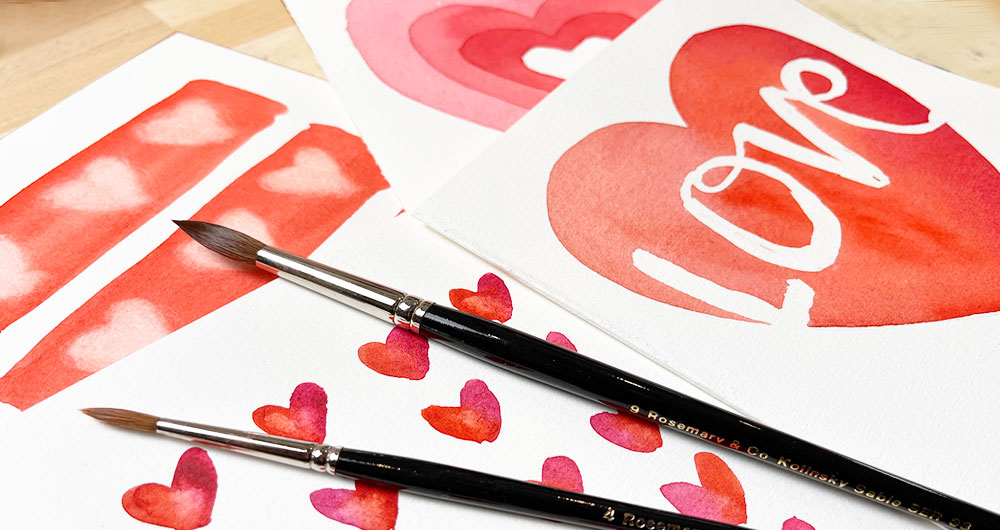
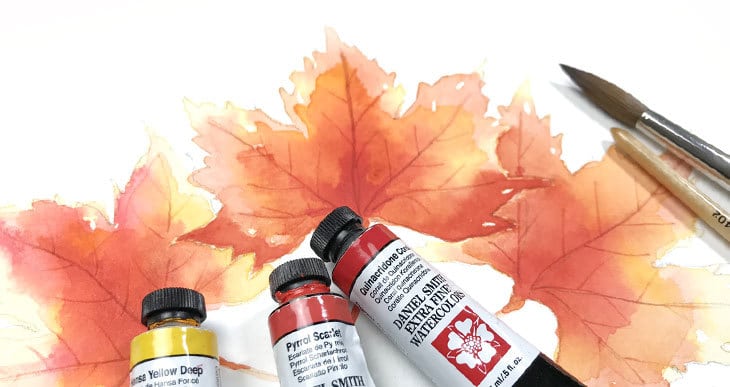
The colors I used for this project were as follows (Affiliate links) :
- Quinacridone rose – Pigment number: PV19
- Pyrrol scarlet – Pigment number: PR255
- Transparent Pyrrol Orange – Pigment number: PO71
I used Artzena watercolor paper (Amazon) for all these paintings which is a student-grade paper with good wet-on-wet handling.
Also, there’s a bonus video version of these paintings available only to my premium Patreon members – click the button to find out more 🙂
Eternal Echoes (Layered Watercolor Hearts)
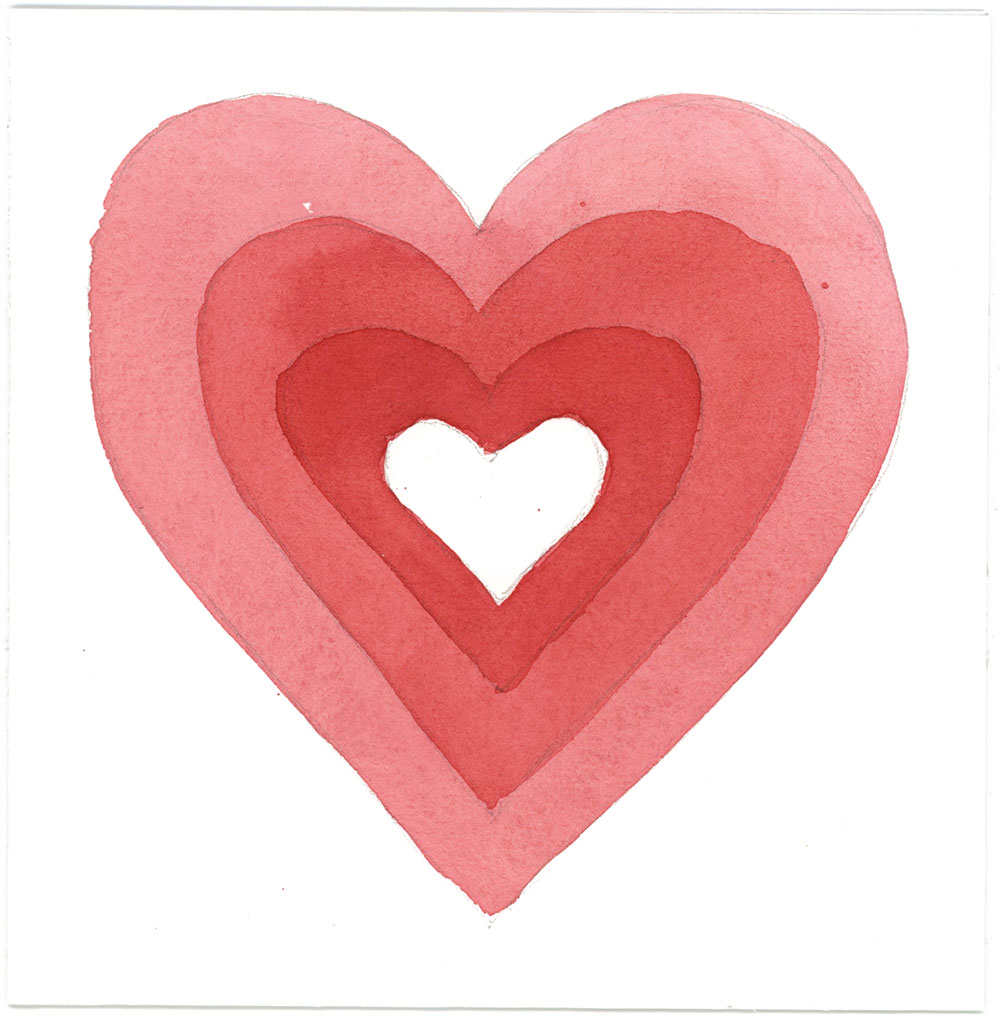
This first valentine painting uses a glazing technique to slowly build up the color intensity of the concentric heart shapes.
I started by sketching a heart shape that fills the entire square. Then worked my way inwards to the center.
Next I painted the first heart shape, leaving the center heart untouched. This is a fairly diluted mixture of paint. I’m just painting loosely and not worrying whether the paint accumulates on the surface. If the excess water creates any watermarks then this will add some interesting texture of the finished painting.
Because this is a glazing technique, you need to let the first layer of paint dry. (Glazing in watercolor is another word for layering, but must be done on a dry surface).
Now you can paint the next concentric heart shape, using the pencil lines as a guide, and still leaving the center heart white.
Next, you guessed it!… Leave the paint to dry angina then finish off the painting by filling in the smallest heart shape.
Notice how the final heart has the deepest color intensity thanks to the successive layers of transparent paint. This also sets up a high amount of color contrast with the white heart in the center and helps draw the eye to this part of the painting.
Contrast is an excellent way to create a focal point!

Valentine Whispers (Watercolor Lifting Technique)
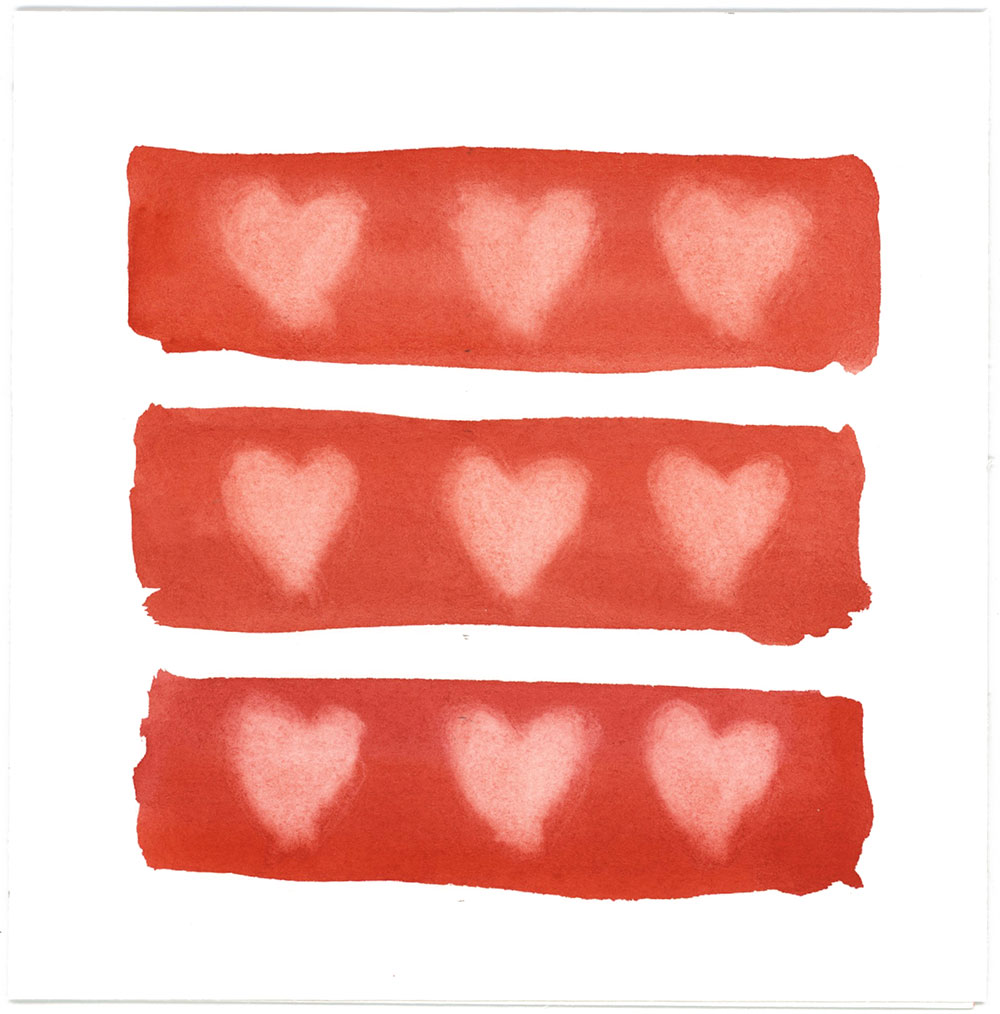
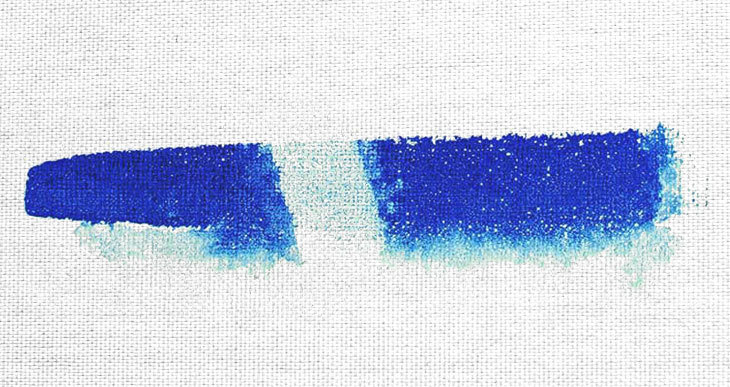
For this second valentine painting idea I used a simple lifting technique to create rows of wispy looking hearts…
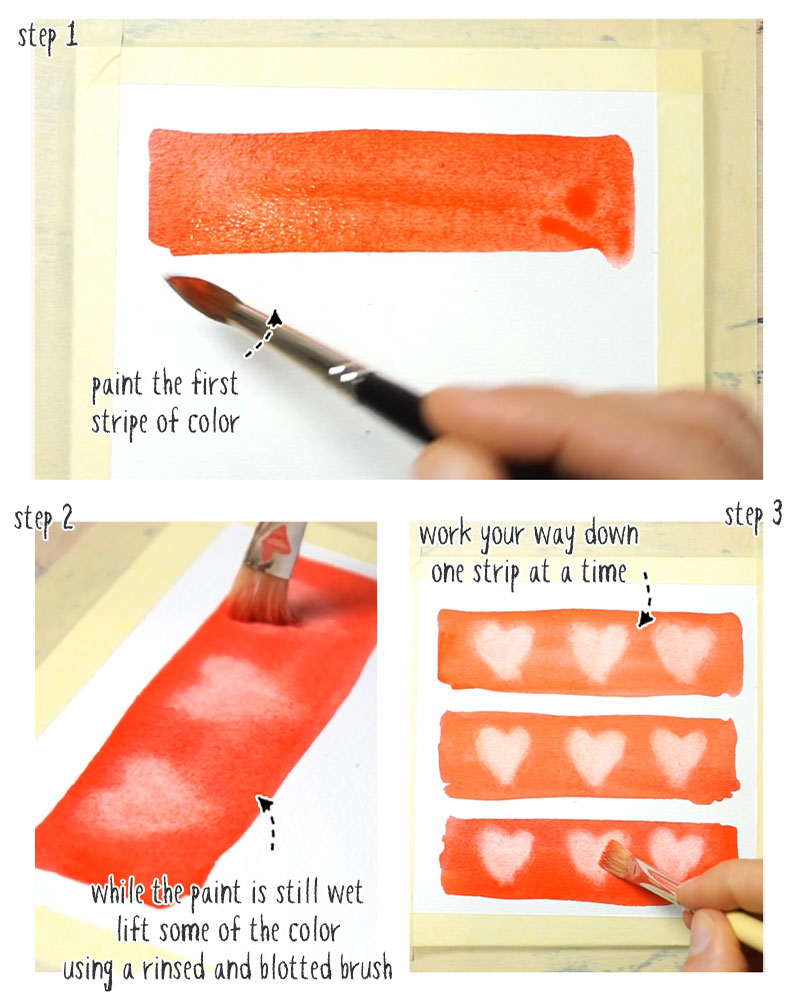
Start by painting a strip of color at the top using a nice wet wash of red watercolor.
Before the paint has time to dry, use a brush to soak up some of the color from the surface. I’m using a stiff, flat bristle brush. This is what watercolor artists call a “lifting technique”.
Lifting works better when the paint is damp. You can lift to a certain degree after the paint has dried, but not so much.
You’ll probably need to repeatedly rinse and blot your brush, then lift some more paint off the surface, until you get a noticeable heart shape. The hearts have a nice diffused appearance.
Paint another strip of color and follow the same process as before. Painting one strip after another gives you enough time to lift the paint before the surface dries. Trying to do this on a larger surface is trickier to do.
Repeat again with the final red stripe 🙂
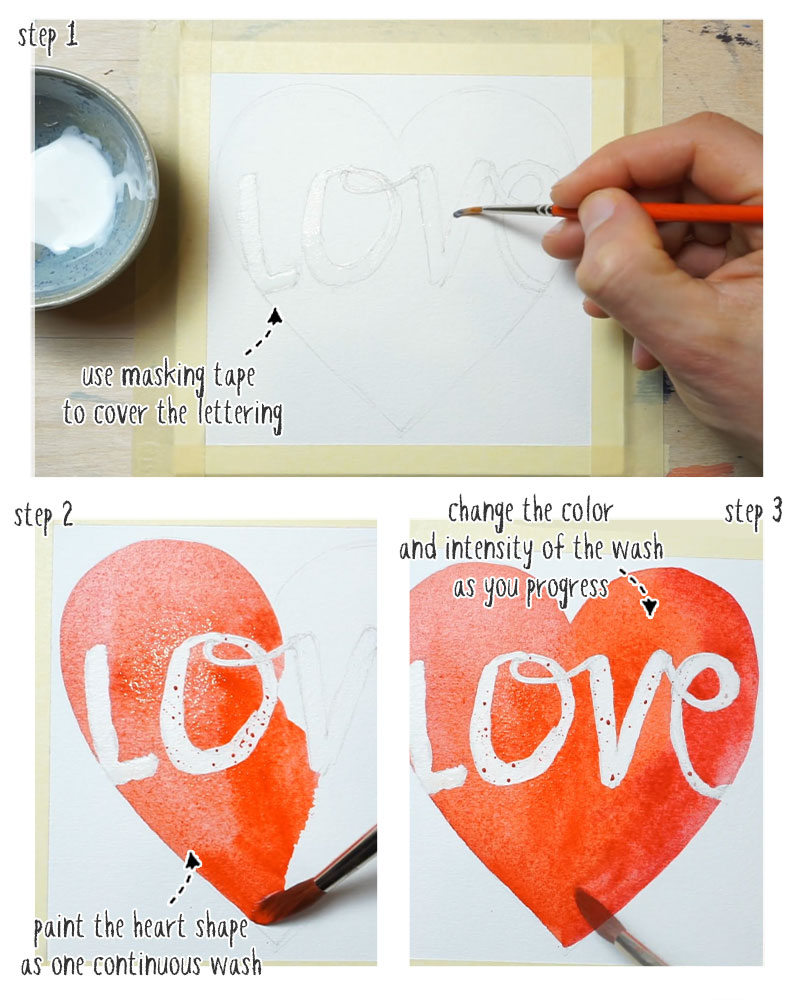
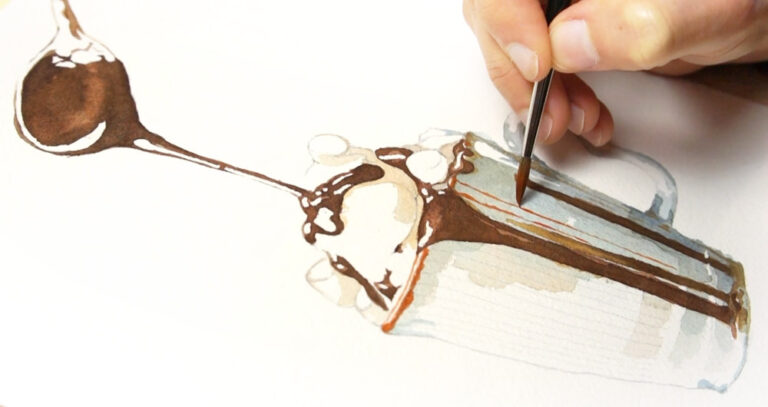
Love’s Embrace (Using a masking technique)

This next technique uses masking fluid to protect the white paper and write a message in the center of the heart shape.
Start by sketching a heart that almost fills the sheet, then write your message across the center making sure to give your letters some thickness. Then use masking fluid to fill in the letters.
Make sure the masking is dry before moving on…
Thanks to the masking fluid, you can now paint your heart shape using one big wash of watercolor.
I loaded up my brush with plenty of paint, then when I reached about the halfway point, I started adding more pigment to the mix, to darken the intensity of the wash. I also started adding a different color by introducing some pink. This adds a bit more interest to the heart shape and I end up with a slight gradient in color strength and some variation in color as well.
Blended Affection (Wet-on-wet blending)
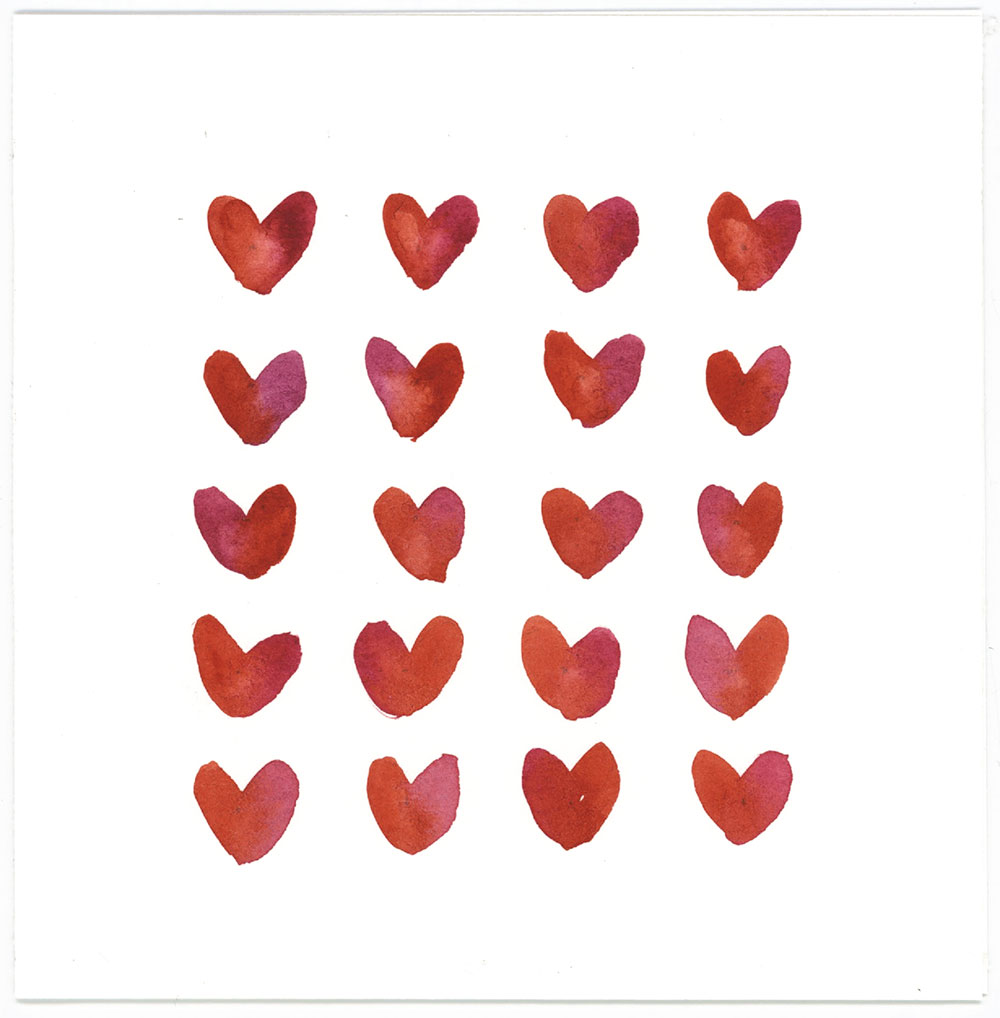
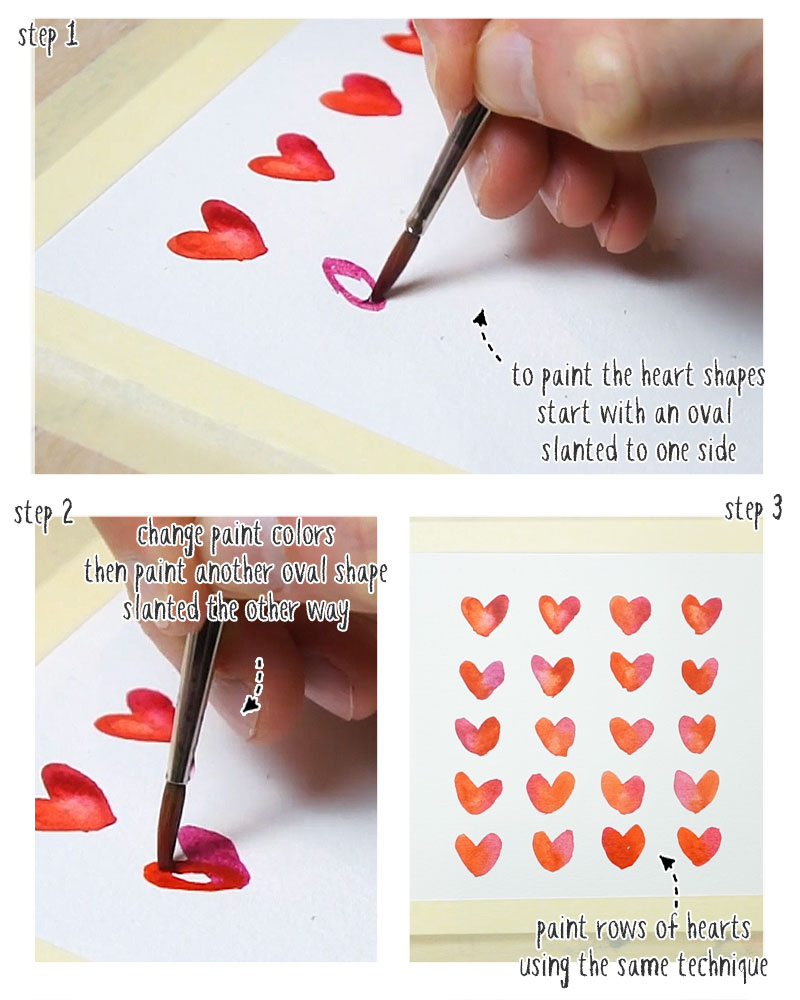
The final idea is a simple composition where I painted rows of hearts. The little heart shapes are all painted with a wet on wet technique, and combine two slightly different colors. The idea here was to let the two colors mingle and blend together while the paint is still wet.
To paint small hearts like this, pick up some of the first color with your brush, then think of painting a small slanted oval shape like you see me doing. Then dip your brush in the second color, and paint another oval shape, this time slanted to the other side.
If you think there’s too much paint on the surface, blot your brush and lift some of the paint off the paper.
Keep painting rows of hearts using the same technique until you reach the bottom of the sheet.
And there you go… I hope you had fun painting these simple compositions, and if you came up with your own designs, let me know in the comments below! Happy painting and Happy Valentine’s Day!


Thank you Anthony! Perfect little project for my hubby’s card! ❤️
🙂
This is exactly what I was looking for! Thanks so much❣️
Happy to help Jan 🙂
Thank you Anthony for these wonderful tips, just before Valentine’s Day ❤️. Love them all.
🙂