
Watercolor Dripping (Learn This Easy Technique!)

If you think about it, a drip effect is unique to watercolor paints.
Other types of paint (think gouache or oils) have a thicker consistency. But watercolor paint is diluted with water, and the colored pigments will flow in the same way water does.
So a big wet brush stroke can be encouraged to trickle and drip, creating a lively graphic effect to a painting.
Now… this technique can be applied in a very random way. However, there are also ways to handle the drip marks for a more controlled result.
Below, I’ll explain everything you need to know and show you an example of how to implement this effect.
What is the Watercolor Drip Technique
Watercolor dripping is when you apply paint with a high proportion of water and tilt the paper so that the paint runs, producing a colored drip that flows down the sheet.
A dripping effect with watercolors is an exciting way to add abstract texture to your paintings!
The amount of water used in the paint mixture is the key to success with this method.
You need a very fluid, runny puddle of watercolor to paint this way.
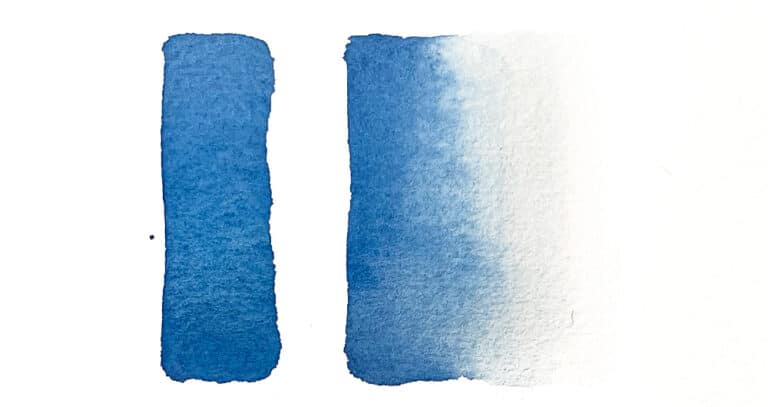
And you’ll also need to control the water-to-paint ratio to achieve the desired color intensity.
The water-to-paint ratio is the quantity of pigment for a given amount of water. For example, the less paint you mix into the water, the higher the water-to-paint percentage.
- More water : less paint = low water-to-paint ratio
- Less water : more paint = high water-to-paint ratio
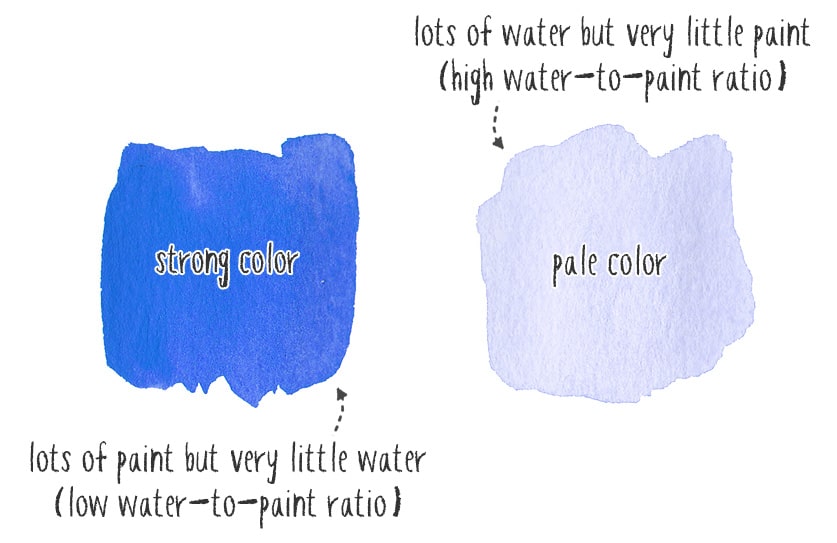
This is a fancy way of expressing the lightness or darkness of a color. For example, a very weak diluted mixture of watercolor produces a light-toned appearance. At the other end of the spectrum, you can also make very thick “pasty” watercolor mixes that have an intense, dark-toned appearance.
The trick is, to make your watercolor fluid enough to flow down the page but with the correct color intensity.
How Do You Make Watercolor Paint Drip?
To do this, you simply start with a big puddle of water!
I find mixing this way is the best method to get watery paint of the correct intensity and consistency.
- Start with a reasonably big puddle of water, then pick up some pigment from your watercolor palette, and mix it into the puddle.
- Keep adding paint until you’re happy with the color strength.
- Use a scrap of paper to test the intensity of the paint mix. Remember, watercolors dry lighter in appearance than during the painting process.
For this technique to work, I recommend you have all your colors mixed and ready to go before you start the painting.
You need to work the paint in the wet stage of the painting before the color dries. Otherwise, you can end up with patchy-looking shapes of color because back runs start to form.
Dripping is a wet-on-dry technique.
Drips of paint will only occur on a dry paper surface. The paint is very liquid, but the surface must be dry. Damp paper won’t produce this result because the pigments will disperse and spread into a wet wash.
Watercolor drip art example
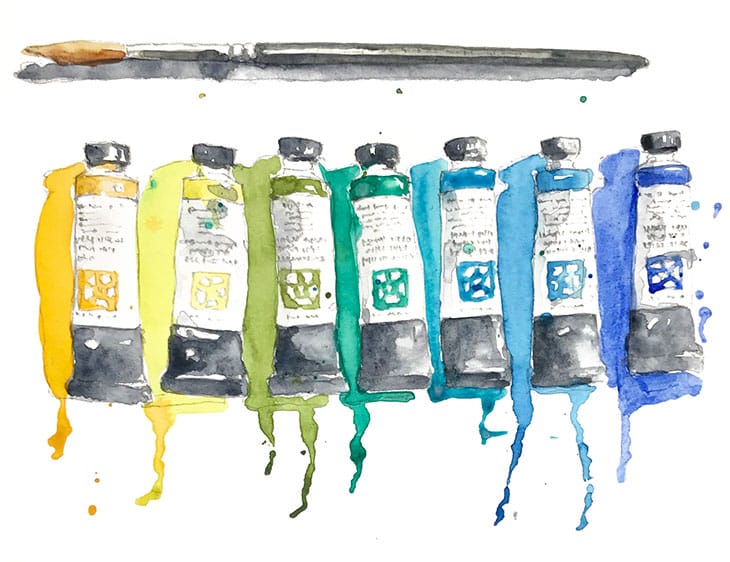
I wanted to convey the colorfulness and watery nature of my favorite watercolor paints in this painting! I could have simply painted the tubes of paint more realistically. But instead, I decided to color the shadows of the tubes with the same hue as the watercolors. Making them drip and leak down the page emphasizes the liquid quality of the paints – better than a realistic rendition…
Art is always a question of interpretation 🙂
Plan ahead, and think about ways to incorporate this technique to create colorful and expressive paintings!
Watercolor Dripping Effect – Step-by-Step Demonstration
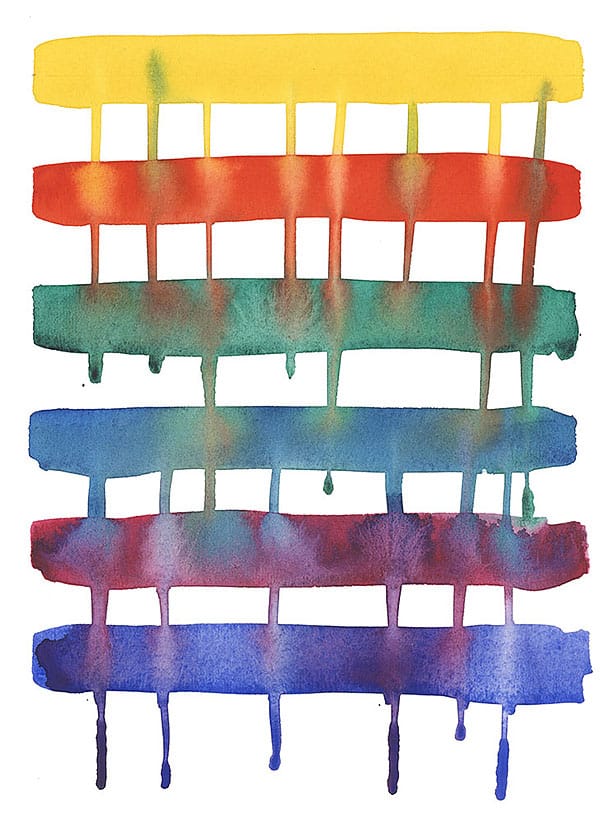
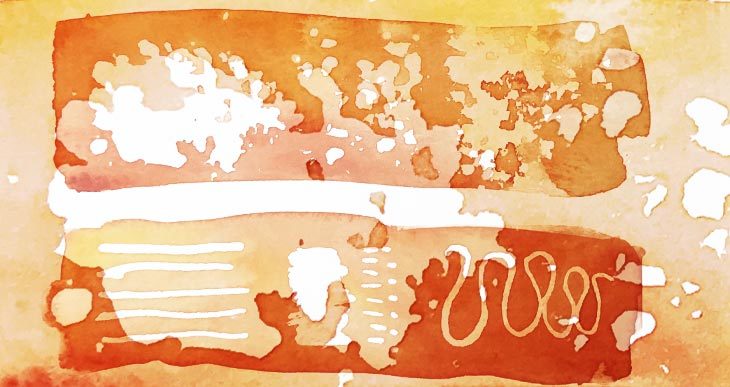
In this example, I painted bands of color and then applied a dripping technique to create the effect of colors flowing down the sheet.
The paint colors I chose were as follows:
- Hansa Yellow Deep – Pigment number: PY65
- Phthalo Green BS – Pigment number: PG7
- Phthalo blue GS – Pigment number: PB15:3
- French ultramarine – Pigment number: PB29
- Quinacridone rose – Pigment number: PV19
- Pyrrol scarlet – Pigment number: PR255
As the colors streak into each other, the pigments mingle and produce soft, diffused results. I suggest you try to choose the order of the colors deliberately so that the mixing results created by the drips will be more enjoyable.
This painting includes six horizontal streaks. Feel free to use as many as you like, but remember to leave some white space under the final stripe so the page has room for the dripping effect to stop. You’ll lose the drip marks if the drips run off the page!
Mix up some reasonably big puddles of color and adjust the strength. I was going for more substantial, deeper tones, so I added a good quantity of paint.
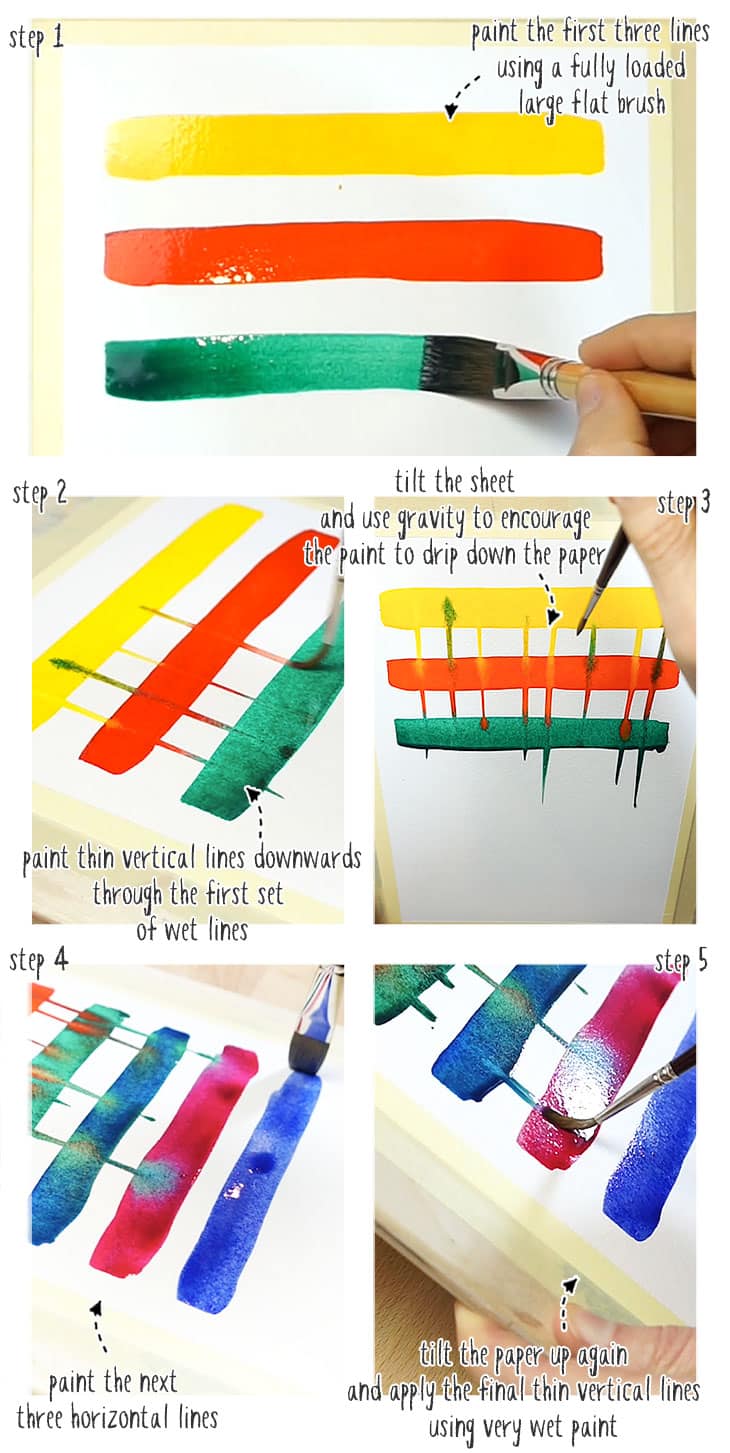
I started by painting the first three stripes of color using a large flat brush. The brush is well-loaded with paint, so I get a nice wet brush stroke.
By painting only the first few band shapes, I’m giving myself more time to play with the paint during the wet stage. Otherwise, the brush marks will dry, making it impossible to generate the drips.
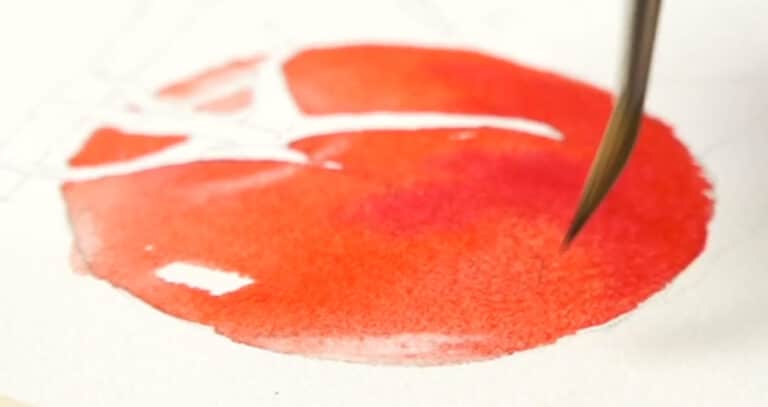
Then using a small, round brush, I painted vertical lines down through the wet bands of paint. These lines will create a path and encourage the damp paint to flow. Use a brush loaded with clear water and rinse the tip as often as you want to prevent color contamination from the previous brush stroke.
This is the way you regain control over the process and get to choose where the drip lines are placed!
Now tilt the paper up and let gravity do its work!
Pigments will begin to flow down the lines if your colors are wet enough, producing drips at the end of each vertical pathway.
If this doesn’t seem to work, use a round brush loaded with water to add more wetness to the drip lines and incite the colors to dribble downwards 🙂
Lay the paper flat again and leave it to dry.
Can you think of other ways to use watercolor dripping in your artwork?
What to read next? Take a look at this complete guide to watercolor techniques…


Thank you for posting these tips! I thought, for sure, you’d work from the bottom up, painting the bottom stripe, then each of the stripes above, one at a time, using plain water to create the drip pathways. Your way is quicker & ensures the paint stays wet longer.
I’m glad I found your page and appreciate the work you’ve put in to creating it! Looking forward to reading every article!
Glad it was useful Nadia!
Enjoy your watercolors 🙂