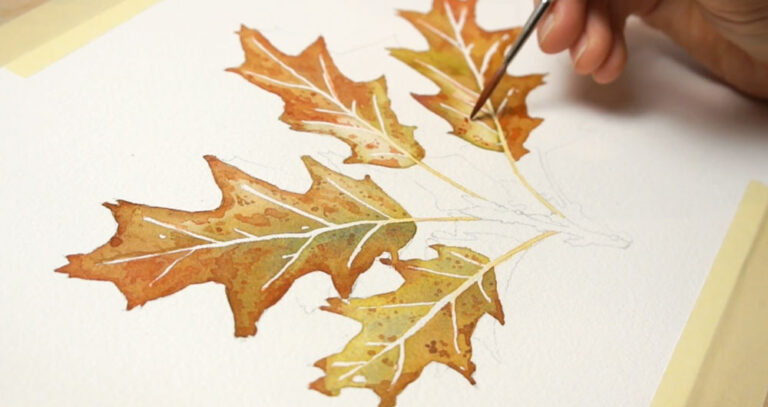
Painting a Robin in Watercolor (3 Techniques!)
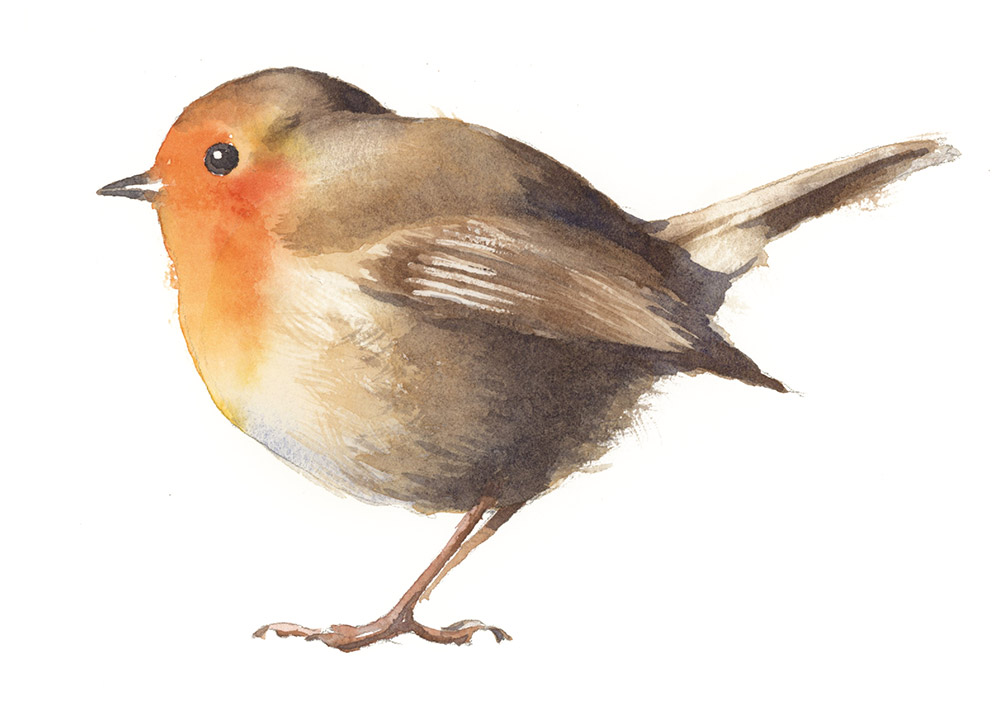
Have you ever wondered how to paint delicate textures in watercolors, like on this feathery robin – building up the layers to create depth and help bring it to life?
In this lesson, I’ll show you step by step how I painted this cute robin. If you’d like to try this for yourself, you can download a free sketch outline and reference photo – just check the link below.
The truth is I wasn’t entirely sure how this painting would turn out when I started. I had a rough idea of my approach, but watercolor is unpredictable, and it’s all about working with its quirks. In the process, I used three specific techniques to build layers of texture and add depth, and one very useful method to create the illusion of feathers – something that is often tricky when painting birds!
If painting delicate textures in like feathers has ever felt intimidating to you, you’re not alone!
In this lesson let me show you how I did it, to give you some guidelines for your next bird painting!
Try this painting for yourself ! Click the buttons below to download the resources:
Watercolor Robin – Getting Started
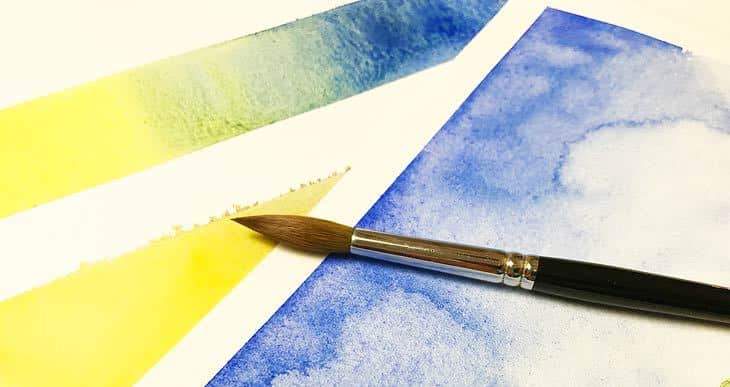
Ok… so to get started trace the outline of the robin onto a sheet of watercolor paper… I’m using cold-press cotton paper for this exercise… Then fix the sheet onto a flat board with masking tape. (I use a light box like this one on Amazon for tracing)
Before I started the painting I used some masking fluid to cover some of the small highlights in the eye and on the wing…
Wet-on-wet Underpainting
The first step is to wet the body of the bird with some clear water – I’m going to be using a wet-on-wet technique to establish a foundation of color, but I avoided wetting the red feathers on the bird’s breast to prevent any color from bleeding into that area.
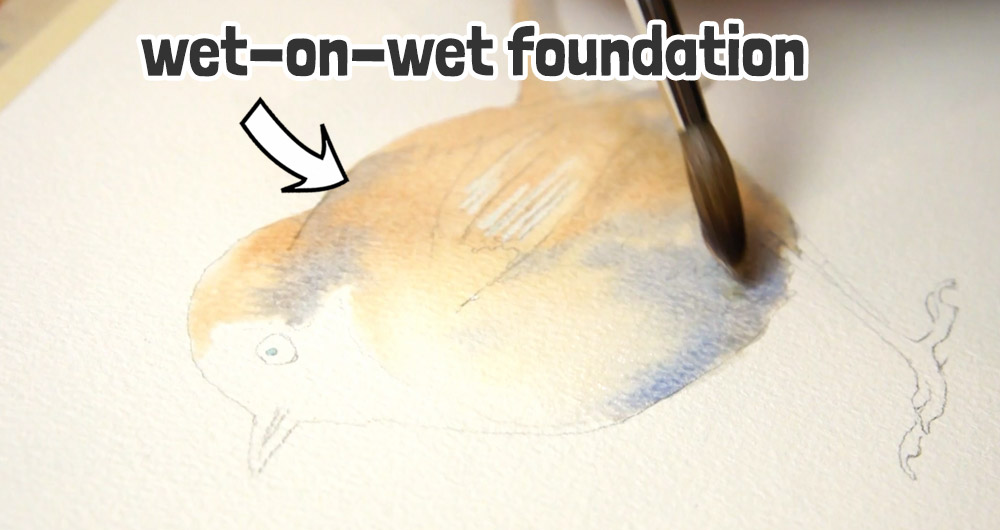
The colors I used were Burnt sienna, mixed with some Hansa yellow deep, and a little Burnt umber. For the underside of the bird and the areas where the form is in shadow I dabbed in some French ultramarine.
I often use a wet-on-wet technique like this to establish the “underpainting” of a subject – it’s a bit like laying down the foundation, creating a smooth base with soft blends of color before adding the following layers.
I adjusted the pigments on the surface, pushing them around with a clean damp brush – there was too much color on the front of the robin so I needed to remove some paint and smooth out the blending.
While the surface is still wet I continue to charge in some darker spots of brown – all the time I’m looking at the reference image to gauge where the light and dark colors should go.
I took advantage to add some color to the beak and smooth out the transition with the body before letting everything dry.
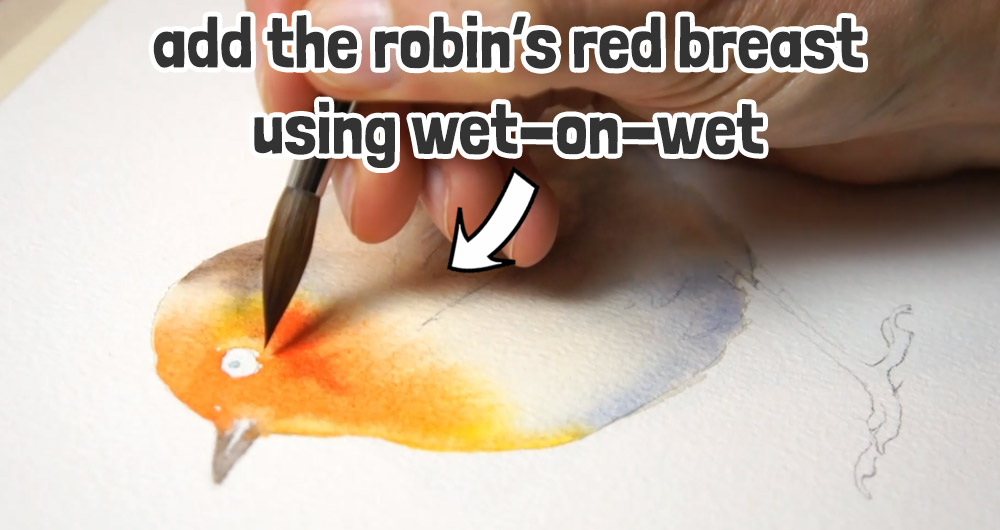
Next I apply the same wet-on-wet technique to add the robin’s red breast. I only dampened the front of the bird so the color doesn’t spread too far.
Here I’m using Hansa yellow deep and Pyrrol scarlet to paint the bright orange feathers on the breast. These are both warm pigments so mixing them together creates a wonderfully bright vivid orange color. I started with yellow, then an orange mixture, and finally dabbed in some pure red paint – this gives a nice variation of color across the surface rather than simply painting everything orange!
A couple of areas needed lightening up – on the front of the bird and around the eye. You can do this with a clean blotted brush to soak up damp paint off the paper – this is known as a “lifting” technique.
I let the orange paint dry completely before adding some detail to the eye…
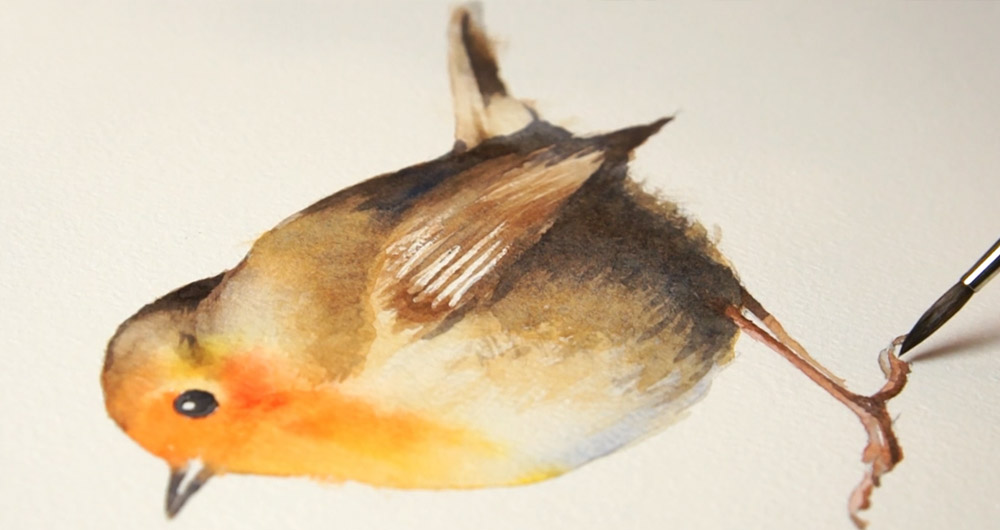
Next, I wanted to create feather-like textures on the robin’s body. To achieve this, I used a dry brush, pressing it into a cloth to splay the bristles. This spreads them out into smaller, random strands.

With only a small amount of paint on the brush, I gently touched the paper using light brush strokes. This technique creates a textured, broken pattern that mimics the soft appearance of feathers. And by varying the direction of the brush marks, this effect suggests the fluffiness of the robin’s feathers.
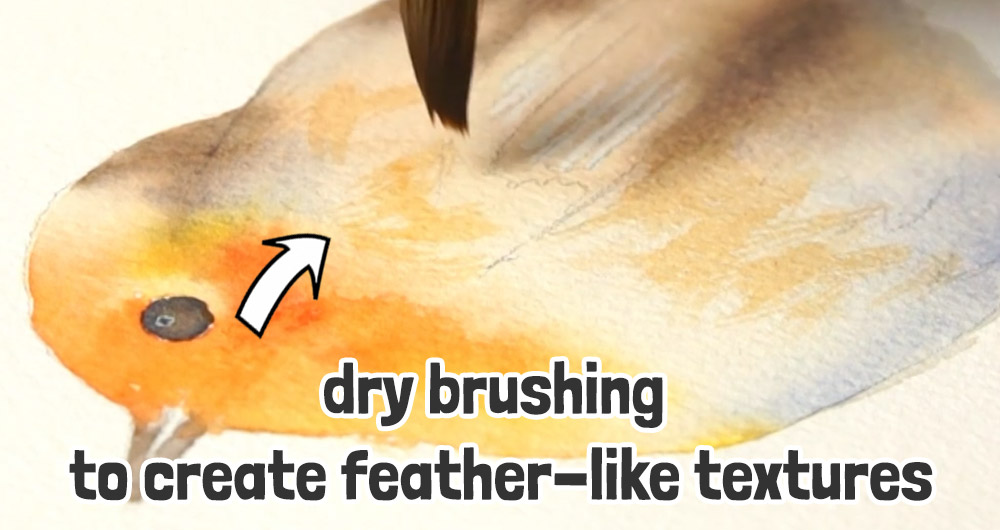
Although this particular brush technique is known as “dry brushing”, we’re essentially adding another layer of paint over the foundation color – which in watercolors is known as “glazing”.
And both of these techniques fall under the category of “wet-on-dry” – in other words where wet paint is applied to dry paper. This technique gives you more control and precision over your brush marks or for adding details.
So to sum up, during this painting you’ll see me alternating between these three specific techniques:
- Wet-on-wet
- Wet-on-dry
- Dry brushing
This lets me build up the colors and the darkness of the values little by little, as I try to create a more three-dimensional appearance.
And this is how I slowly progress the painting with several layers of color … you can watch the rest of the painting process and the techniques I used to get to the finished result on my YouTube channel or in the video here:
Happy painting 🙂