Why Timing Matters More Than Technique in Watercolor (The Water Cycle)
Do you ever feel like wet-on-wet watercolor puts you in a constant battle with your paper? Too much water, and you get those cauliflower edges blooming where you didn’t want them. Too little, and the paper’s already too dry — and instead of those soft, diffused blends, you just get hard edges.
If that sounds familiar, the reason is probably ‘timing’.
Timing is one of the harder things to learn in watercolor — and the best way to get better at it is to practice it. But practicing without really understanding what’s happening to your paper as it dries could be slowing down your progress.
So in this video I want to give you a framework for understanding paper moisture. I’ll show you the stages your paper moves through as it dries, and what each stage means for the kind of brushmarks and blends you can achieve.
It won’t replace the practice, but it should make the practice make more sense… If you see what I mean 🙂
And later in the video I’ll also show you a technique for correcting the paint after it’s already down on the paper — which, as it turns out, is also a timing question.
The Water Cycle Framework
So let’s talk about what’s actually happening to your paper as it dries — because this is the part that’s probably tripping you up.
Your paper doesn’t just go from wet to dry. It moves through stages. And each stage behaves completely differently when you paint a brush mark.
I use a simple framework I call the water cycle to describe the stages your paper passes through every time you wet it. These are: wet, moist, damp, and dry.
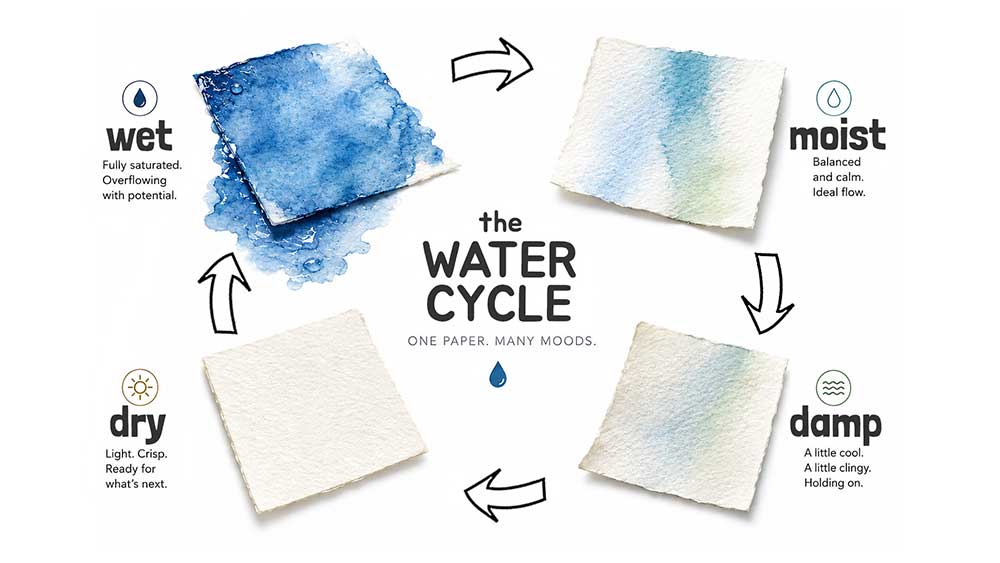
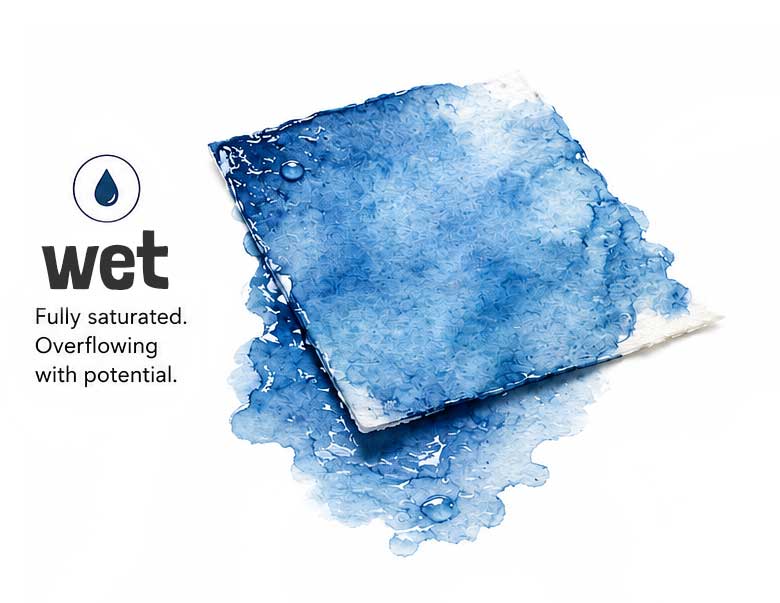
Wet is the first stage — the paper is soaked and shiny on the surface. Any brush mark at this point will spread a long way. You get very soft shapes and broad blended edges. It’s a beautiful effect, but not very controlled.
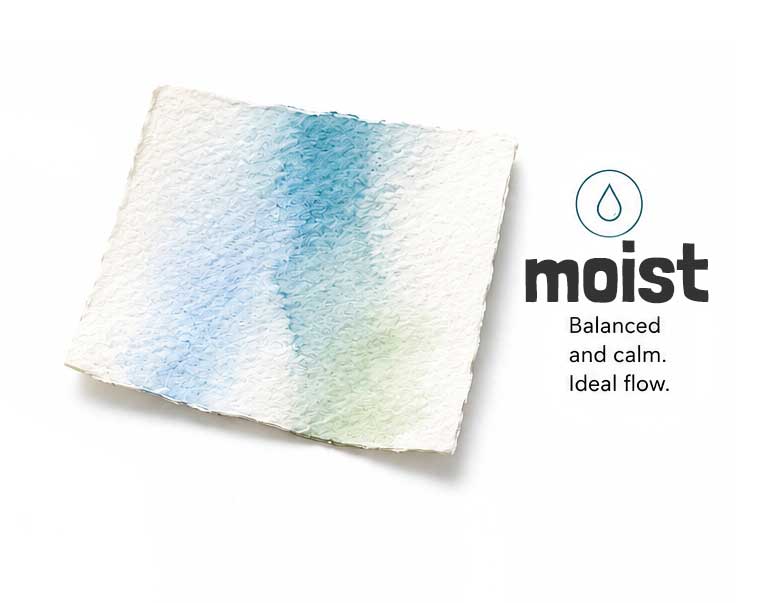
Moist is where the surface still shines but you can see the texture of the paper starting to show through. The paint moves more slowly now, which means you can actually place brushmarks with a bit more control. You get soft controlled shapes, and blending. This is perhaps the best stage for most wet-on-wet painting.
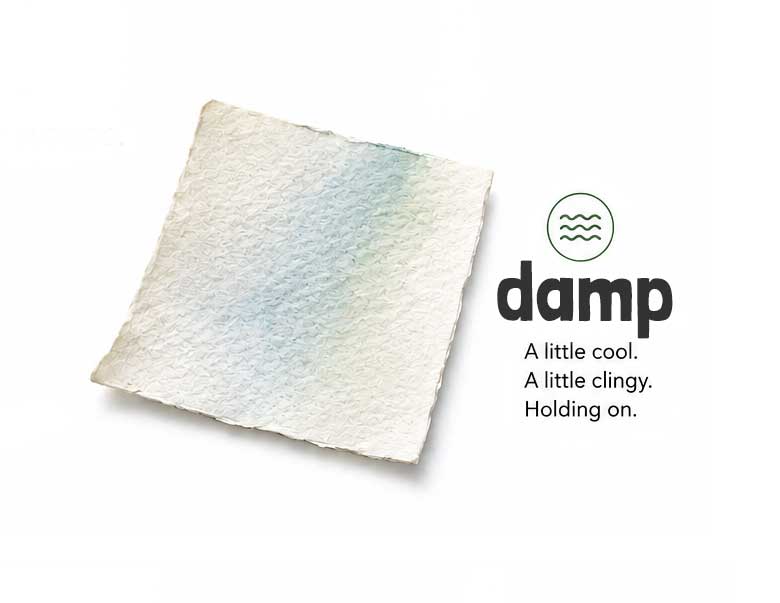
‘Damp’ is the moment that catches most people out. The surface looks almost dry. There’s just a faint sheen to the paper if you look at it in the right light. This can be the most unpredictable stage. Any wet brush mark you put in now can flood the surface and cause those cauliflower blooms, because the pigment that’s already on the paper surface hasn’t fully settled yet. If you’re not trying to create that effect (and most of the time you probably aren’t) it’s worth knowing that a brush that’s only slightly damp gives you a lot more control in this situation than a fully loaded one. Blot the brush first to remove most of the moisture, and the smaller amount of paint releases more slowly and settles more gently into the surface.
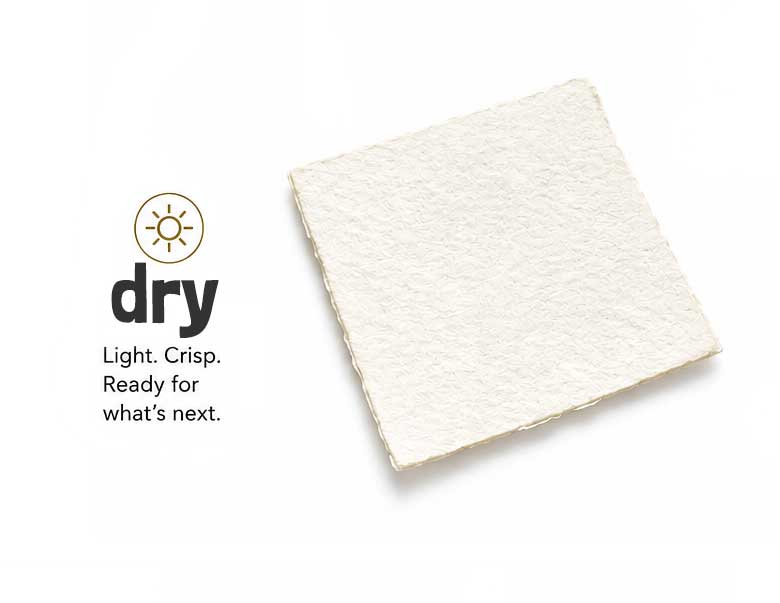
Dry is, well… dry. No shine to the paper, and no coolness when you touch the back of a finger to the surface. This is when any brushmarks create hard-edged details and crisp edges.
Now, to be perfectly honest, knowing the four stages doesn’t make timing an exact science. The speed your paper moves through the cycle changes depending on your paper, your room temperature, how humid it is, even how much paint you’ve already put down. There’s no fixed stopwatch for how your paper dries!.
But the water cycle gives you a framework for observing what’s happening rather than just reacting to it. And the more you practice with it in mind, the more you start to develop a feel for where your paper is at any given moment — which is really what timing in watercolor comes down to 🙂
But even if you misjudge your timing, even after the paint has diffused on the paper, there’s still a surprising way to manipulate it! You can still push pigment around, soften an area, or introduce lighter shapes back into a colored wash. I’ll show you exactly how to do that a little later in the video.
If you want to practice with me, my Purposeful Painting lessons are over on Patreon. Each one is built around a specific skill — not just a follow-along, but something you can actually learn from. I drop new ones regularly, and it’s free to join. You’ll find them HERE.
So in today’s tutorial, I’m going to walk you through exactly how I applied this idea when painting this artichoke still life. I’ll go through it step by step, and if you want to follow along, there’s a few links below to download the reference photo and my outline sketch for tracing.
STEP 1 — Tracing and Preparation
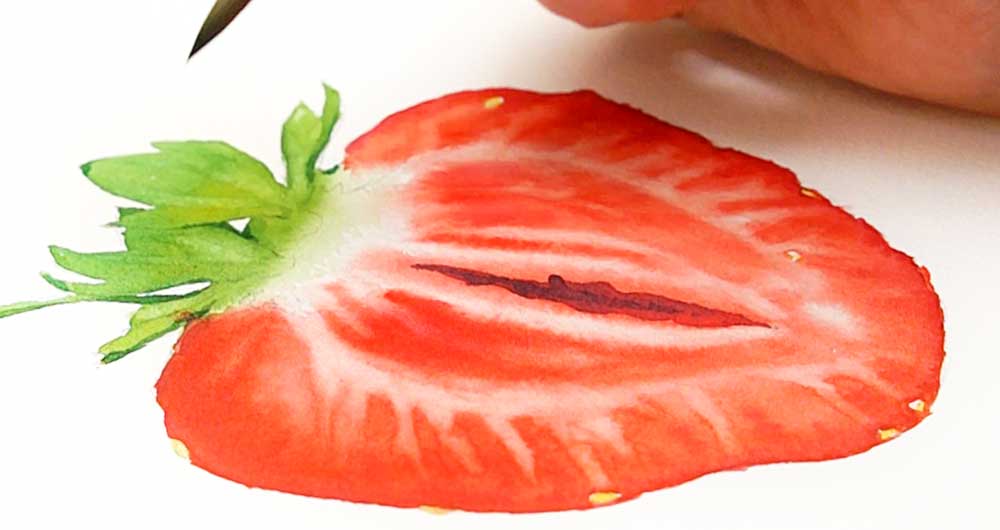
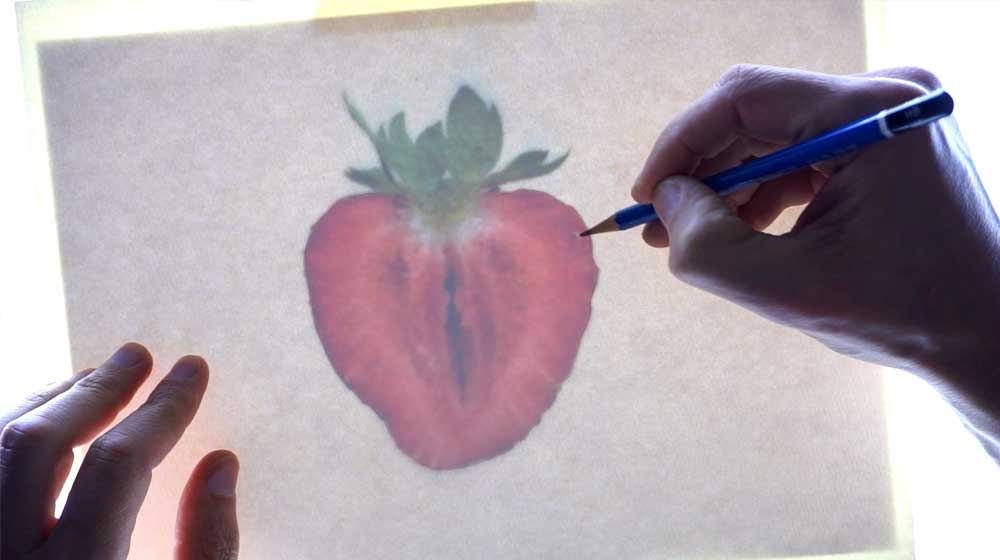
So to start I’m tracing the outline of the strawberry slice onto a sheet of watercolor paper. You only need a simple outline: the outer edge, the leaf shapes, the darker center, and a few seed shapes here and there. Just enough to give you a guide for where things go.
Then I tape the sheet down to a flat board. Taping the edges keeps the paper from buckling too much as it gets wet – which matters when you’re working wet-on-wet, because a buckled sheet makes it harder to control where the paint flows.
It’s worth mentioning the paper I’m using here is 100% cotton watercolor paper, and the type of paper you use for wet-on-wet work really does make a difference. Good quality cotton paper disperses pigment much more evenly and predictably than cheaper wood-based paper. It also stays workable for longer at each stage of the water cycle, which gives you a bit more time to make decisions. If you’d like to know more about choosing the right paper, I have an in-depth video all about choosing the best paper — here’s a link.
STEP 2 — Mixing Your Colors
Before I touch the paper, I’m going to mix up a couple of medium-strength puddles of color: one green, and one red. Having your mixes ready before you start is a good habit for wet-on-wet painting. This is because the paper moves through the water cycle fairly quickly…watercolor, as you may have noticed, dries whether you’re ready or not.
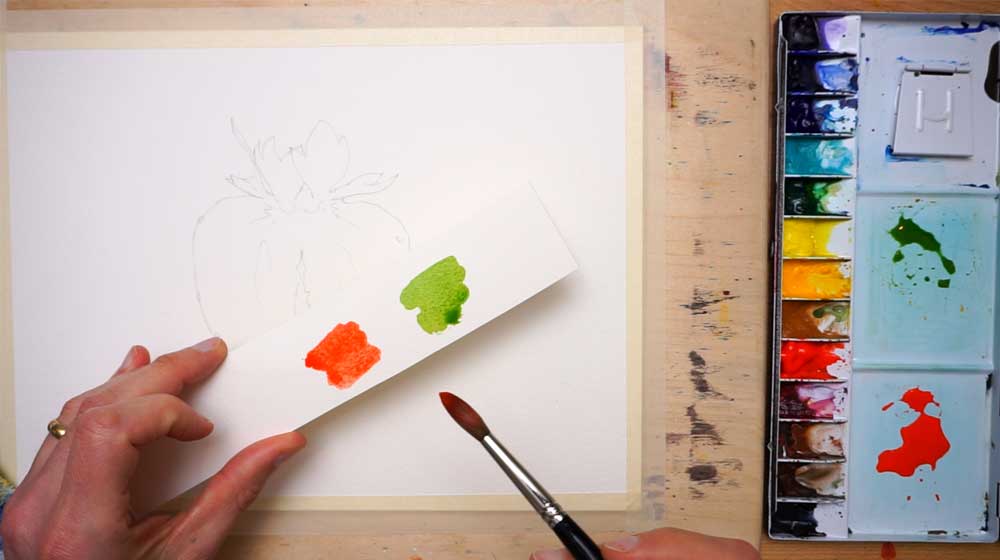
For the green I’m using Hansa Yellow Deep with a touch of Phthalo Blue and Phthalo Green. And it’s always worth testing your mixtures on a scrap of paper first to check the strength. Colors can look quite different in the palette than they do on paper.
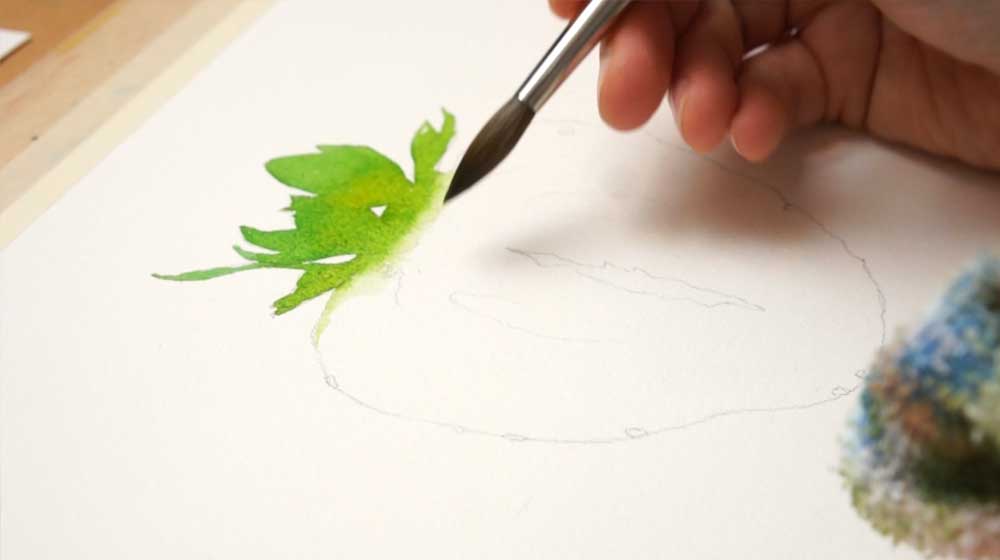
STEP 3 — Painting the Leaves
I’m going to start with the leaf shapes, working from the top of the painting downwards. There’s a practical reason for this. If I painted the strawberry first, I’d risk touching the wet red paint when I reached up to do the leaves. So… I paint the leaves first.
I start by filling in the middle of each leaf shape with a well-loaded brush. Then as the brush releases some of its paint and the tip becomes sharper, I use that to work into the smaller more pointed edges. So even with a large brush I’m getting those thin pointed leaf tips. It’s really just a matter of managing how much moisture the brush is carrying at any given moment.
This is something you’ll find yourself doing throughout the painting.
Don’t feel you have to keep the green completely uniform either. I’m adding a little more yellow here and there to get some variation in the color. A slight shift in the mix keeps the leaves feeling more interesting rather than flat.
When I reach the bottom edges of the leaf shapes, I rinse the brush to remove most of the paint, then blot it on a cloth to take out some of the moisture. While the green is still wet, I can then pull the color out past the edge of the shape to create a soft blend from dark to light. That gives the base of the leaves a slightly softer, more natural look.
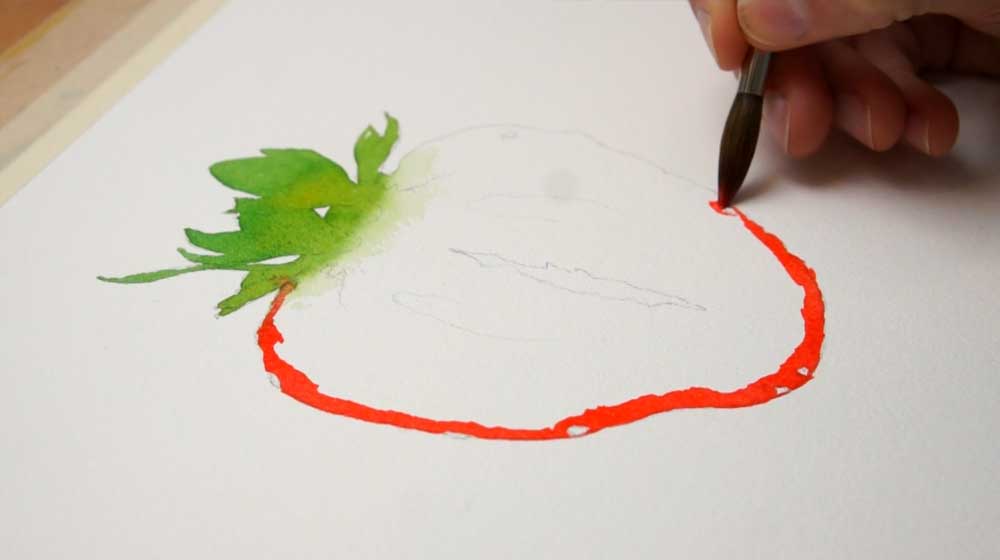
STEP 4 — First Layer of Red
Now for the strawberry itself.
I’m picking up some red from the palette and painting a band of color around the outer edge of the shape, being careful to paint around the little seed shapes I drew in earlier. I’m only doing the outer edge at this stage: I’m just defining that outer boundary before I work inwards.
Then before that paint had time to dry, I rinsed out my brush and started dampening the rest of the strawberry shape with clear water, working inward from the painted edge.
As I use the damp brush to push clear water towards the red paint at the edge, the color starts to bleed toward the center. That’s exactly what I want. It creates a natural gradient from the stronger color at the edge to a softer, lighter tone in the middle.
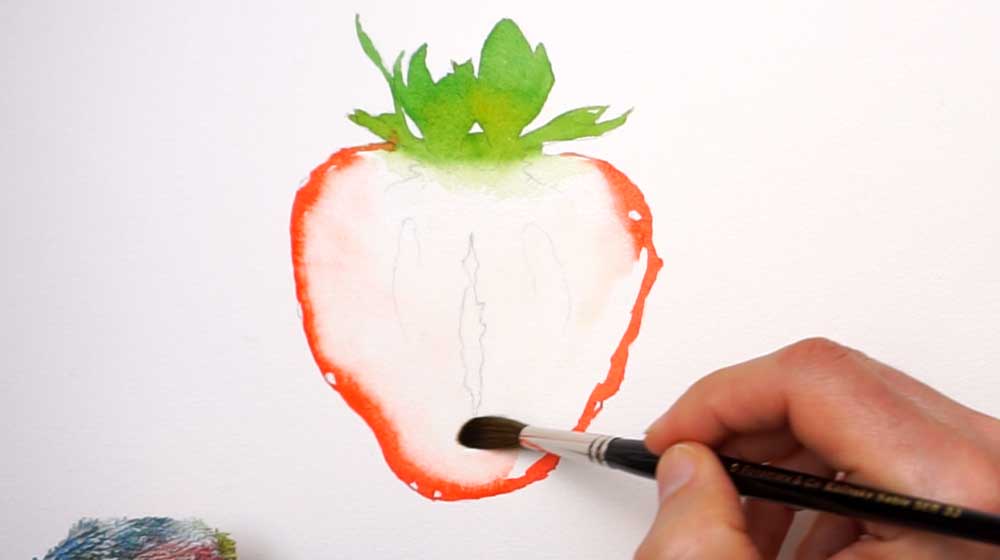
Once the whole strawberry shape is covered with water up to the edges, I pick up more red paint and begin working into the wet surface. At this point the paper is somewhere between ‘wet’ and ‘moist’. You can see the paint spreading fairly quickly when it touches the surface. The paper’s quite wet, so the paint moves fast.
I’m painting broad shapes that match the pattern of light and dark I can see in the reference photo. There’s a softer, pinkish-white area about a third of the way in from the outer edge, and a darker stripe running down the middle. I’m leaving the paper untouched where those lighter areas are. In watercolor, white comes from the paper itself, not from paint… so reserving those areas early is how you hold onto the lights.
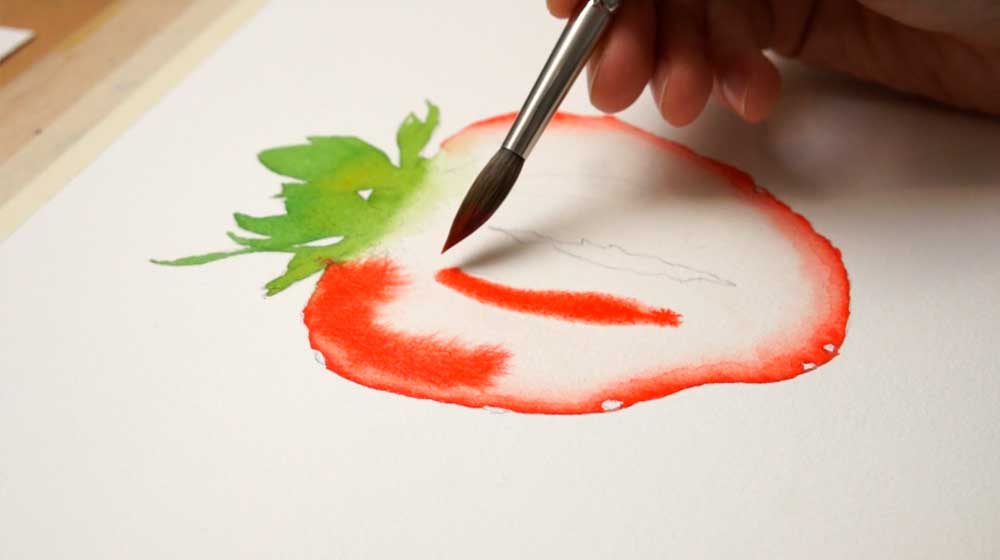
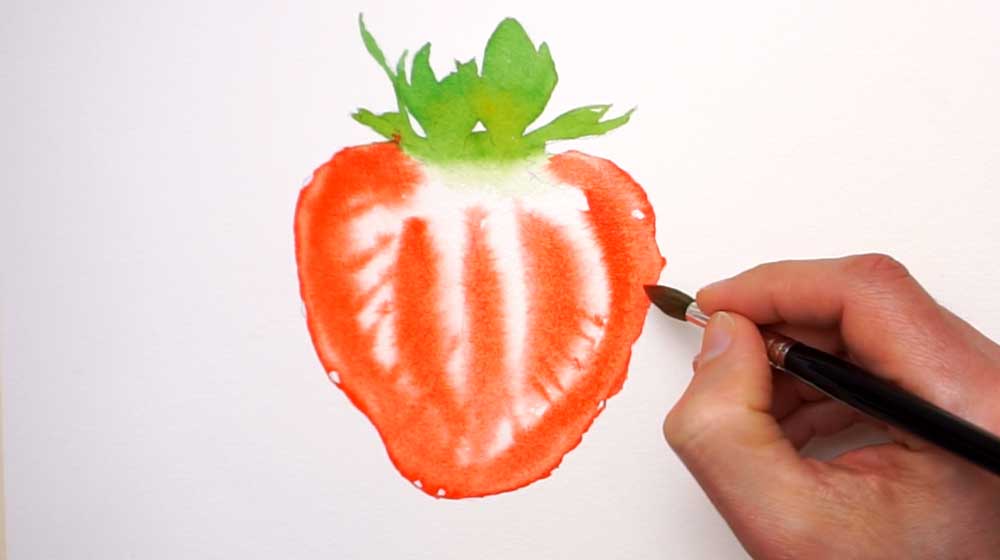
Now, using a brush with a sharper tip and slightly less paint, I start adding thinner lines radiating in from the outer edges toward the center. I’m trying to follow the pattern of light and dark in the reference (those pinkish-white looking spikes reaching outward from the middle).
By this point the surface has dried slightly and I’m into the ‘moist’ stage of paper wetness. You should have a little more control over the marks you make. The paint spreads less, and you get lines with soft edges rather than the wide diffusion you saw before. But don’t be surprised if the color continues to drift a bit as it settles. The pigments have a habit of slowly continuing to spread during this moist stage.
While the paper is still moist, I keep adding brushmarks of slightly darker pigment here and there, building up the pattern gradually using the reference as a guide.
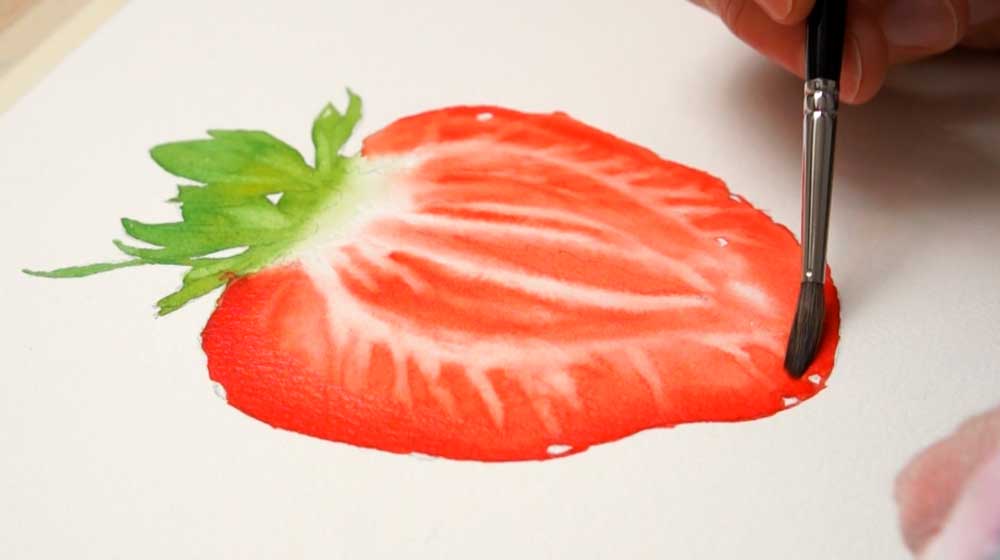
STEP 5 — Lifting (The Timing Technique I Promised)
Most people think about ‘adding’ paint, or moving it around. But you can also take paint away.
This is a technique called ‘lifting‘.
Lifting is a way of removing paint from the surface to create lighter-toned shapes. And one of the keys to making it work is ‘timing’. For best results you need the paper to be moist or just moving into damp, but not fully dry. While the paint is moist, the pigment hasn’t completely settled into the paper surface, which means you can pull some of it back off.
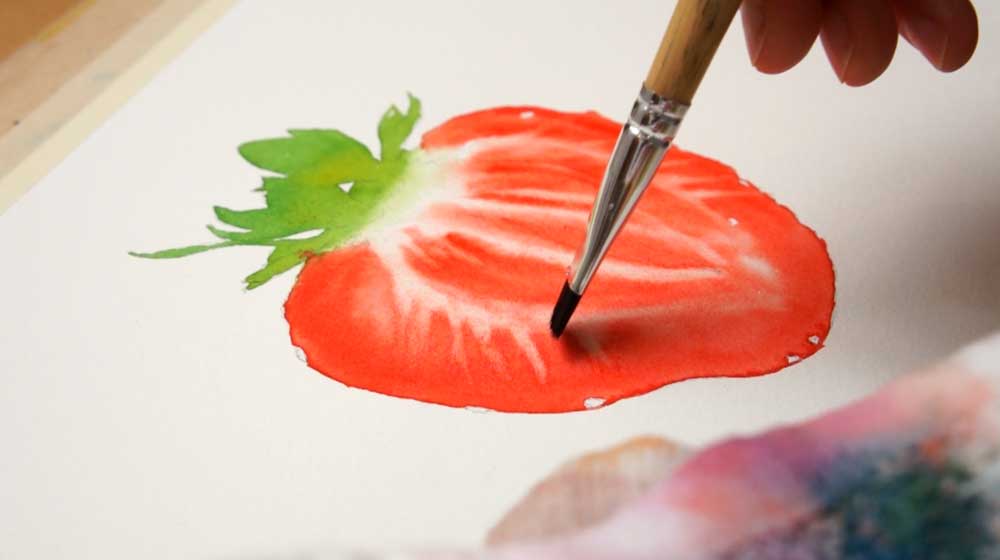
I keep dipping the brush in clean water, then blotting off most of that moisture before brushing it gently over the colored wash (I’m using a stiff, nylon brush for this) That small amount of water is enough to reactivate the paint, and a gentle scrubbing motion lifts the pigment away. I also wipe the brush on a cloth fairly often (because if paint builds up on the brush, you end up just spreading pigment around rather than actually removing it).
Even as the paper moves into the damp stage, you can still lift color this way, although you’ll need to be a little more careful. A gentle scrub with a clean damp brush will still shift pigment, but probably not back to pure white. Just make sure the brush isn’t too wet at this stage, or you risk introducing a bloom.
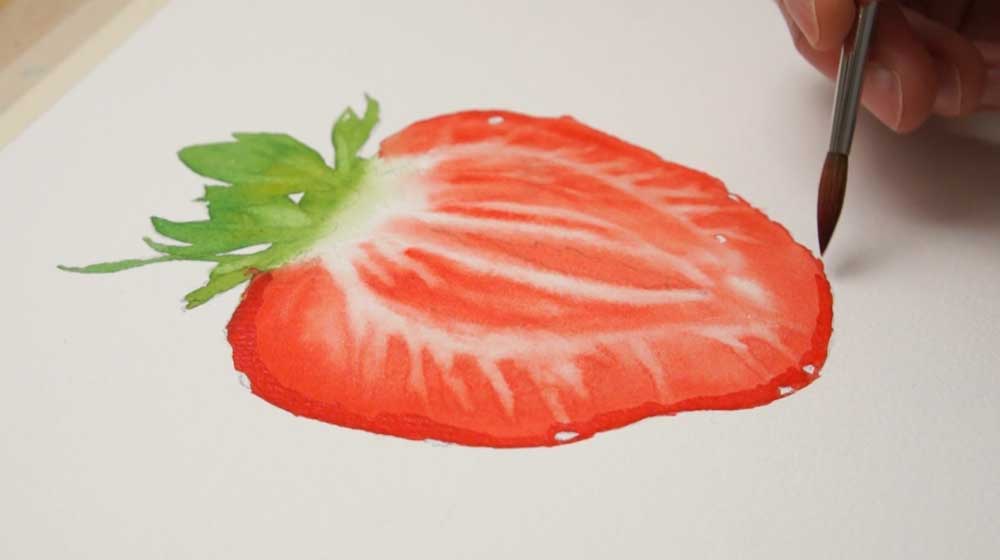
I keep working on the strawberry shape to create lighter marks and pulling out those white-ish internal shapes to roughly match what I see in the reference.
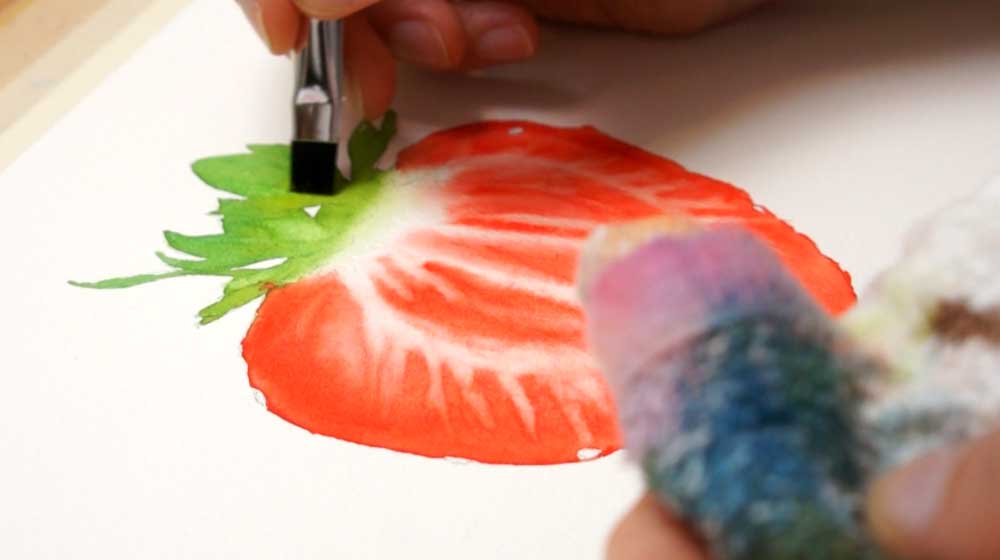
You can do the same thing to the leaf shapes. Lifting works even when the paint is completely dry… the damp brush reactivates the dried paint and you can shift a little of the settled pigment. The effect will be more subtle than when the paint was still moist, but it’s still useful for softening an area or recovering a bit of light.
STEP 6 — Reinforcing the Edges and Wet-on-Wet Details
Next I’m mixing a stronger, slightly cooler red using Pyrrol Scarlet and Quinacridone Rose. A warm and a cool red mixed gives a nice, slightly pink-toned red that suits the outer edge of the strawberry.
I use this to paint a fresh layer of color around the outer edge, thus reinforcing the color slightly. The outer edge in the reference is the most saturated part of the flesh, so it needs a bit more weight than the first layer.
Before that new paint has time to dry, I rinse and blot the brush and use it to soften the inner edge of those new brushmarks (painting around the seed shapes to leave those untouched). This also has the effect of making the lighter shapes we lifted out earlier look a little more subtle and natural. If the lifted shapes looked a bit too stark, this step usually softens them.
I’m also re-dampening some of the inner shapes with clear water. This brings those areas back to a moist stage so I can do some more wet-on-wet work, so I can get those soft-edged marks with a bit more control than with dry paper.
As you can see, I’ve switched to a smaller brush. While the paper’s still moist I’m adding smaller, darker details… reinforcing the color between the lighter spikes I lifted out earlier.
Then I do the same to the inner shapes, adding stronger color to a few places where it needs a bit more depth.
STEP 7 — The Center Core (Dry Stage)
I deliberately left the center of the strawberry (the vertical hollow core you can see in the reference photo ) . I didn’t re-wet that area on purpose because I want crisp, defined edges, which means I need the paper to be dry.
I’m using a relatively strong mix of paint. The marks go down with sharp, clean edges (quite different from the soft blended shapes we’ve been working with in the rest of the painting).
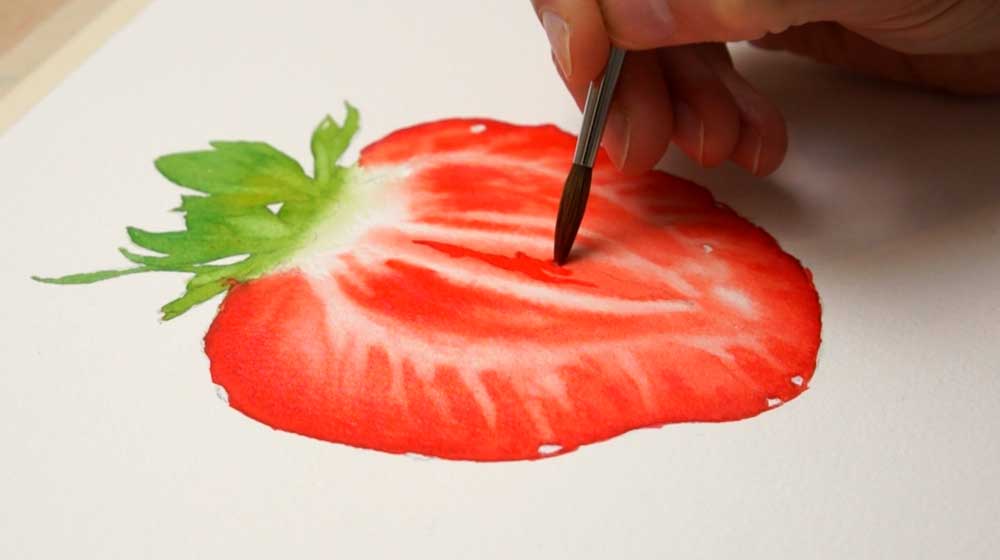
And because the core of the strawberry is the darkest part of the flesh, I’m mixing in a touch of Phthalo Blue to the red mixing puddle to get a slightly dark-toned purple.
Then I dab that mixture into the center shape while it’s still moist so the edges of the shape stay crisp, but the colors inside it blend softly together.
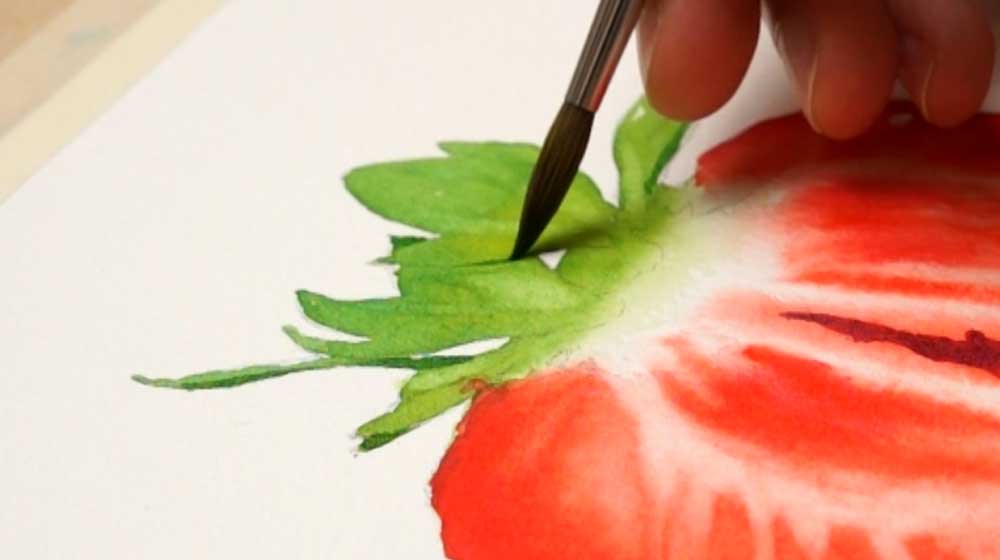
STEP 8 — Details on the Leaves & Seeds
Now for some darker green details on the leaves using Phthalo Green and Phthalo Blue mixed together. The paper is at the dry stage, so the marks go down with crisp edges. This is what I want for those small, defined details to help give the leaves a bit more depth and better separate the individual shapes.
Next you can see me paint the seed shapes with a small amount of warm yellow mixed with Raw Sienna. Nothing fancy… just a bit of color.
STEP 9 — Finishing Touches
Before the final details I wanted the paper to be completely dry, so I’m using a hairdryer. The finishing touches need hard edges, so the paper needs to be dry.
I painted a darker stripe of purple down the center of the strawberry to represent the hollow gap in the middle. The strong color makes it look deeper.
Then a few small, dark green marks on the leaves (just a few finishing touches to add a bit more definition).
And I added some tiny dark shapes at the junction where the leaves meet the strawberry body, using a diluted mix of purple. To be honest, that last bit is probably just me fussing over the details!
And that’s the strawberry slice finished.
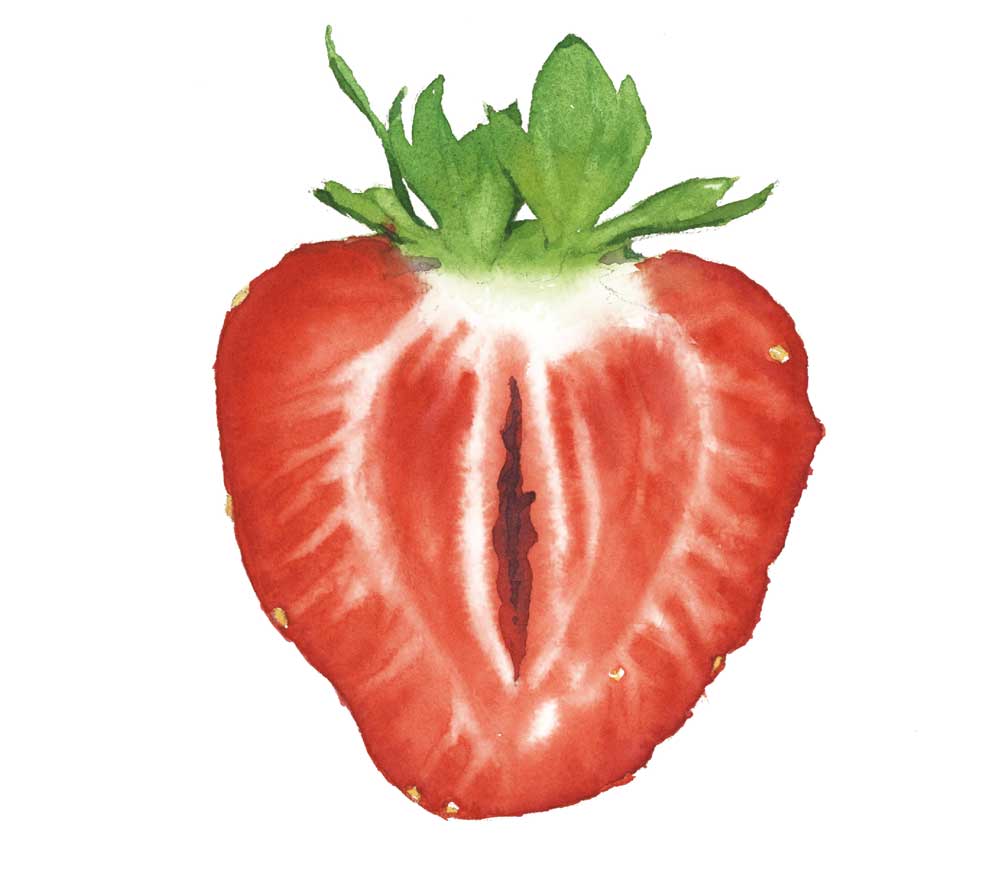
If you look back through the steps, you can see the water cycle at work throughout: wet and moist for the blended washes, damp for the lifting, dry for the crisp final details. The painting used almost every stage.
Timing isn’t something you’ll master after one painting. But I hope working through this has given you a clearer sense of what to observe as you paint. Little by little what’s happening on the paper will start to feel a bit less like guesswork.
And don’t forget to share your version of this painting in the community chat on Patreon! I’d love to see how you get on 🙂