9 Reasons Why Your Watercolor Washes Look Streaky
Have you ever set out to paint a nice smooth, even wash of watercolor — and then come back a few minutes later to find it had dried streaky or patchy?
Maybe you even spotted it starting to go wrong, so you went back in with your brush to smooth things out… and just made it worse.
If that sounds familiar, this video should help.
When a wash dries with a patchy appearance, most beginners start blaming things like their paint, or even their own talent. But in my experience there are a few common causes, and almost all of them are much more fixable than you might think…
In this lesson I’ll quickly show you how a flat wash is supposed to work. Then we’ll go through the most common mistakes that cause streaky washes, so by the end you should be able to look at your own work and tell exactly what went wrong… and more importantly, how to avoid it next time.
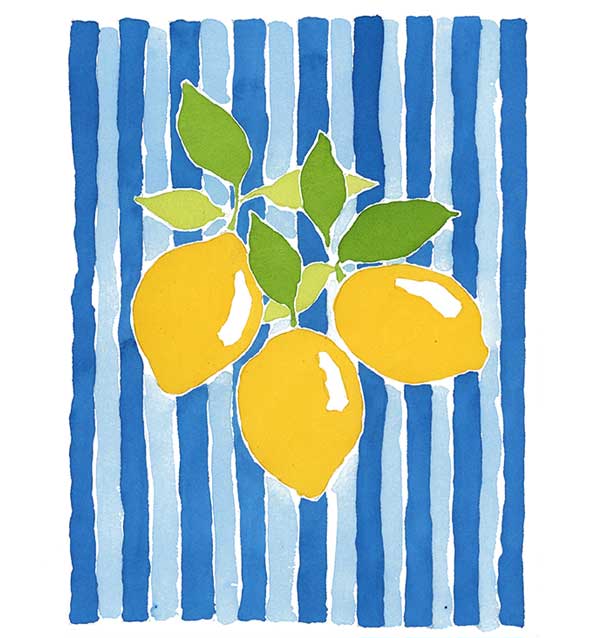
And rather than practicing this by painting plain squares over and over (which frankly can quickly get a bit boring), you’ll see these mistakes in the context of this ‘lemon’ composition, which was made entirely for practicing flat washes. I call this type of painting a ‘skill drill’ because it lets you repeat the same technique again and again, helping you build a bit of confidence while still creating something fun.
If you want to practice this painting with me, the full lesson, including all reference images, is available on my Patreon
It’s part of my ‘purposeful painting’ series, where each lesson focuses on one specific skill or idea so you can improve one step at a time. New lessons are free for the first few days
What is a flat wash and how to practice properly
Okay so let’s spend a minute looking at how to paint a flat wash in watercolor.
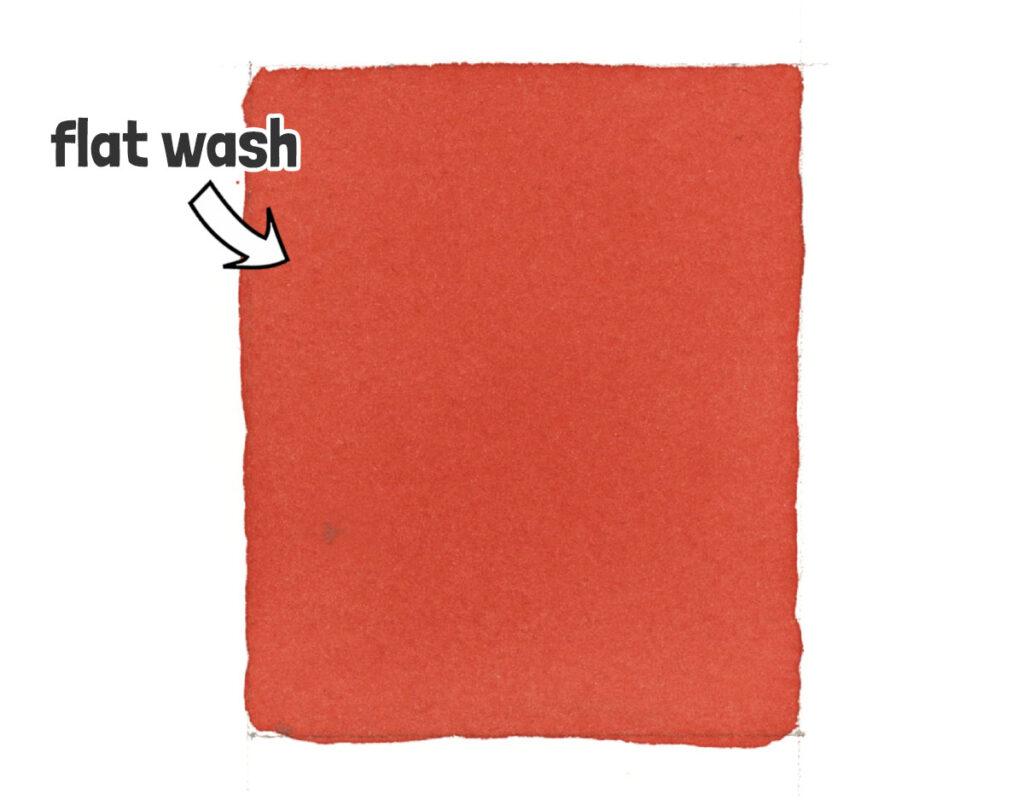
The objective of a flat wash is to get a smooth even finish across the whole surface of the shape you’re painting.
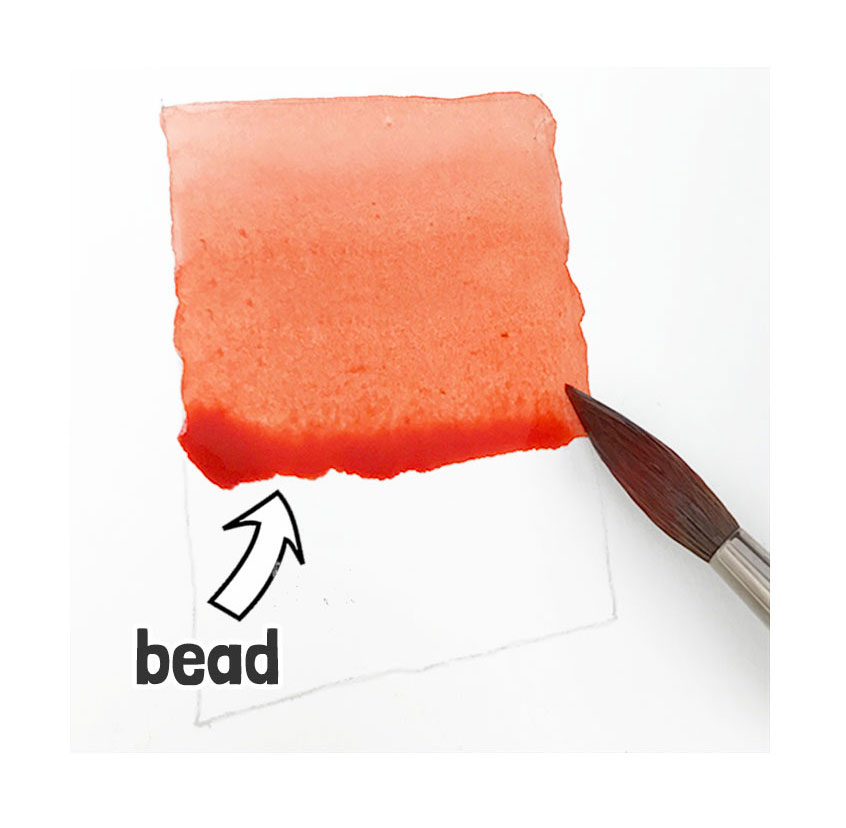
The trick is to load your brush with enough paint so that it flows freely. There should be enough liquid so that it forms a bead at the base of your brushstroke.
(By the way, a bead is a gathering of excess fluid at the end of a stroke or at the bottom of a wet wash).
Work from top to bottom or from one side to the other, dragging the wet paint across the shape.
Tilting the paper can also help because gravity will make the paint flow downwards.
The amount of paint you use is important: you really do need to keep your brush nice and wet.
You can use the bead to keep the paint flowing across the paper. Reload your brush before the surface becomes dry and continue to pull paint over the paper to get a consistent wash without any streaky marks.
When you reach the end of your flat wash, if you still have a bead of excess paint, blot your brush to dry it, then use it to soak up the surplus paint.
The reason for doing this is that excess moisture can flow back into the wash, creating a backrun or bloom that spoils the smooth finish.
A bloom is a feathery shaped water mark created when excess fluid flows back into a settling wash when it dries.
Leave it to dry, and you should have a nice flat wash of color!
The reasons why your flat wash might be going wrong…. (9 Mistakes)
So that’s how a flat wash works when everything goes right. Now let’s look at the reasons it goes wrong so you can work out which of these mistakes might be causing your streaky washes.
Mistake number 1: Poor-quality paper
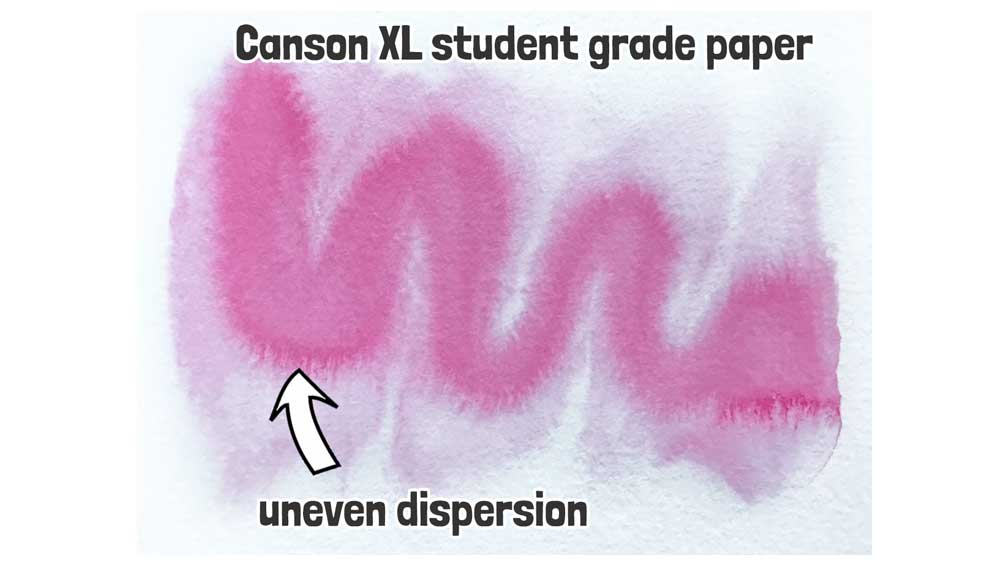
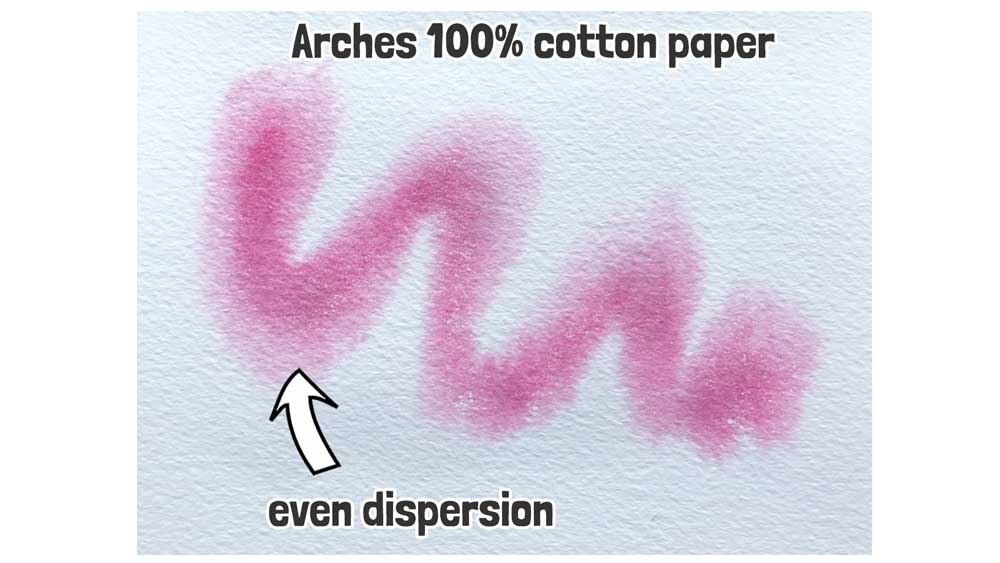
Ok so the first mistake is about the choice of paper …. Cheap paper absorbs moisture unevenly, so one part of your wash might sink in and dry while another part is still sitting wet on the surface. This happens a lot with paper that isn’t 100% cotton.
Good quality cotton paper disperses the pigment evenly when you paint, and gives a smoother appearance to your brushmarks.
With poor-quality paper you can be doing everything else right and still end up with a patchy result, so if your washes always look streaky no matter what you try, check your paper first.
Mistake number 2: Your brush is too small
A small brush holds less paint and water, which means you have to keep stopping to reload. And every time you stop, the edge of your wash is quietly drying out! You can see here I’m using a fairly big brush for these leaf shapes, even though they’re not huge. The goal is to choose a brush that’s large enough to carry enough paint and water to finish the shape before the paint starts to settle. The larger the wash, the larger the brush you’ll usually need.
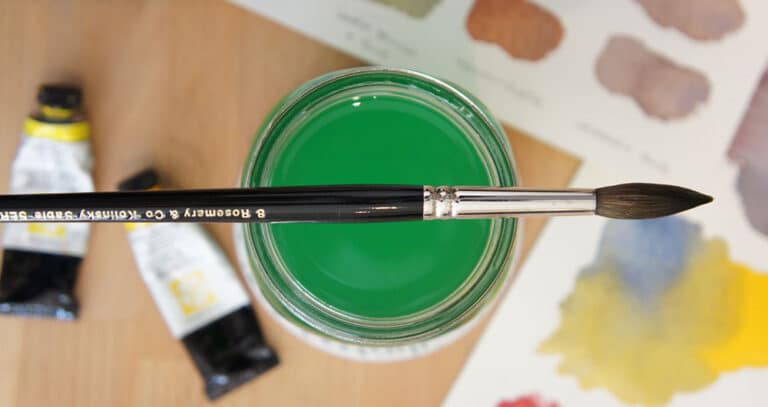
Here’s an example of the ‘big’ brush I use:
These days my everyday brush is this Rosemary & Co Kolinsky sable series 33 size 9

Mistake number 3: Not mixing enough paint beforehand
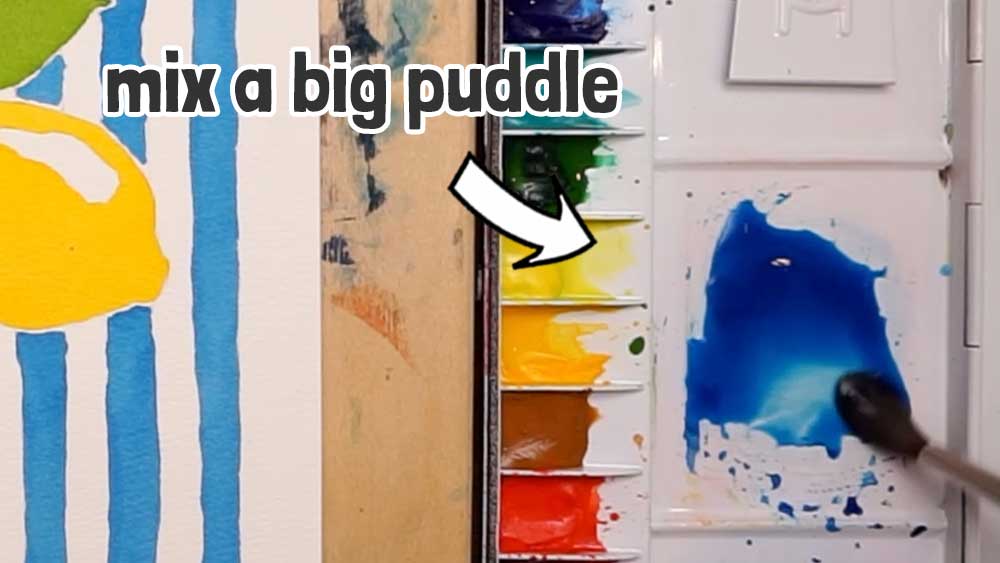
You can see how big a puddle I mix before I start these leaves. I’m deliberately trying to get a decent sized puddle. If you run out halfway through a wash, you’re stuck mixing a new batch while your half-finished wash sits there drying. And even if you’re quick, the new mixture might not match the first one in color or strength. (And to prove I don’t always follow my own advice… later in this painting I actually ran out of blue and had to remix. )
So those are the things to check before you start painting. Now let’s look at what can happen while you’re applying the wash.
Mistake number 4: this is something I call “Losing the bead”
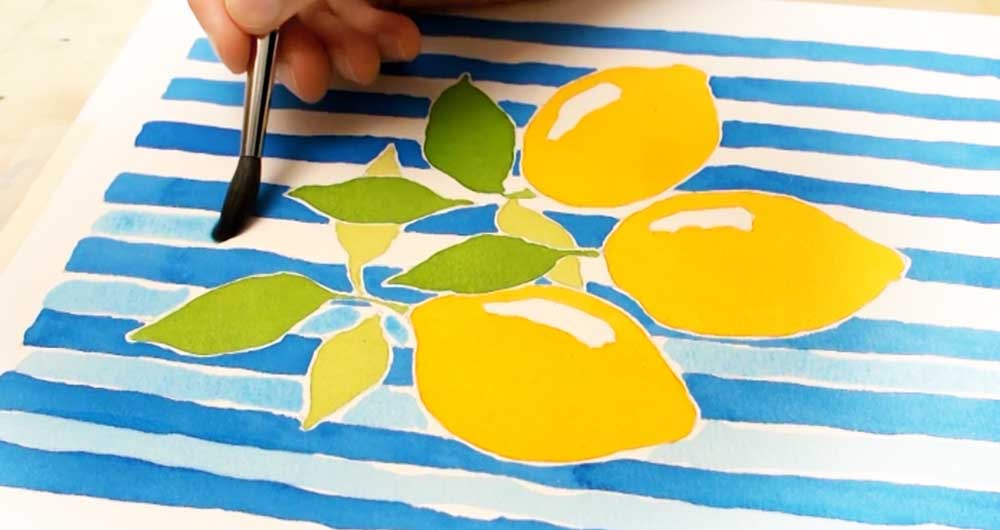
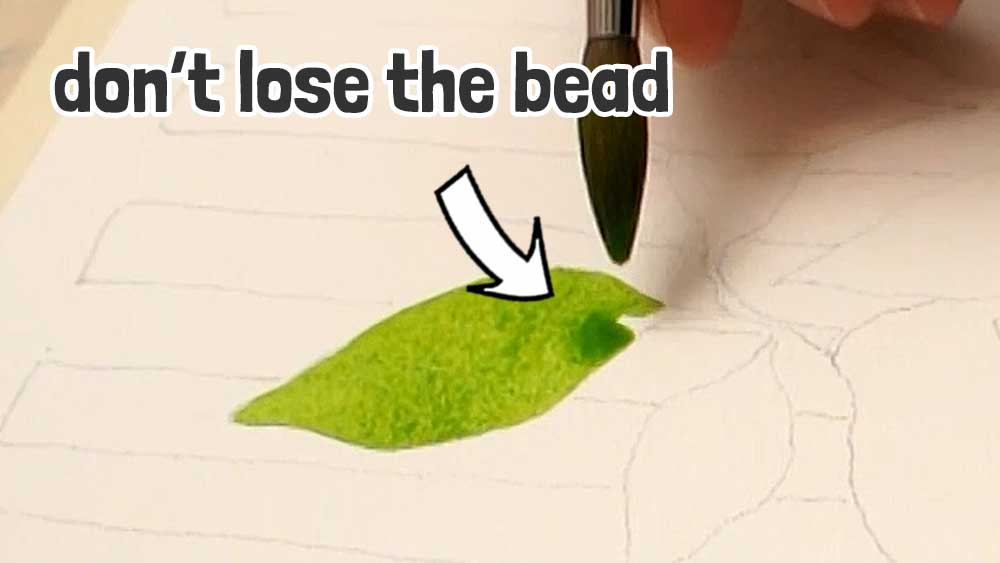
This one might be the most important of all nine. Watch the bottom edge of my brushstrokes here: there’s a bead of excess moisture sitting on the paper the whole time, and I keep dragging it across the shape as I go. That bead is what I use to pull the paint smoothly over the surface. If your brush gets too dry and the bead disappears, the wash stops flowing so smoothly… and streaks are almost guaranteed. So try not to ‘lose the bead’ when you’re painting 🙂
Mistake number 5: Painting too slowly
Watercolor is always changing as you paint. If you paint too slowly, the leading edge of your wash starts drying before your next stroke arrives. And where fresh paint meets a drying edge, you get a visible line. You can see these blue stripes get a little tricky where they pass around the leaves and lemons… but notice I keep moving. I’m trying to keep the damp paint flowing so it doesn’t dry or have time to settle into the paper and form an unwanted edge!
Mistake number 6: Your mixture is too dry
So you’ve probably figured out by now that a flat wash needs paint that flows, and paint only flows when there’s enough water in the mix. If your mixture is too thick, the brush drags and the paint sits where you put it instead of spreading easily over the surface. You can see the consistency I’m working with in this part of the painting… it should move like ink, not like cream. So if you’re fighting to push the paint around, the mixture is probably telling you something 🙂
Mistake number 7: Not overlapping your strokes
Each new brushstroke should slightly overlap the wet edge of the one before it, so the two flow together into one continuous wash. This is part of the idea of “dragging out” the bead — using the moisture at the edge of each stroke to pull the paint across the paper and help the wash flow evenly.
Watch how I work across these lemon shapes from one side to the other… every brushstroke picks up the wet edge of the previous one. If you ‘re not careful to overlap your strokes while the previous stroke is still wet, it dries as a visible line.
Finally, let’s look at the last stage of the wash. Even if everything has gone perfectly so far, there are still a couple of things that can spoil the result right at the end…
Mistake number 8: Leaving excess moisture at the end
So you’ve finished painting the shape, the wash looks lovely, and there’s a little puddle of paint sitting at the end. It might look harmless, but it isn’t! As the paint dries, that puddle flows back into the wash and pushes the pigment around, creating a backrun (one of those unwanted feathery cauliflower shapes).
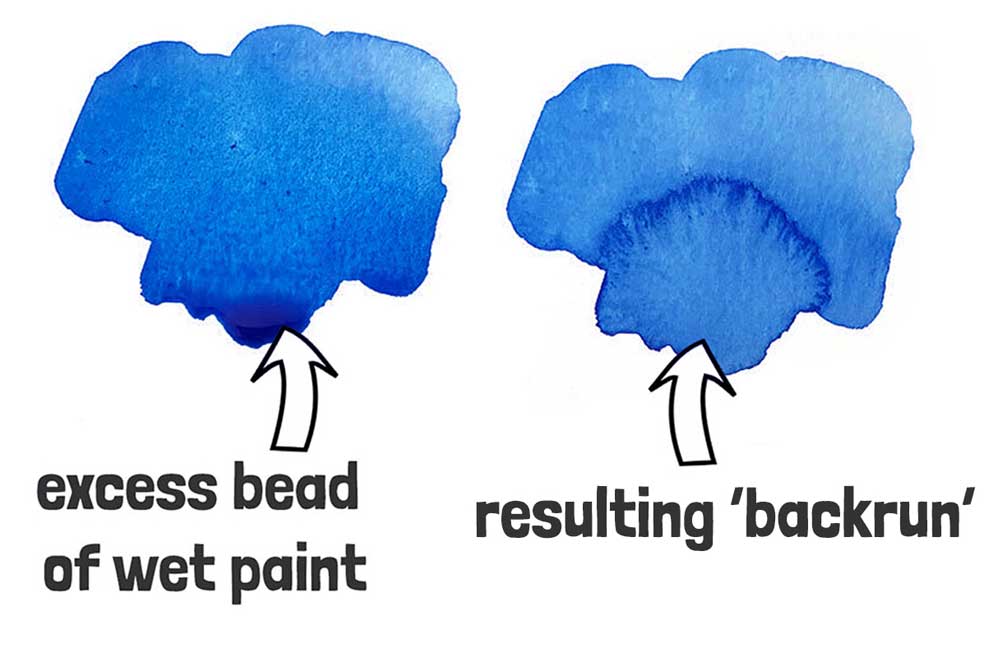
To avoid this, watch what I do at the end of this shape: I blot the brush on the cloth to dry it, then use the tip like a sponge to soak up the excess. This leaves the whole surface of the wash with an even wetness as it dries.
Mistake number 9: Going back into drying paint
Keep in mind that the puddle of moisture can occur anywhere, not just at the end. For example, here you can see I wasn’t very successful at keeping my second blue stripe completely smooth. There must have been a spot of excess paint that I forgot to lift off. The temptation would be to go back in and fix it. But I’d recommend you don’t!
Fresh wet paint touching a half-dried wash disturbs the surface and creates blooms and watermarks far worse than whatever you were trying to fix.
With watercolor, the more you fiddle with the paint, the more likely you are to create a problem that’s worse than the one you started with.
Now it’s your turn
Painting flat washes might seem a bit boring, but it’s definitely worth the practice. When a wash dries patchy, it’s almost always one of those common reasons, and every one of them is fixable. So the more you practice, the less your results come down to luck.
And once you can paint a smooth wash whenever you want one, you can also choose to do the opposite. You can let the paint blend and bloom and do whatever it likes on the paper… but this time because you decided to, not because you couldn’t help it.
You can watch the full video lesson on my Patreon:
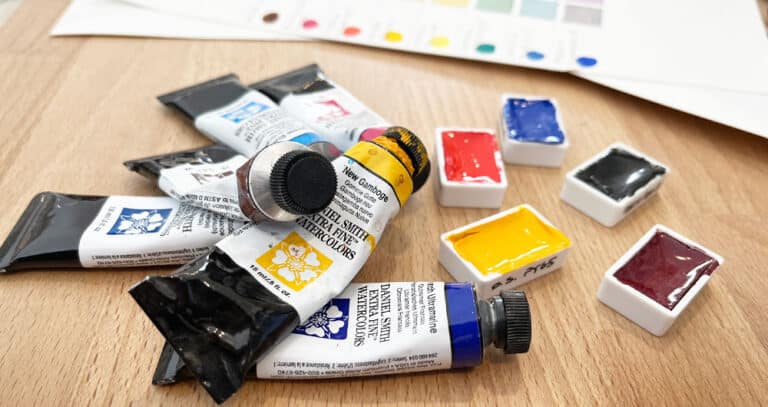
Paints used:
- Hansa Yellow Deep – https://tidd.ly/4uz4y1q *
- Phthalo blue GS – https://tidd.ly/3QkkIhm *
- Phthalo Green Blue Shade – https://tidd.ly/43A4MdS *